Starting a Compost Pile in Six Easy Steps

Starting a compost pile isn’t very difficult. There are tons of resources online on how to start one. I found Rodale’s Garden Life very helpful. Here is how to build a compost pile in just six easy steps.

Location of compost pile

Location of compost pile

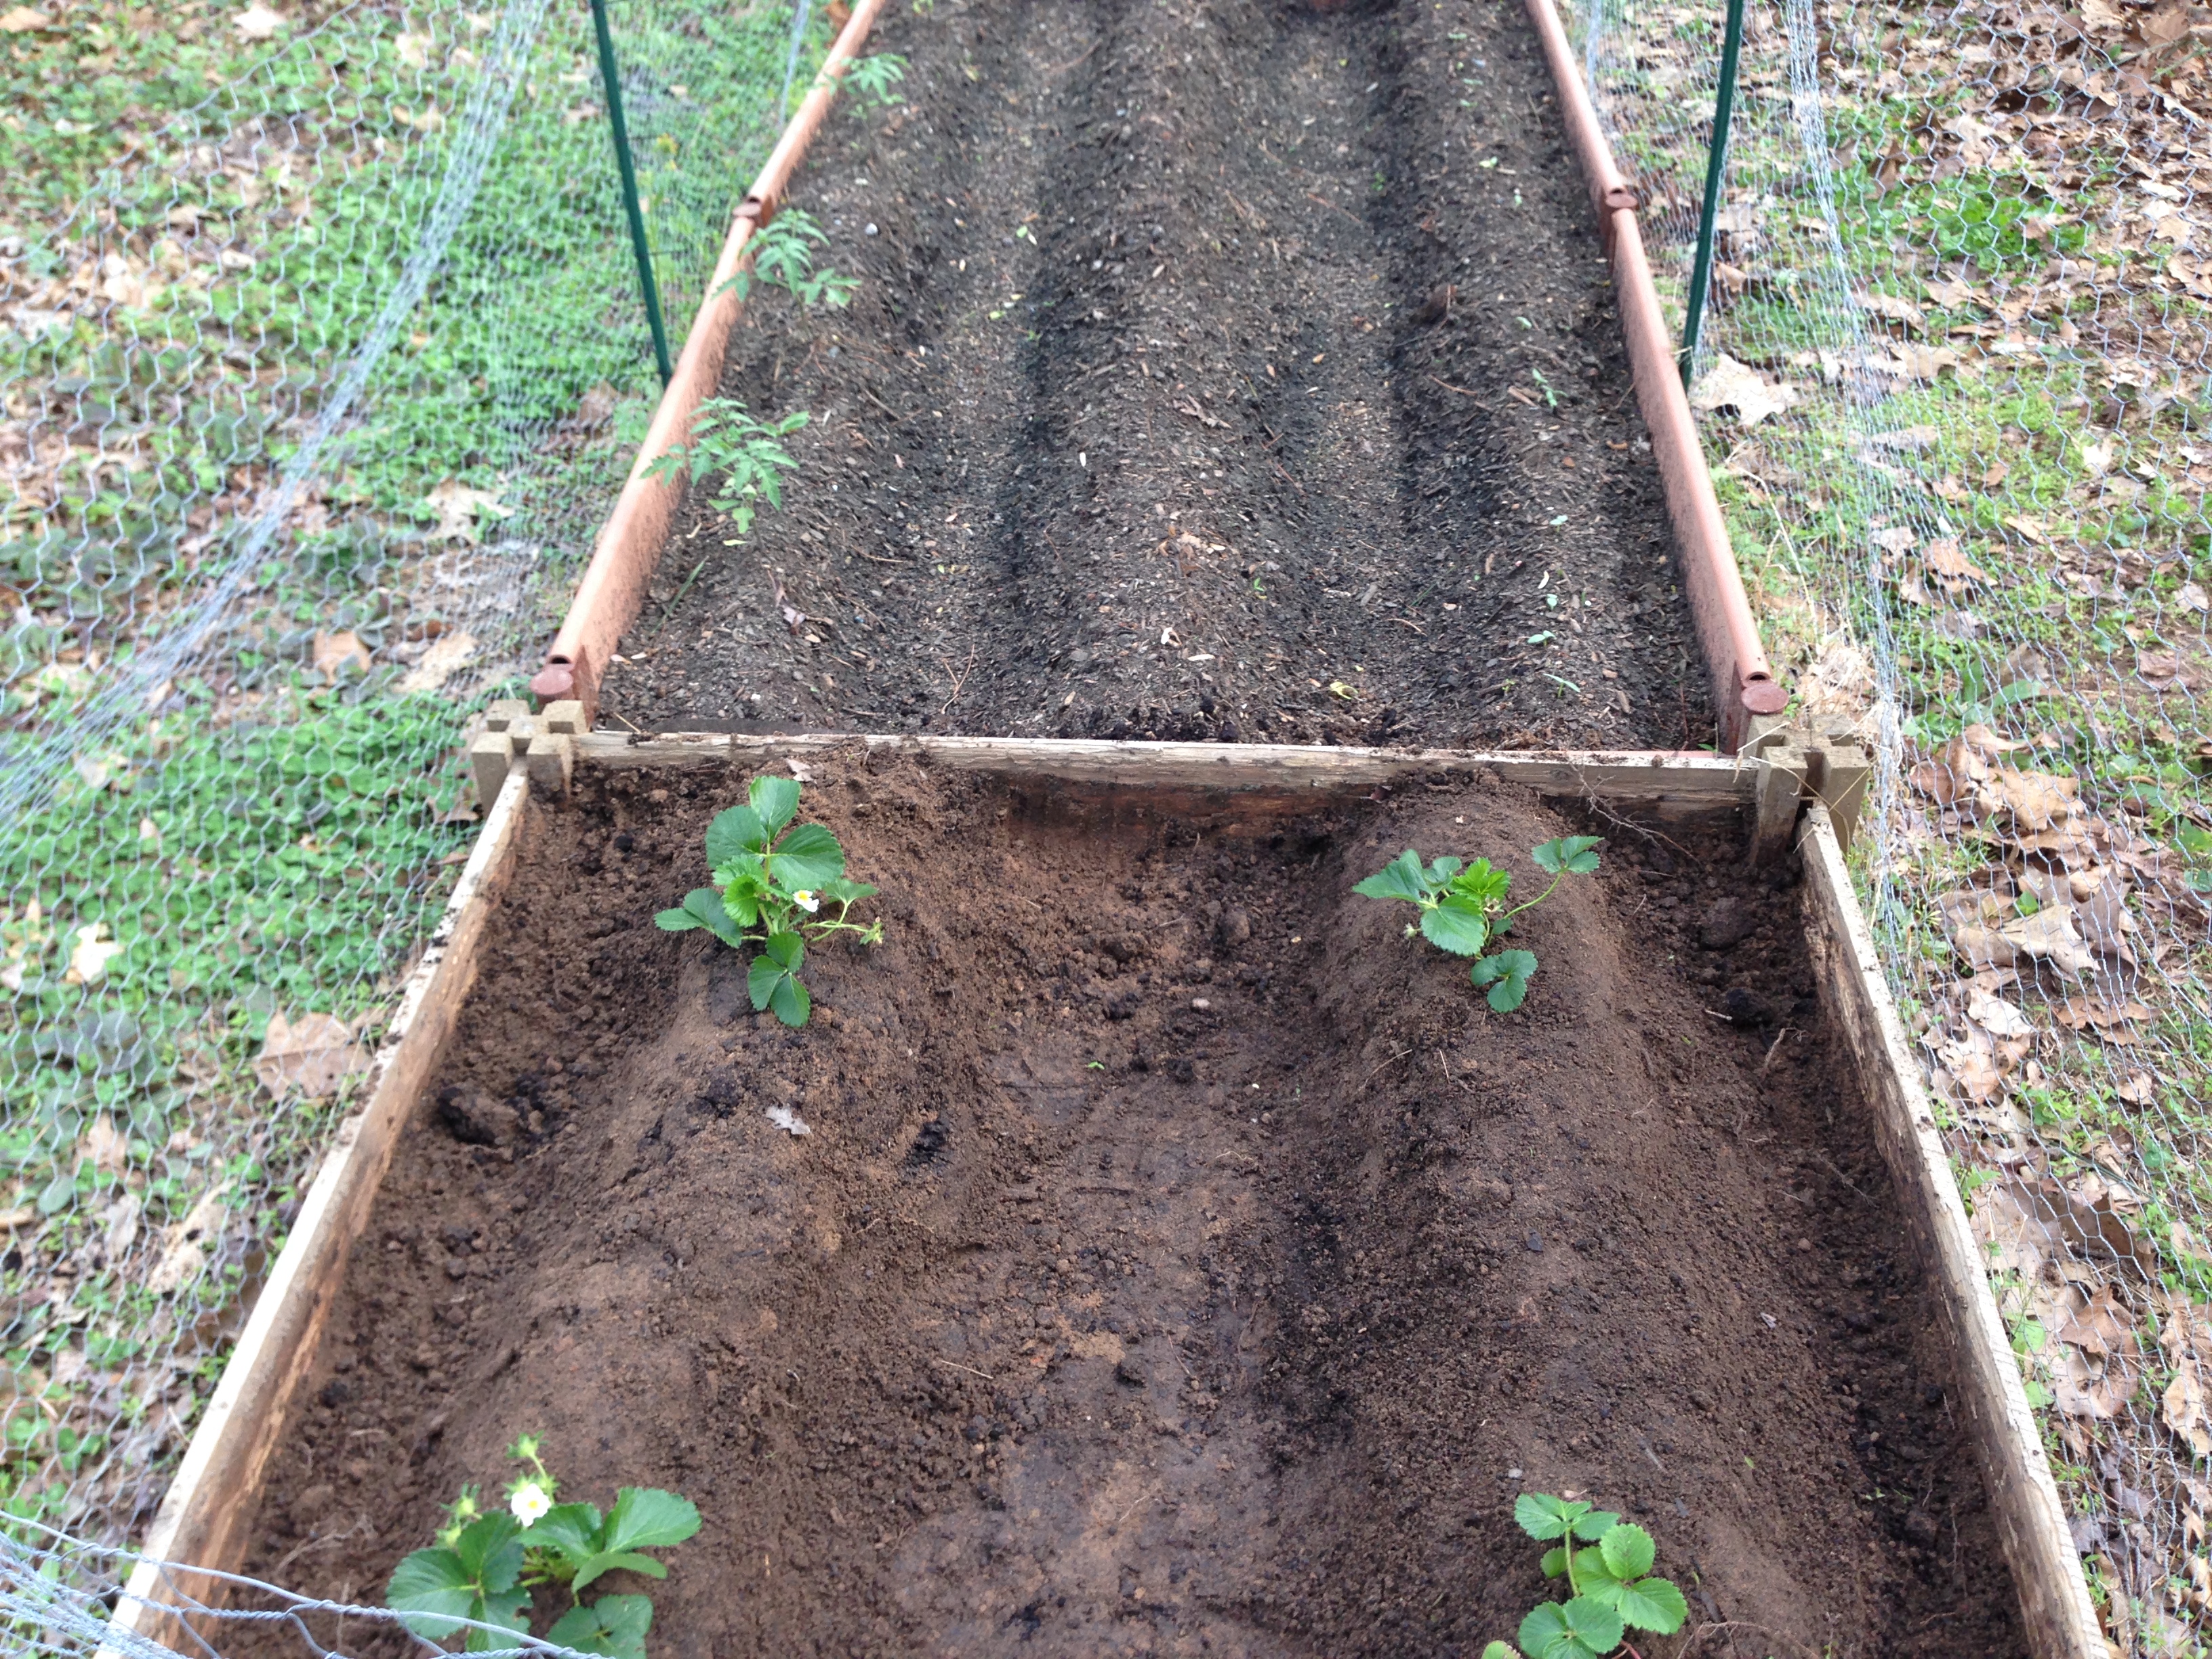
1. Select a location- The location should be somewhere convenient and close to the garden. You don’t want to have to go really far to add your scraps to the pile or have move compost a long way when it’s ready to use. I chose the corner of the yard closest to the garden.

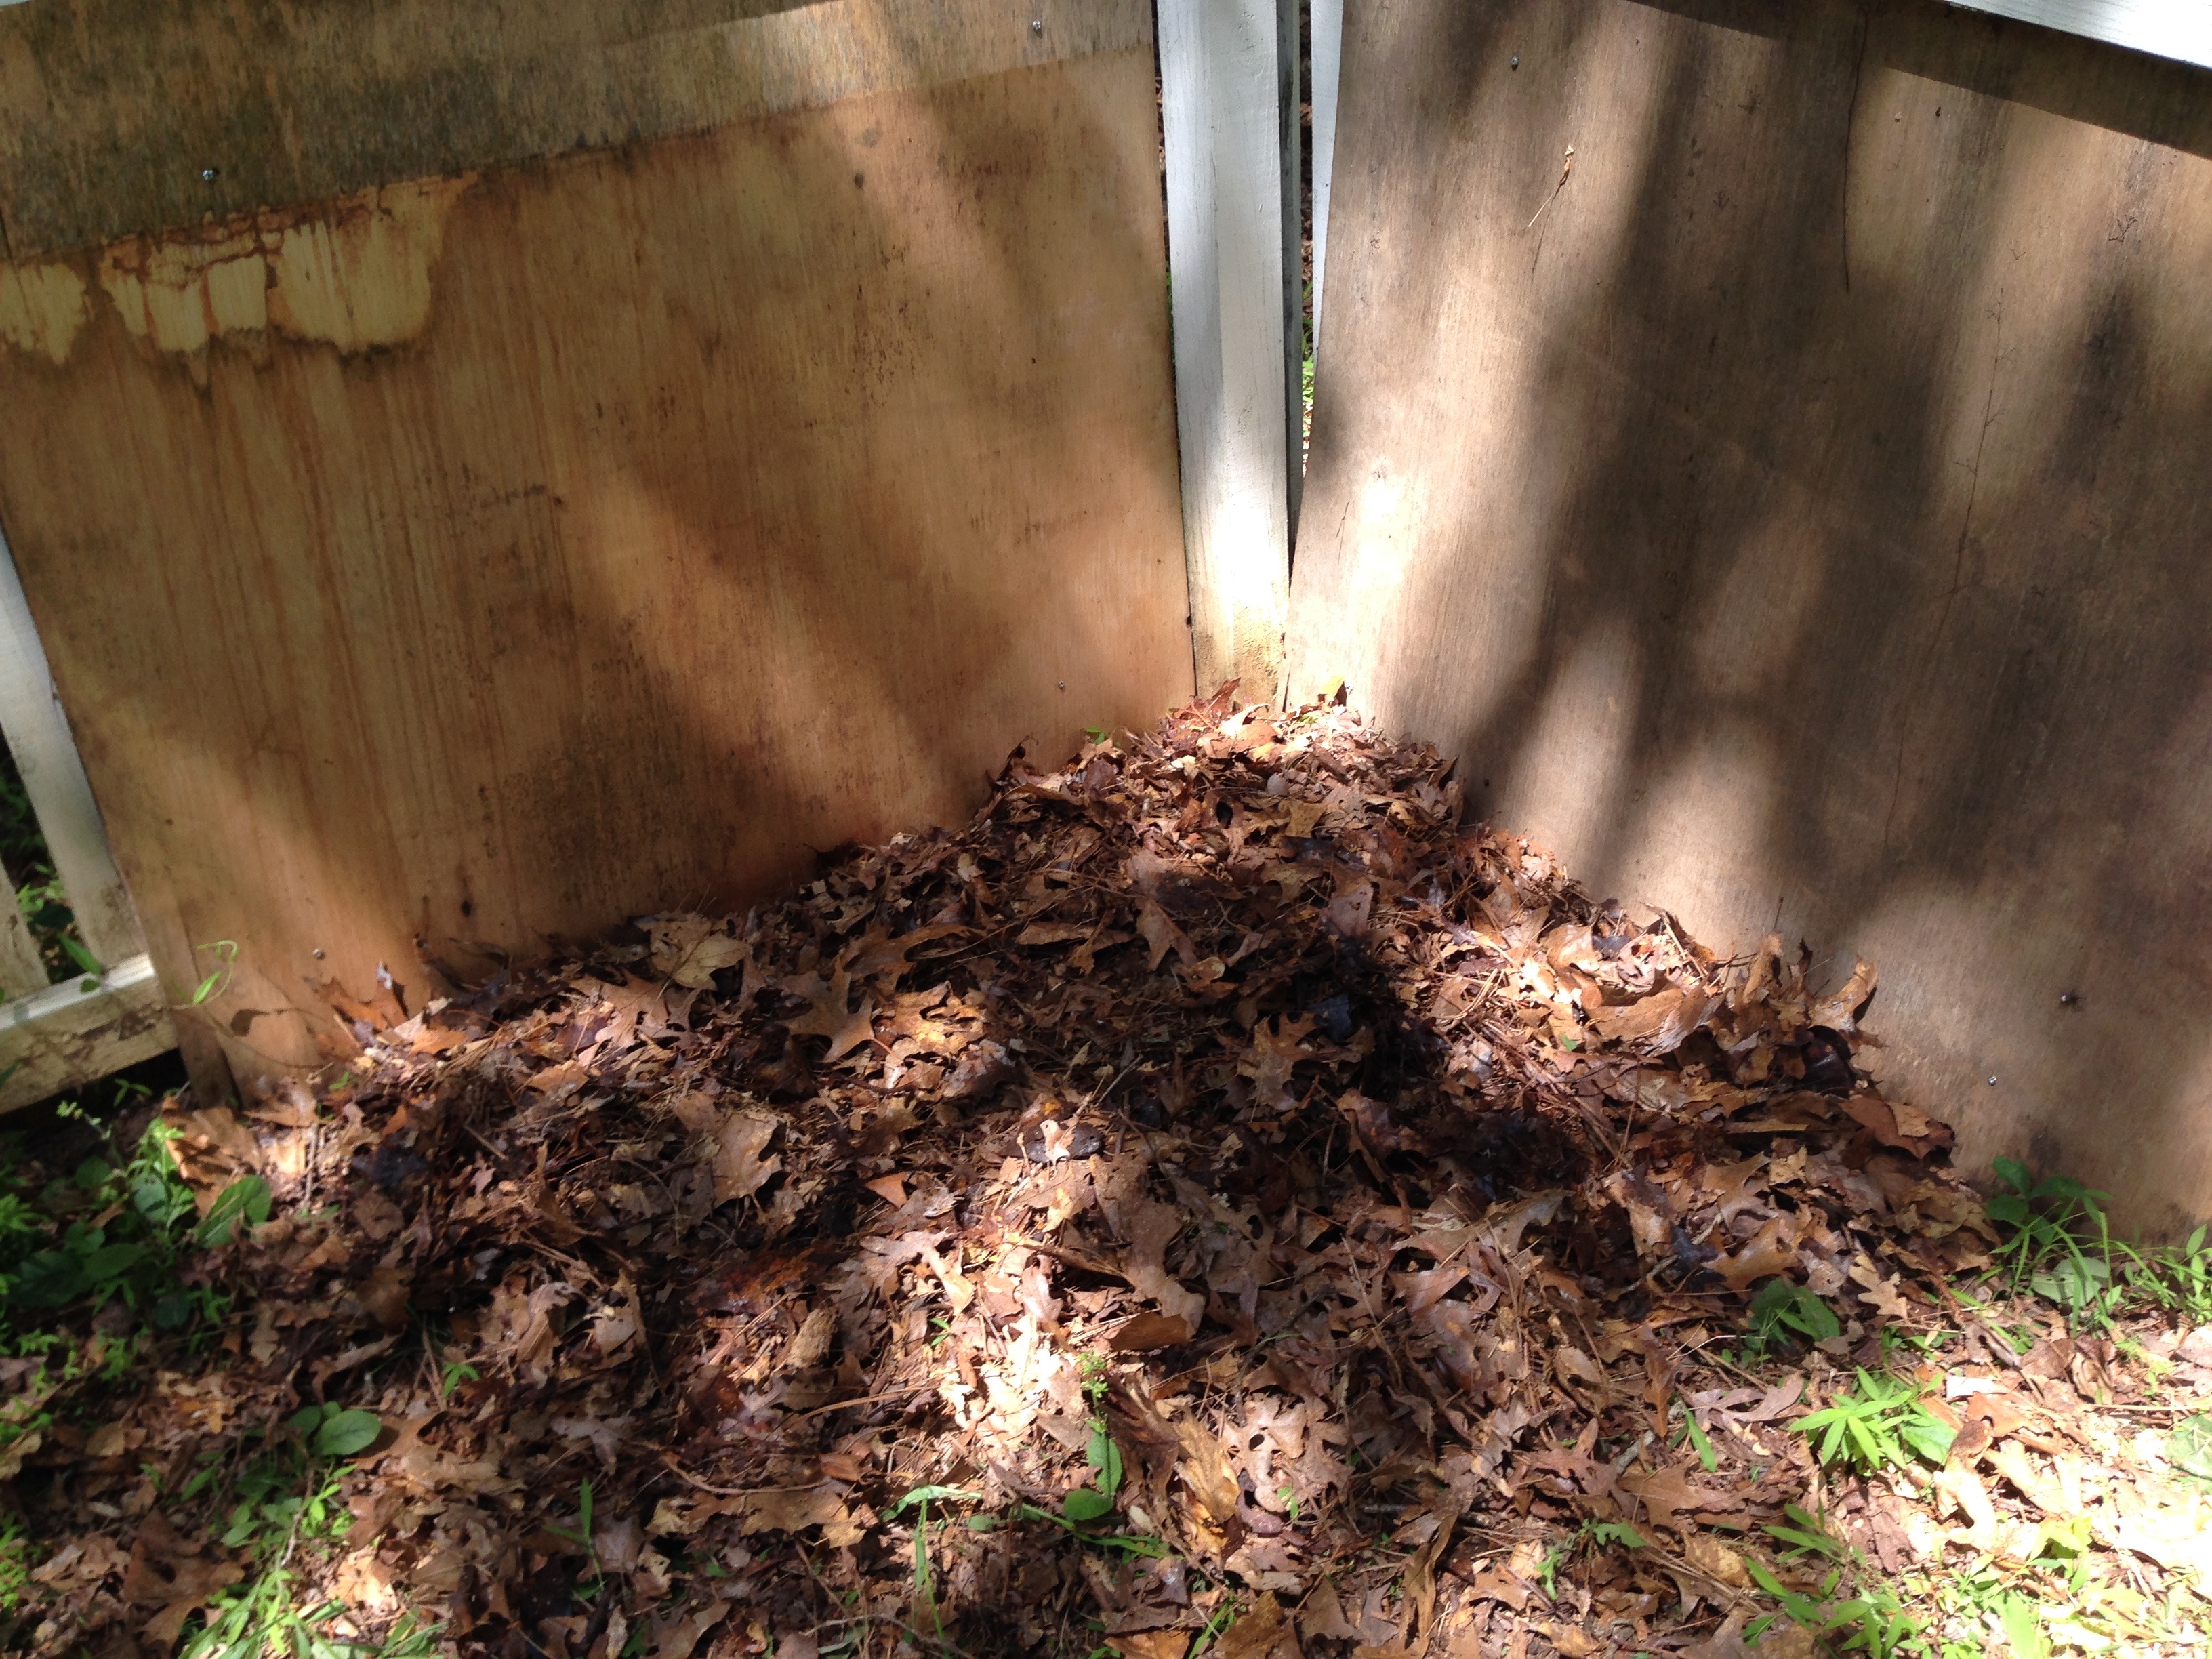
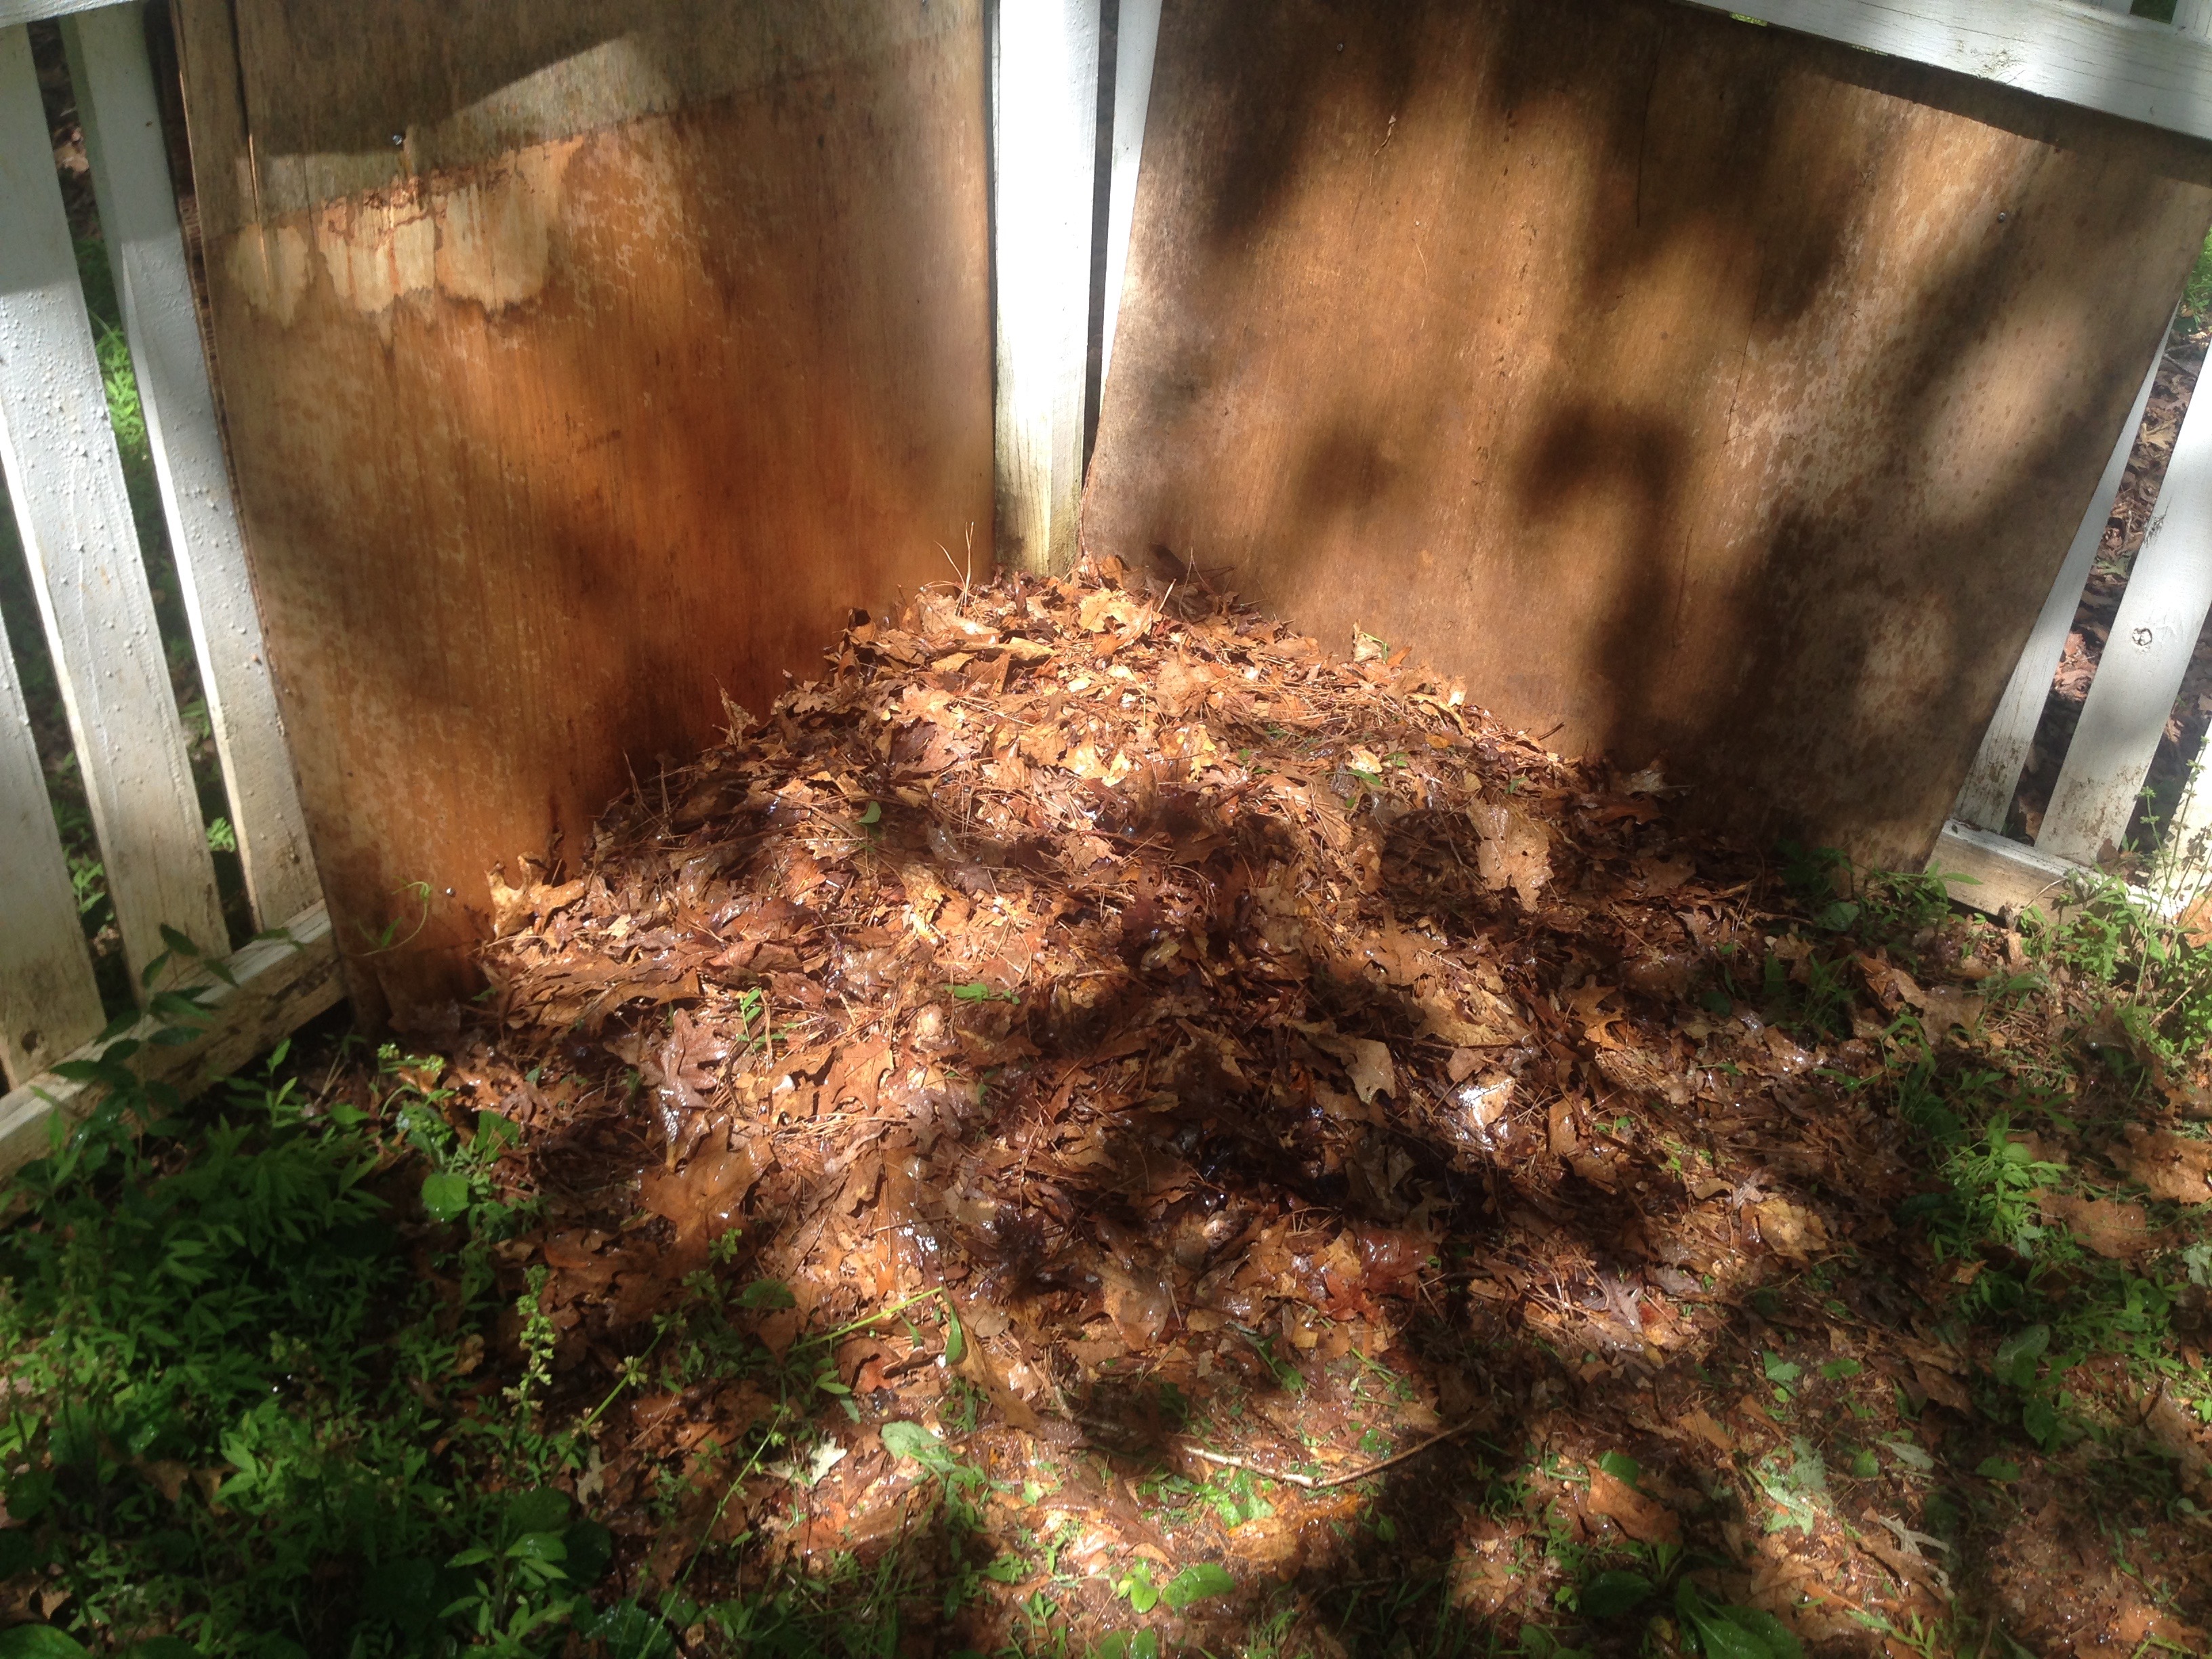
Base layer of leaves

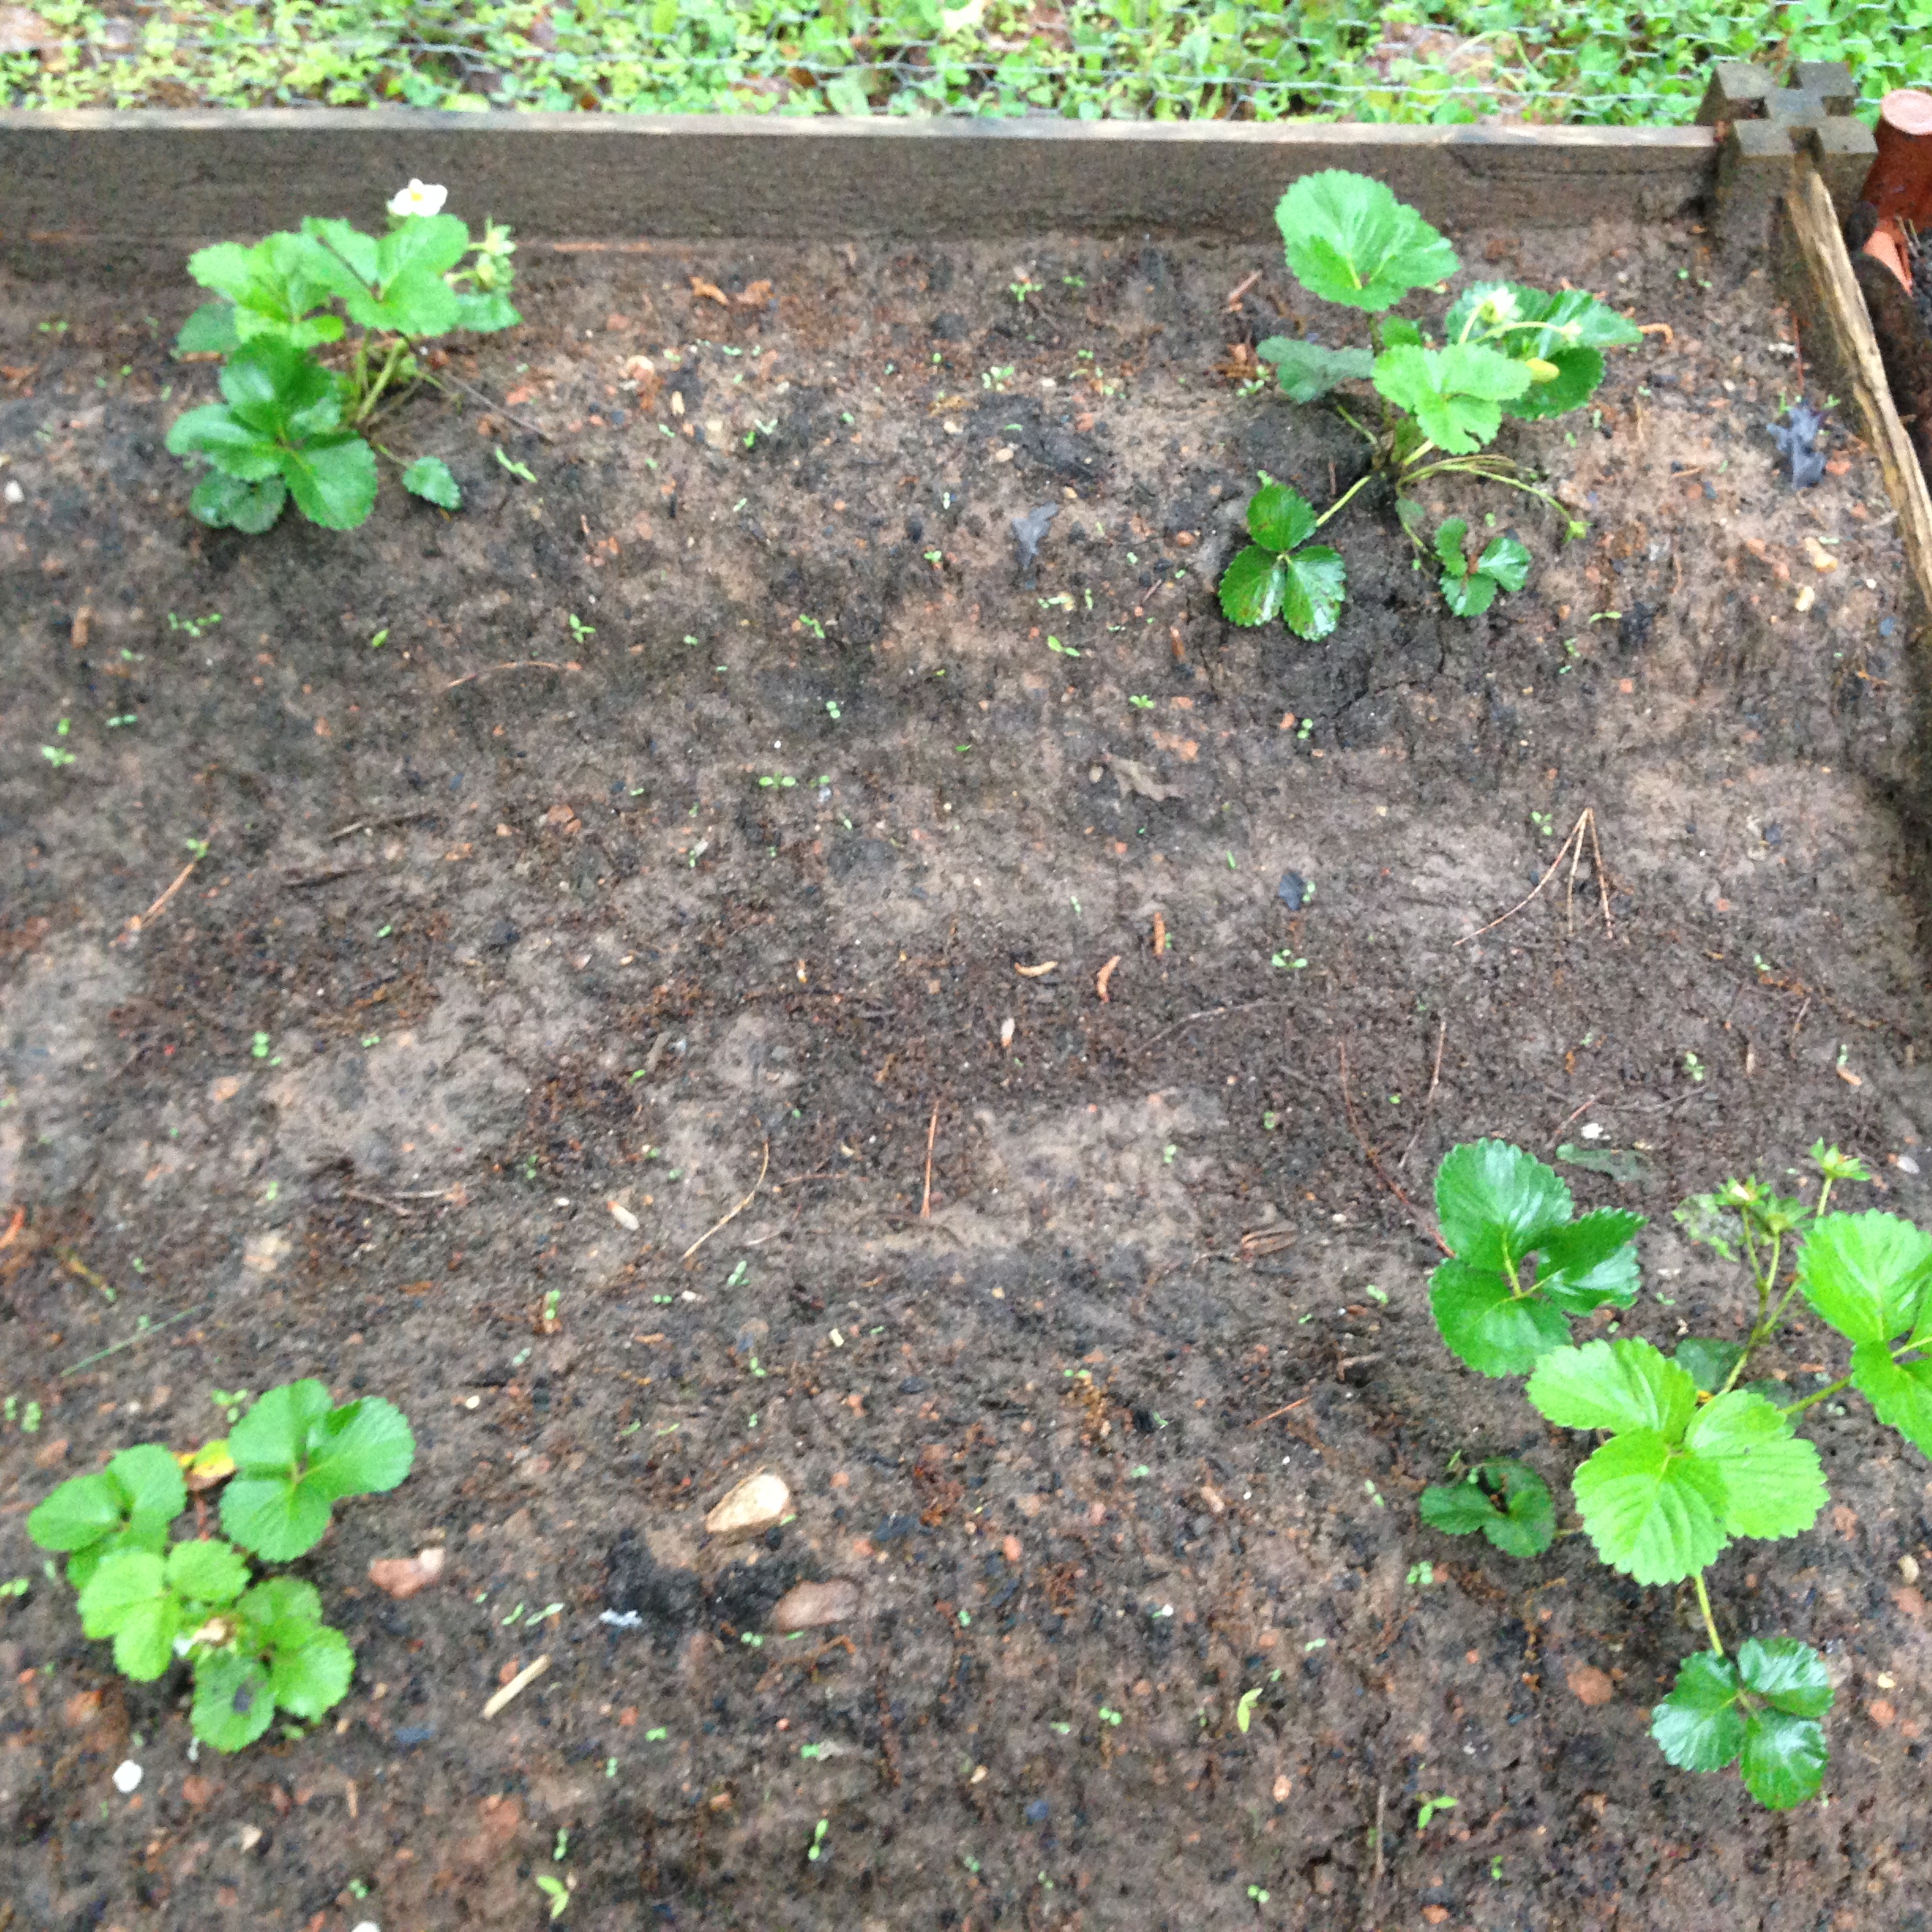
2. Start with a layer of organic materials- This could be leaves, grass clippings, straw, etc. Good thing we were too lazy to remove our leaves from the yard last fall, the decomposed leaves were the basis for my first layer.
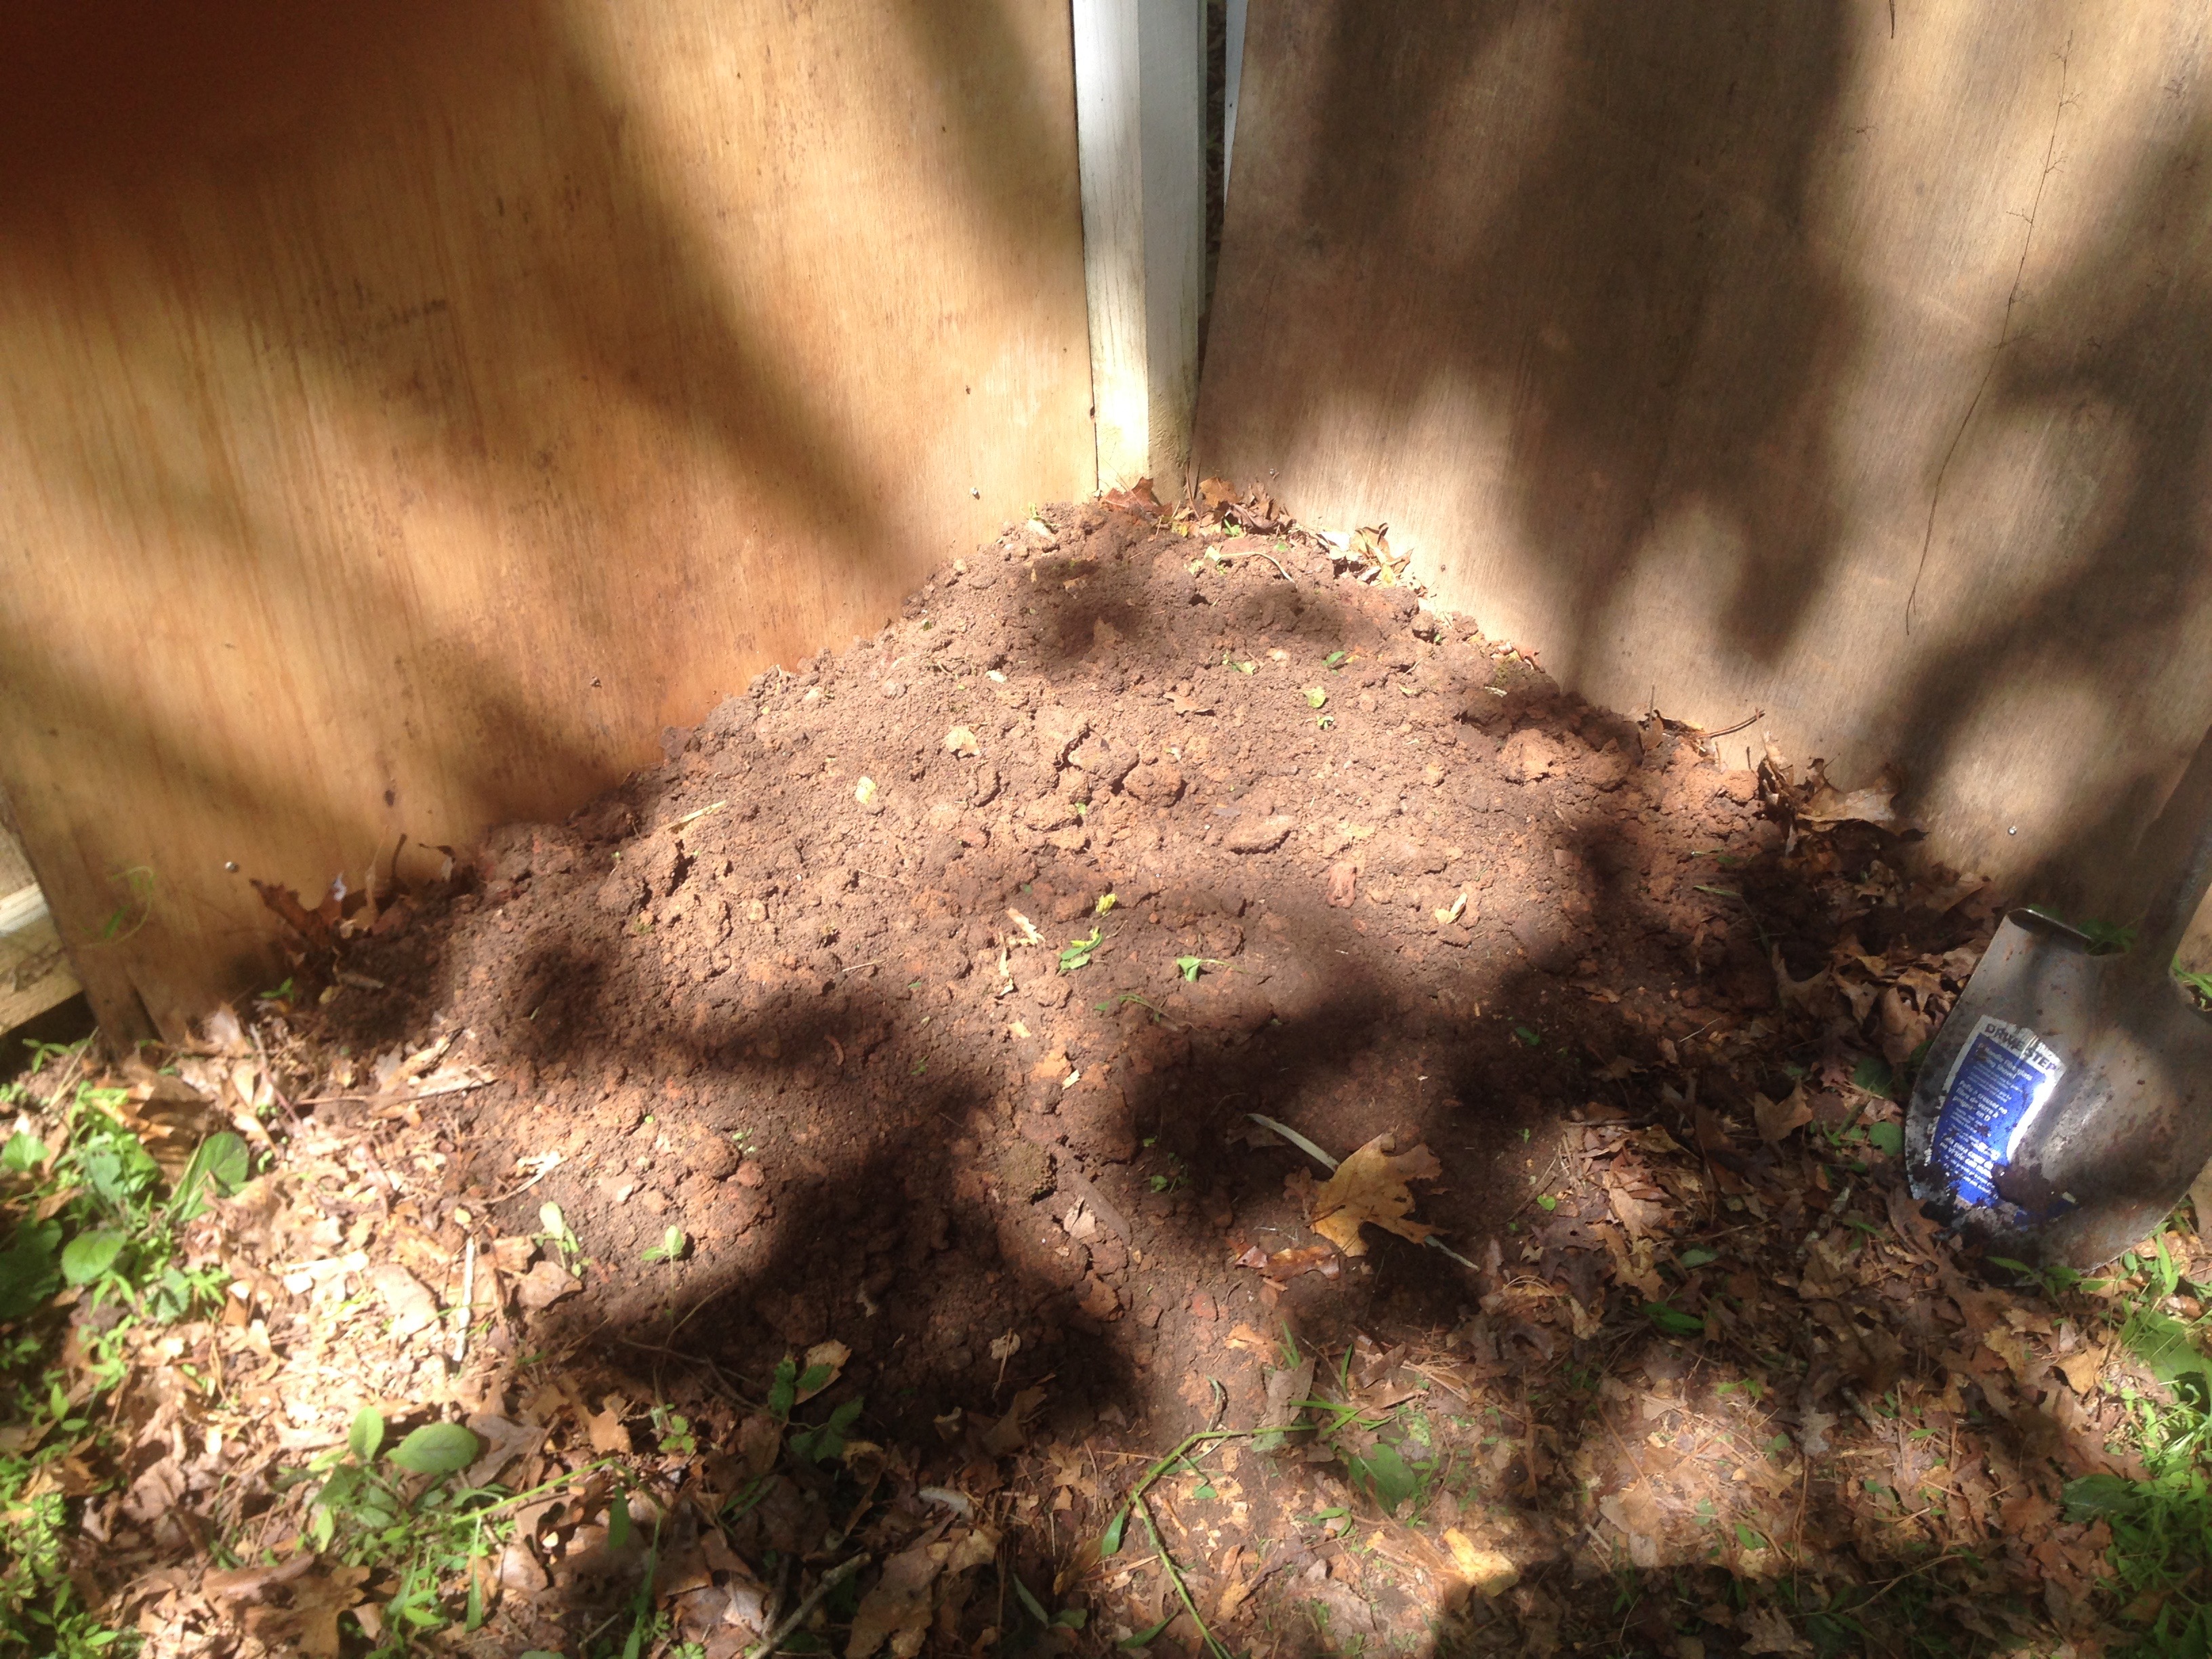
Layer of soil

Layer of soil

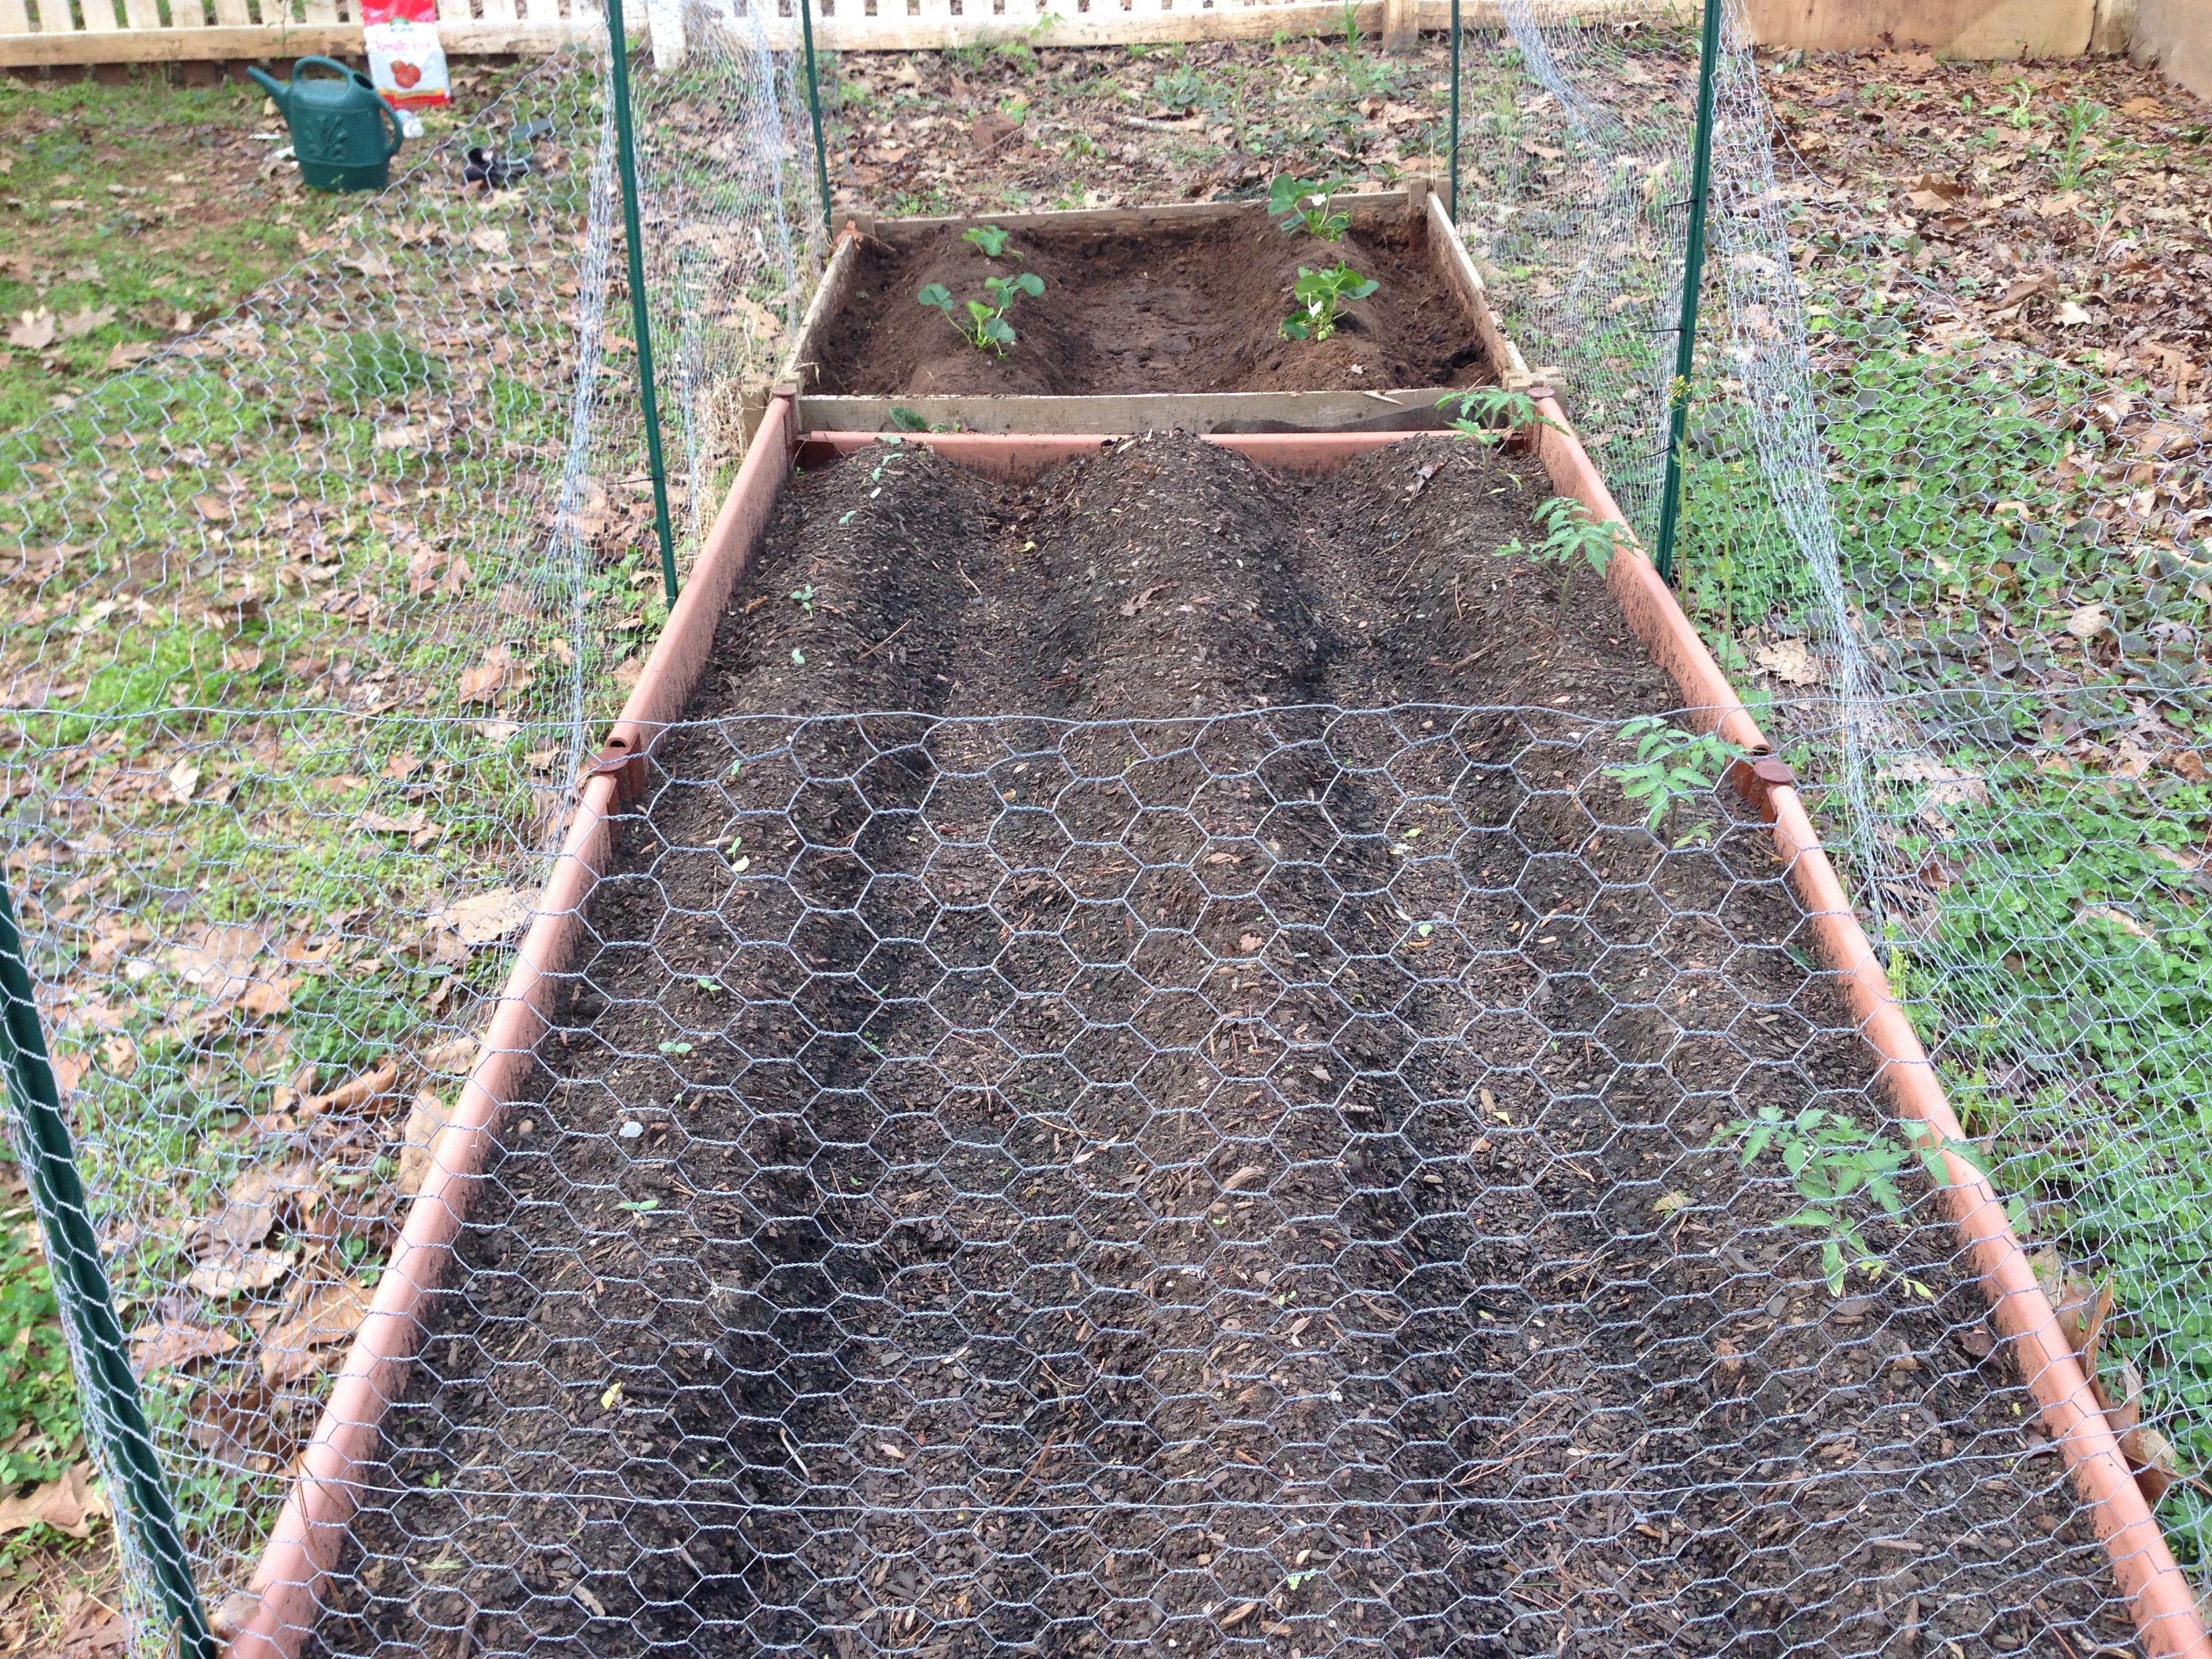
3. Add a layer of soil- I added a layer of soil on top of the decomposing leaves. I used soil from the front yard in what will eventually be our drainage ditch. So I didn’t have to buy soil or pull it from somewhere it was needed.

Layer of fruits and veggies

Layer of fruits and veggies

4. Add a layer of green materials- Starting a compost pile is like making a lasagna. You keep adding layers. The next layer should be green materials like kitchen scraps. We’d been saving ours for awhile so we had a good mix of fruits and vegetables.

My completed compost pile

My completed compost pile

5. Add a layer of organic materials- This was the final layer. I added some more leaves to the top and voila, compost pile done!

6. Moisten- The final step was to wet the entire pile. The pile needs to be moist, but not wet so it can do its thing and break down the food scraps.

So there it is! A compost pile in six easy steps. In a couple months time, I should have extremely rich soil to use in the garden.

Slugs Aren’t Picky About Their Beer

In looking for ways to get rid of slugs, I found out something very interesting. Slugs love beer! Their fondness for the alcoholic beverage has something to do with being attracted to the yeast. Even though I find slugs repellant; I found them slightly less so when I realized we have a love of beer in common.

The organic pesticide spray I used a couple of weeks back wasn’t quite doing the job. It didn’t do anything to prevent slugs from chomping on my strawberries, so I had to find a new strategy. This is where the beer comes into play.

Someone needs to learn how to pour a beer properly

Someone needs to learn how to pour a beer properly

I dug two holes deep enough in the middle of my rows of strawberries for small plastic cups. I filled the cups with beer we had in the fridge that Steve and I had both refused to drink. So oatmeal stout it was for the slugs.

Apparently, slugs aren’t picky about their beer. When I went back a couple days later to see if the the cups of beer worked, I found several dead slugs in each cup. Success!

When I informed Steve of my victory, he asked if the slugs were drunk or dead. I told him the slugs probably got drunk before they drowned. I felt a little bad for the critters, but it means that I get to enjoy the strawberries in my garden instead of them.

Below is a picture of the slugs post-bender. Don’t scroll down if that kind of stuff grosses you out.

Cup full of beer and slugs

Cup full of beer and slugs


Getting Rid of Pests Organic Style

Even though I addressed this a few posts ago, I’m still getting grief about the title of my blog. I decided to keep the name because I still feel like an amateur gardener and because I feel like veggie gardening virgins and newbies could really benefit from some of the stuff I’ve learned. Plus I like the alliteration of the name. So sorry folks, the title’s not going anywhere.

IMG_1077

Organic pesticide

So back to the evil slugs eating my strawberries. I needed to figure out a way to get rid of them but still keep everything I use in the garden organic. Off to my local garden center. I asked the staff about the best organic pesticides and they recommended Bon-Neem spray. It uses tree seed oil to suffocate bugs and pests.

The instructions were pretty simple, even I could handle it. Make sure it’s not windy out when applying and make sure it won’t rain for up to 24 hours after application. The spray has to be able to stick to the leaves.

Since I visited my local garden garden center, I’ve gotten really good advice from readers of the blog- from planting mint, making sure the mint is planted in containers around the garden to using eggshells. Thanks for the tips, you all rock! I plan on using these in the future as well in a multi-prong pest removal approach. The pests don’t stand a chance!

See my plants post-application below. We’ll see how well this strategy works!

Plants sprayed with Bon-Neem

Plants sprayed with Bon-Neem

IMG_1078

Plant post-application


Victim of the Garden Pests

Victim of the Garden Pests

Strawberry plant

Strawberry plant

I’m excited to have my first produce of  the season! I recently picked my first strawberries of the plants. The strawberries weren’t as sweet as I hoped, but they should reach their peak in the next couple of weeks. Even though I’m starting to see the results of all my work; I’m facing a familiar problem as last summer.

Garden pests! The villains of  every garden. They are the equivalent of the character in a Lifetime movie who shows up and then everyone starting getting killed. Fortunately this isn’t a Lifetime movie and I realize what’s causing the problem.

Strawberry eaten through by a pest

Strawberry eaten through by a pest

Last week, I found a rather plump slug having a feast on a strawberry and removed it from the garden. The slug had had done this to the berry. See the photo to the left. I actually found it kind of impressive that the slug had hallowed out the fruit. But also very annoying.

Last year, I solved the pest problem by building a fence around the garden. The fence still keeps critters out, but now I have to worry about insects inside the garden.

This calls for a visit to the local gardening center so I can find organic pesticides that will keep my fruit and vegetables safe. Check the next post to see what kind of advice I receive.

Blame it on Flat Stanley!

Flat Stanley in downtown Raleigh

Flat Stanley in downtown Raleigh

A good friend of mine asked for help with her daughter’s class project on Flat Stanley. My role involved taking pictures of him in various locations and sending the pictures back. I admit that I had a great time with the assignment.

Flat Stanley in the garden

Flat Stanley in the garden

Flat Stanley even helped me in the garden. Unfortunately, since he was so new to gardening, he made a fatal error with one of my tomato plants.

Tomato plants need extra support when they get to a certain height or they won’t grow upright. My plants had flopped over so I knew it was time to get out the stakes and anchor the tomato plants with string.

In his excitement while tying the first support, Flat Stanley stretched the tomato plant a little too much and snapped the plant in the middle. So my pretty tomato plant ended up looking like this:

Broken tomato plant

Broken tomato plant

Blame it on Flat Stanley! If you don’t want the same thing to happen to you:

1. Be very gentle when pulling the plant towards the stake.

2. If you feel any kind of resistance, stop.

3. Hold the plant very carefully with one hand and tie with the other. It’s even better if you can get someone to help you either hold the plant or tie the string to the stake.

4. Don’t let Flat Stanley help you garden.

Predictably, the top of the plant died. I had to cut it off, so now it’s half the size of the others. I’m hoping the plant will grow back or at least produce some fruit from what’s left.

Veggie Gardening Virgin lesson learned.


Putting a Pause on the Gardening Blog

Pause on the garden

The garden is growing!

Some of you may have noticed that it’s been about two weeks since I posted any updates on the garden. I try to post at least weekly, but I had to hit pause on the blog. I’ve been a little overwhelmed with work, volunteer activities and travel for work/fun.

Don’t worry though, the garden is still doing very well as you can see in the photo on the right.

Over the last couple of weeks, I’ve talked to some very smart people about how to make the blog better. I’ll start using some of those tips over the next few weeks.

Until I get back into the swing of things, enjoy the following photos from my recent work trip/weekend of camping in New Bern, NC. It’s a beautiful place and a great town to visit. It really helped to relax and get away from it all.

Street full of historic houses in New Bern, NC

Street full of historic houses in New Bern, NC

Docks full of boats and yachts in New Bern, NC

Docks full of boats and yachts in New Bern, NC


View of the Neuse River from our campsite

View of the Neuse River from our campsite

Our campsite

Our campsite


View of the Neuse River at dusk

View of the Neuse River at dusk

How My Garden Grows

Today’s post title is a play on lyrics from an old Oasis song. I’ve been nostalgic for the ’90s lately, especially music. Maybe it’s because I grew up during that period- junior high through half of college. Maybe it’s because I didn’t have adult stresses to deal with. Maybe it’s because I’ve never gotten over my disappointment of not becoming a Fly Girl.

As a side note- Notice I didn’t put an apostrophe before the s in ’90s. It’s because the word is plural not possessive. Misused plural/possessive apostrophes annoy me to no end.

Now that the rant is over, my plants are growing! It’s been raining here so much that I’ve hardly had to water the garden. I was worried that all the rain would flood my garden but as you can see below, that hasn’t been a problem.

I fertilized everything two weeks after planting. I bought some organic tomato and vegetable fertilizer during my last trip to the garden center. I didn’t fertilize all of last year, even though I know I was supposed to. I think fertilizing has really helped my plants. I just need to remember to keep doing so all summer.

Some of you may notice that I let the strawberry plants flower. I read that you shouldn’t let them if you want a bigger yield for next season. But if you’d rather have more strawberries this year, let them flower away. I wanted the instant gratification of strawberries this summer. Well as much instant gratification as you can get from planting, tending to and waiting two months for the fruit to ripen.

Everything seems to be on track!

IMG_0968

Week three of the garden. Strawberry plants in front, tomatoes in the back.

IMG_0997

Close up of my strawberry plants


IMG_0982

Cucumber plants coming in

IMG_0981

Lettuce plants coming in


Time for Planting

I wanted to lead this post off regarding a comment I received on my April 21 article. Commenter stated, “You are no longer a gardening virgin. You’ll need to change this to Popped Cherry Gardener.” Very funny and factually accurate. But I’m still keeping the original name or the 10 people who read this blog won’t be able to find it.

There was no complicated formula for choosing what to plant; I decided what to include in the garden based on what my husband and I like to eat. In the summer months, that means lots of salads and fruit. Come summertime, it will be great to walk into the backyard and pick produce for our meals. Because I’m doing things differently this year, I’m expecting to have an abundance of peppers, lettuce, tomatoes, cucumbers and strawberries.

I’m growing the lettuce, tomatoes and cucumbers from seeds. With the tomato growing disaster I had a few years ago, I figured it was better to go with seedlings and skip months of frustration. I don’t have any prior experience with strawberries, but they seem to be hard to grow from seeds as well. For awhile, I felt a little guilty as if I was cheating by not growing everything from seeds. But that ended once I realized my sanity was more important than whether I grew from seeds or plants.

Hooray for spring and the start of gardening season!

IMG_0967

Getting the plants into the ground

IMG_0964

View of the larger bed with tomatoes on the left


IMG_0969

View of the entire garden


Getting the Garden Back in Shape

I’m already far ahead of where I was at this time last year. I didn’t even plant anything until late May/early June, which was a big mistake. I was determined this year would be different. I started thinking about what I wanted to grow in late February, picked up materials in late March and planted in early April.

In the south, the last frost is around mid-April. If you plant before then, you run the risk of having your garden affected by frigid nights. I was willing to take the risk because I’m courageous that way. And I knew that if we did have a frost, I could throw a sheet over the plants to protect them.

So off to my local gardening center to pick up soil, compost, fertilizer and seeds. The staff was extremely helpful in picking out materials based on our needs. We ended up leaving with two bags of mushroom compost, two bags of rich vegetable garden soil, four tomato plants and cucumber, pepper and lettuce seeds.

IMG_0958

Me mixing everything together with my high-tech shovel

Once I got to the garden, I had to combine the new with the old. I added a top layer of soil and compost and then had to mix everything together. I don’t have any fancy gardening tools so everything was done with a shovel and lots of manual labor. Doing the work ended up being very relaxing.

Once that was done, I finishing readying the garden by forming rows for the seeds and plants. I thought that was the correct strategy until I read online that for smaller gardens, you should plant in square zones that you can reach from either side of the garden. Planting in rows wastes space and should be used for very large gardens. The space between rows for walking on can compact the soil and impact plant roots. Oh well. This seemed to work okay for me last year so we’ll see what happens this year.

Check out the final results.

IMG_0963

Ready for plants and seeds!

Veggie Garden Virgin is Back!

Like vaccine-preventable diseases, Veggie Garden Virgin is back! Last year’s first-time experience was a mixed bag, but I learned a lot.

I took a break from gardening over the winter, telling myself I would use the time to work on growing readership of my blog. I would start a gardening-related Twitter account, become active in the online gardening community, do lots of gardening research, etc.ID Channel

So how did I spend my winter? Mostly getting more addicted to the ID channel and starting a new addiction to HGTV. The important thing is not how I spent the winter- even though I’m pretty sure I could remodel the heck out of a house and run a murder investigation by now, but that Veggie Garden Virgin is back.

I know that technically that since this is the second year, the blog name shouldn’t include virgin in the title. But I figure I can add something new each year- this season it’ll be a compost pile. That and it’s too much effort to think of a new name.

I had to make a visit to my local garden center to get the garden back in shape after a rough winter, which for North Carolina means more than two snow and ice “incidents.” They can’t be called storms because the accumulation is generally less than a couple inches of snow and less than 1/10 inch of ice. But everyone still empties the bread, milk and eggs from store shelves as if we were expecting Boston 2015 type snow.

But back on topic, more about getting the garden back in shape in my next post.

I’m just glad that the dreariness of winter is over and spring is back. In celebration, enjoy the photo below of  azalea blooms!

IMG_0977