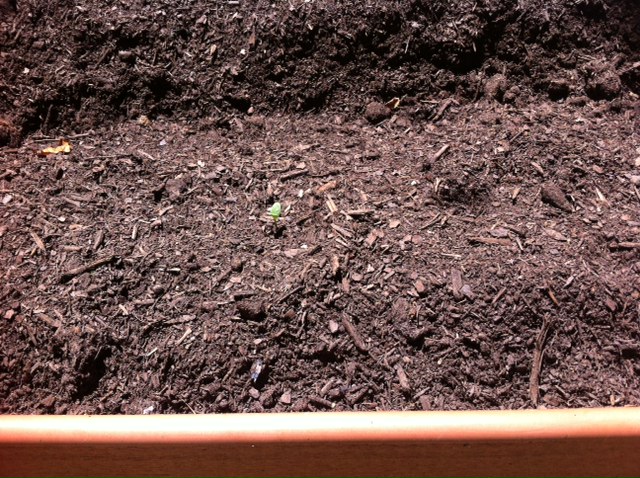
You can see the tiny green sprout if you squint really hard and look closely.
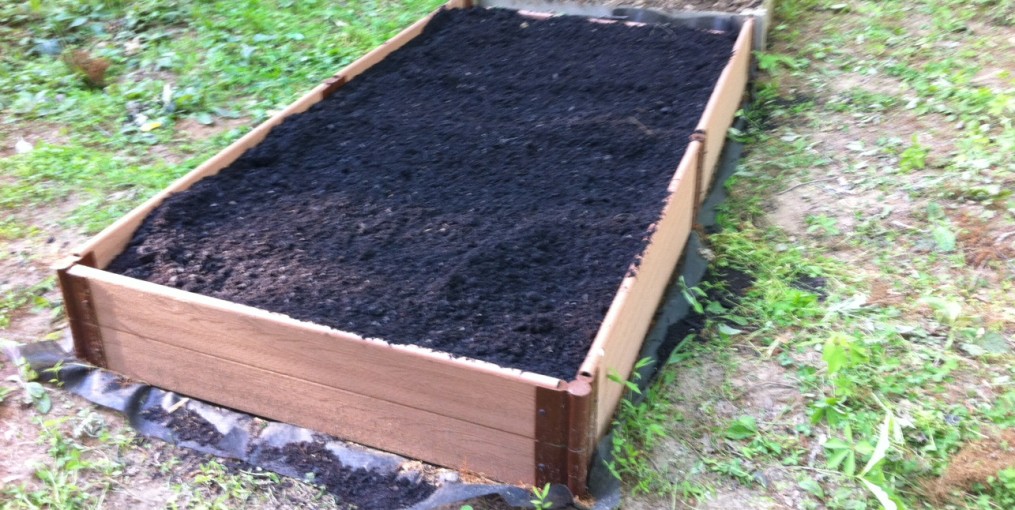
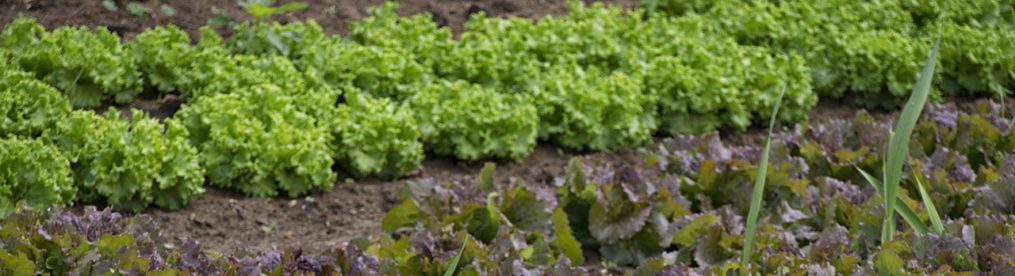
Little seedlings are starting to sprout in the garden bed! It’s been a little over a week since planting and they’re very small right now but I can tell that they’re seedlings and not just the beginning of weeds. It looks like I’ll have some vegetables this summer! You gotta take the victories when they come, right? Even if they’re small.
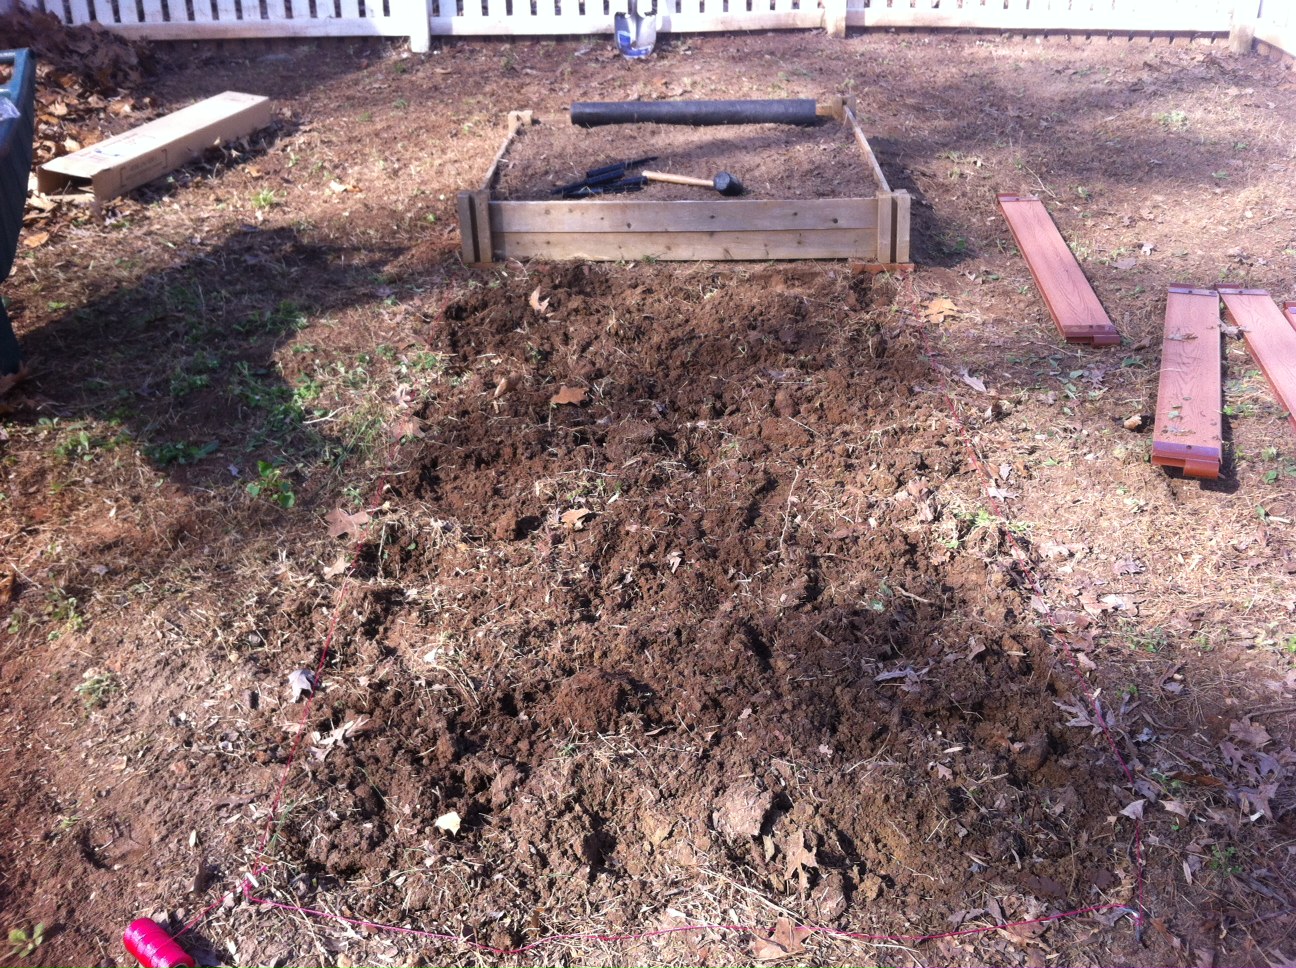
While I have my first small success to enjoy, I also have a potentially big problem. Tending to my garden recently, I noticed that something had ruined my nice distinct hills. Some unnamed animal had dug up a couple of the rows and then decided the garden would make a nice toilet. This is an issue for multiple reasons the least not being, the animal messed up my pretty rows!
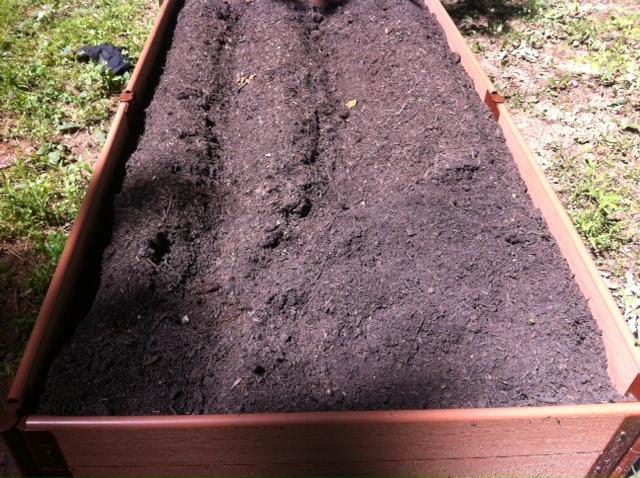
Garden dug up by undetermined animal
Now I have to play detective and figure out what kind of animal this is so I can properly deal with it. Which is great because I love the ID channel and I love playing detective. Like the time when I noticed my neighbor was out of town for an extended period of time but there was a strange car at his house and a couple of strangers going in and out. I became convinced that the two people had killed my neighbor, hid the body and were squatting in his house. Well, a few days later, my neighbor reappeared safe and sound. It seemed he was just out of town and the two strangers were house sitting. I guess being obsessed with the ID channel is not a good thing. Hopefully I won’t be wrong in this case of playing detective.
I’ll put my detective hat on and report back.