Getting the Garden Back in Shape

I’m already far ahead of where I was at this time last year. I didn’t even plant anything until late May/early June, which was a big mistake. I was determined this year would be different. I started thinking about what I wanted to grow in late February, picked up materials in late March and planted in early April.

In the south, the last frost is around mid-April. If you plant before then, you run the risk of having your garden affected by frigid nights. I was willing to take the risk because I’m courageous that way. And I knew that if we did have a frost, I could throw a sheet over the plants to protect them.

So off to my local gardening center to pick up soil, compost, fertilizer and seeds. The staff was extremely helpful in picking out materials based on our needs. We ended up leaving with two bags of mushroom compost, two bags of rich vegetable garden soil, four tomato plants and cucumber, pepper and lettuce seeds.

IMG_0958

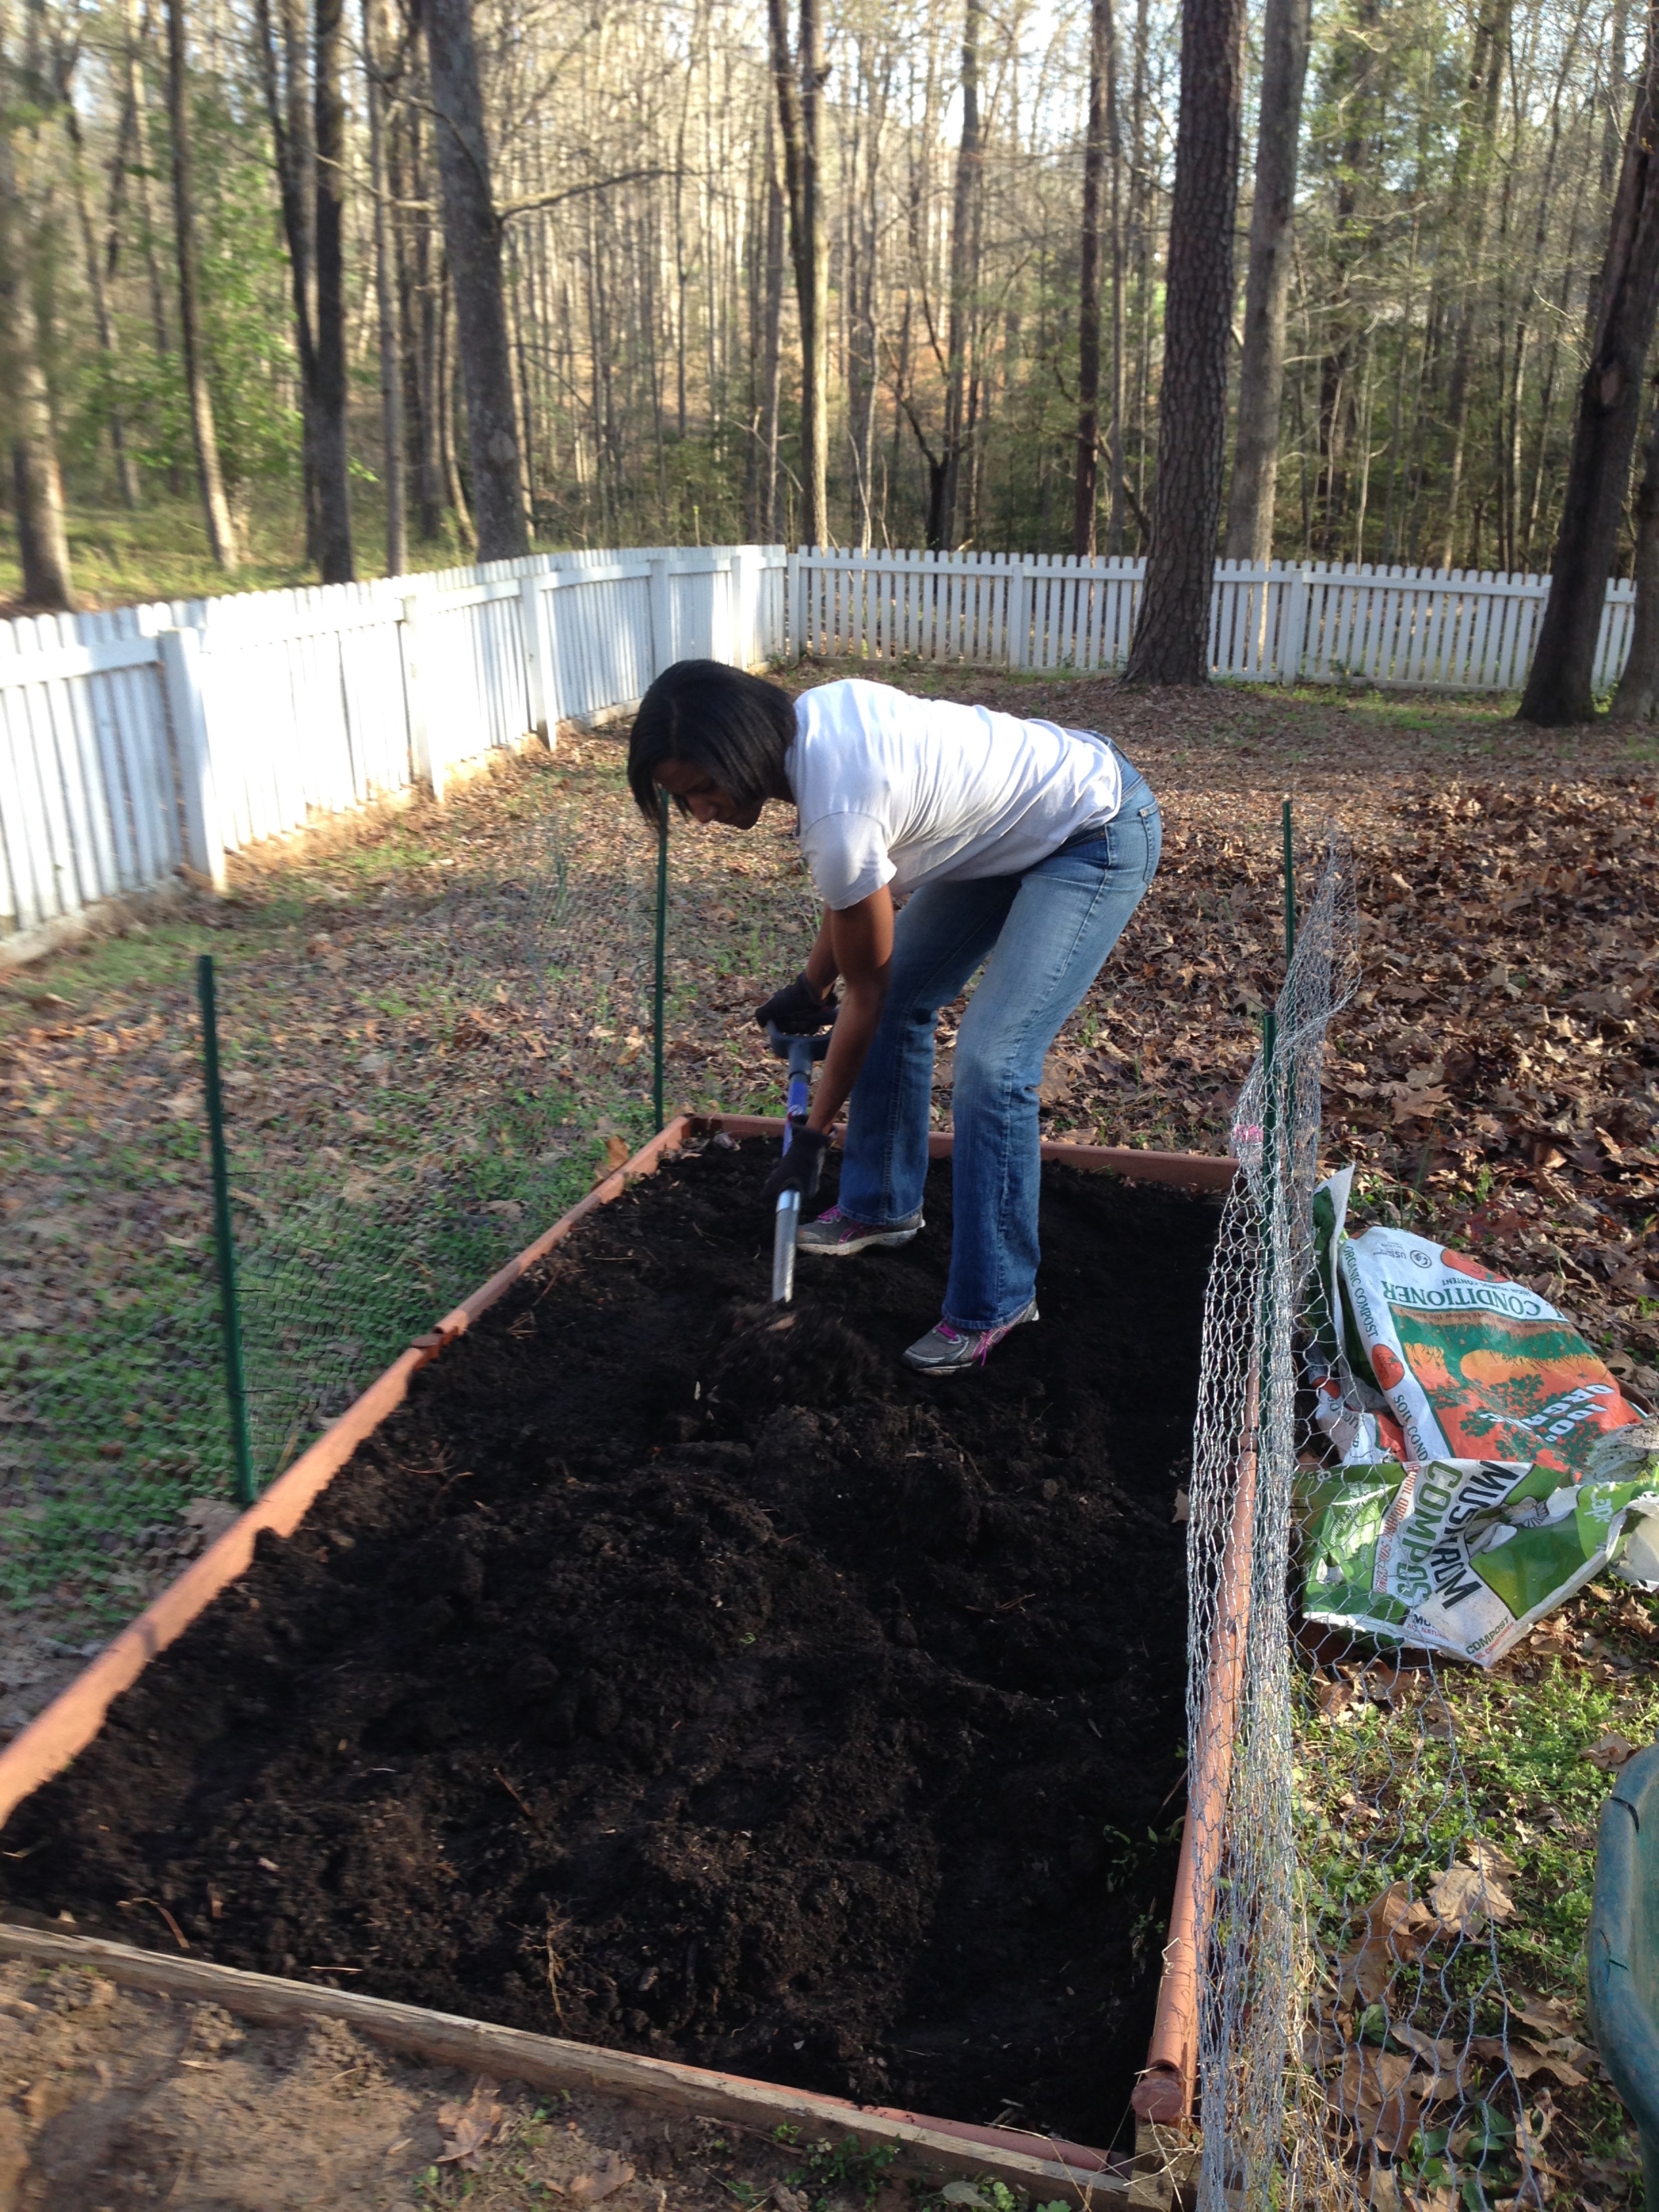
Me mixing everything together with my high-tech shovel

Once I got to the garden, I had to combine the new with the old. I added a top layer of soil and compost and then had to mix everything together. I don’t have any fancy gardening tools so everything was done with a shovel and lots of manual labor. Doing the work ended up being very relaxing.

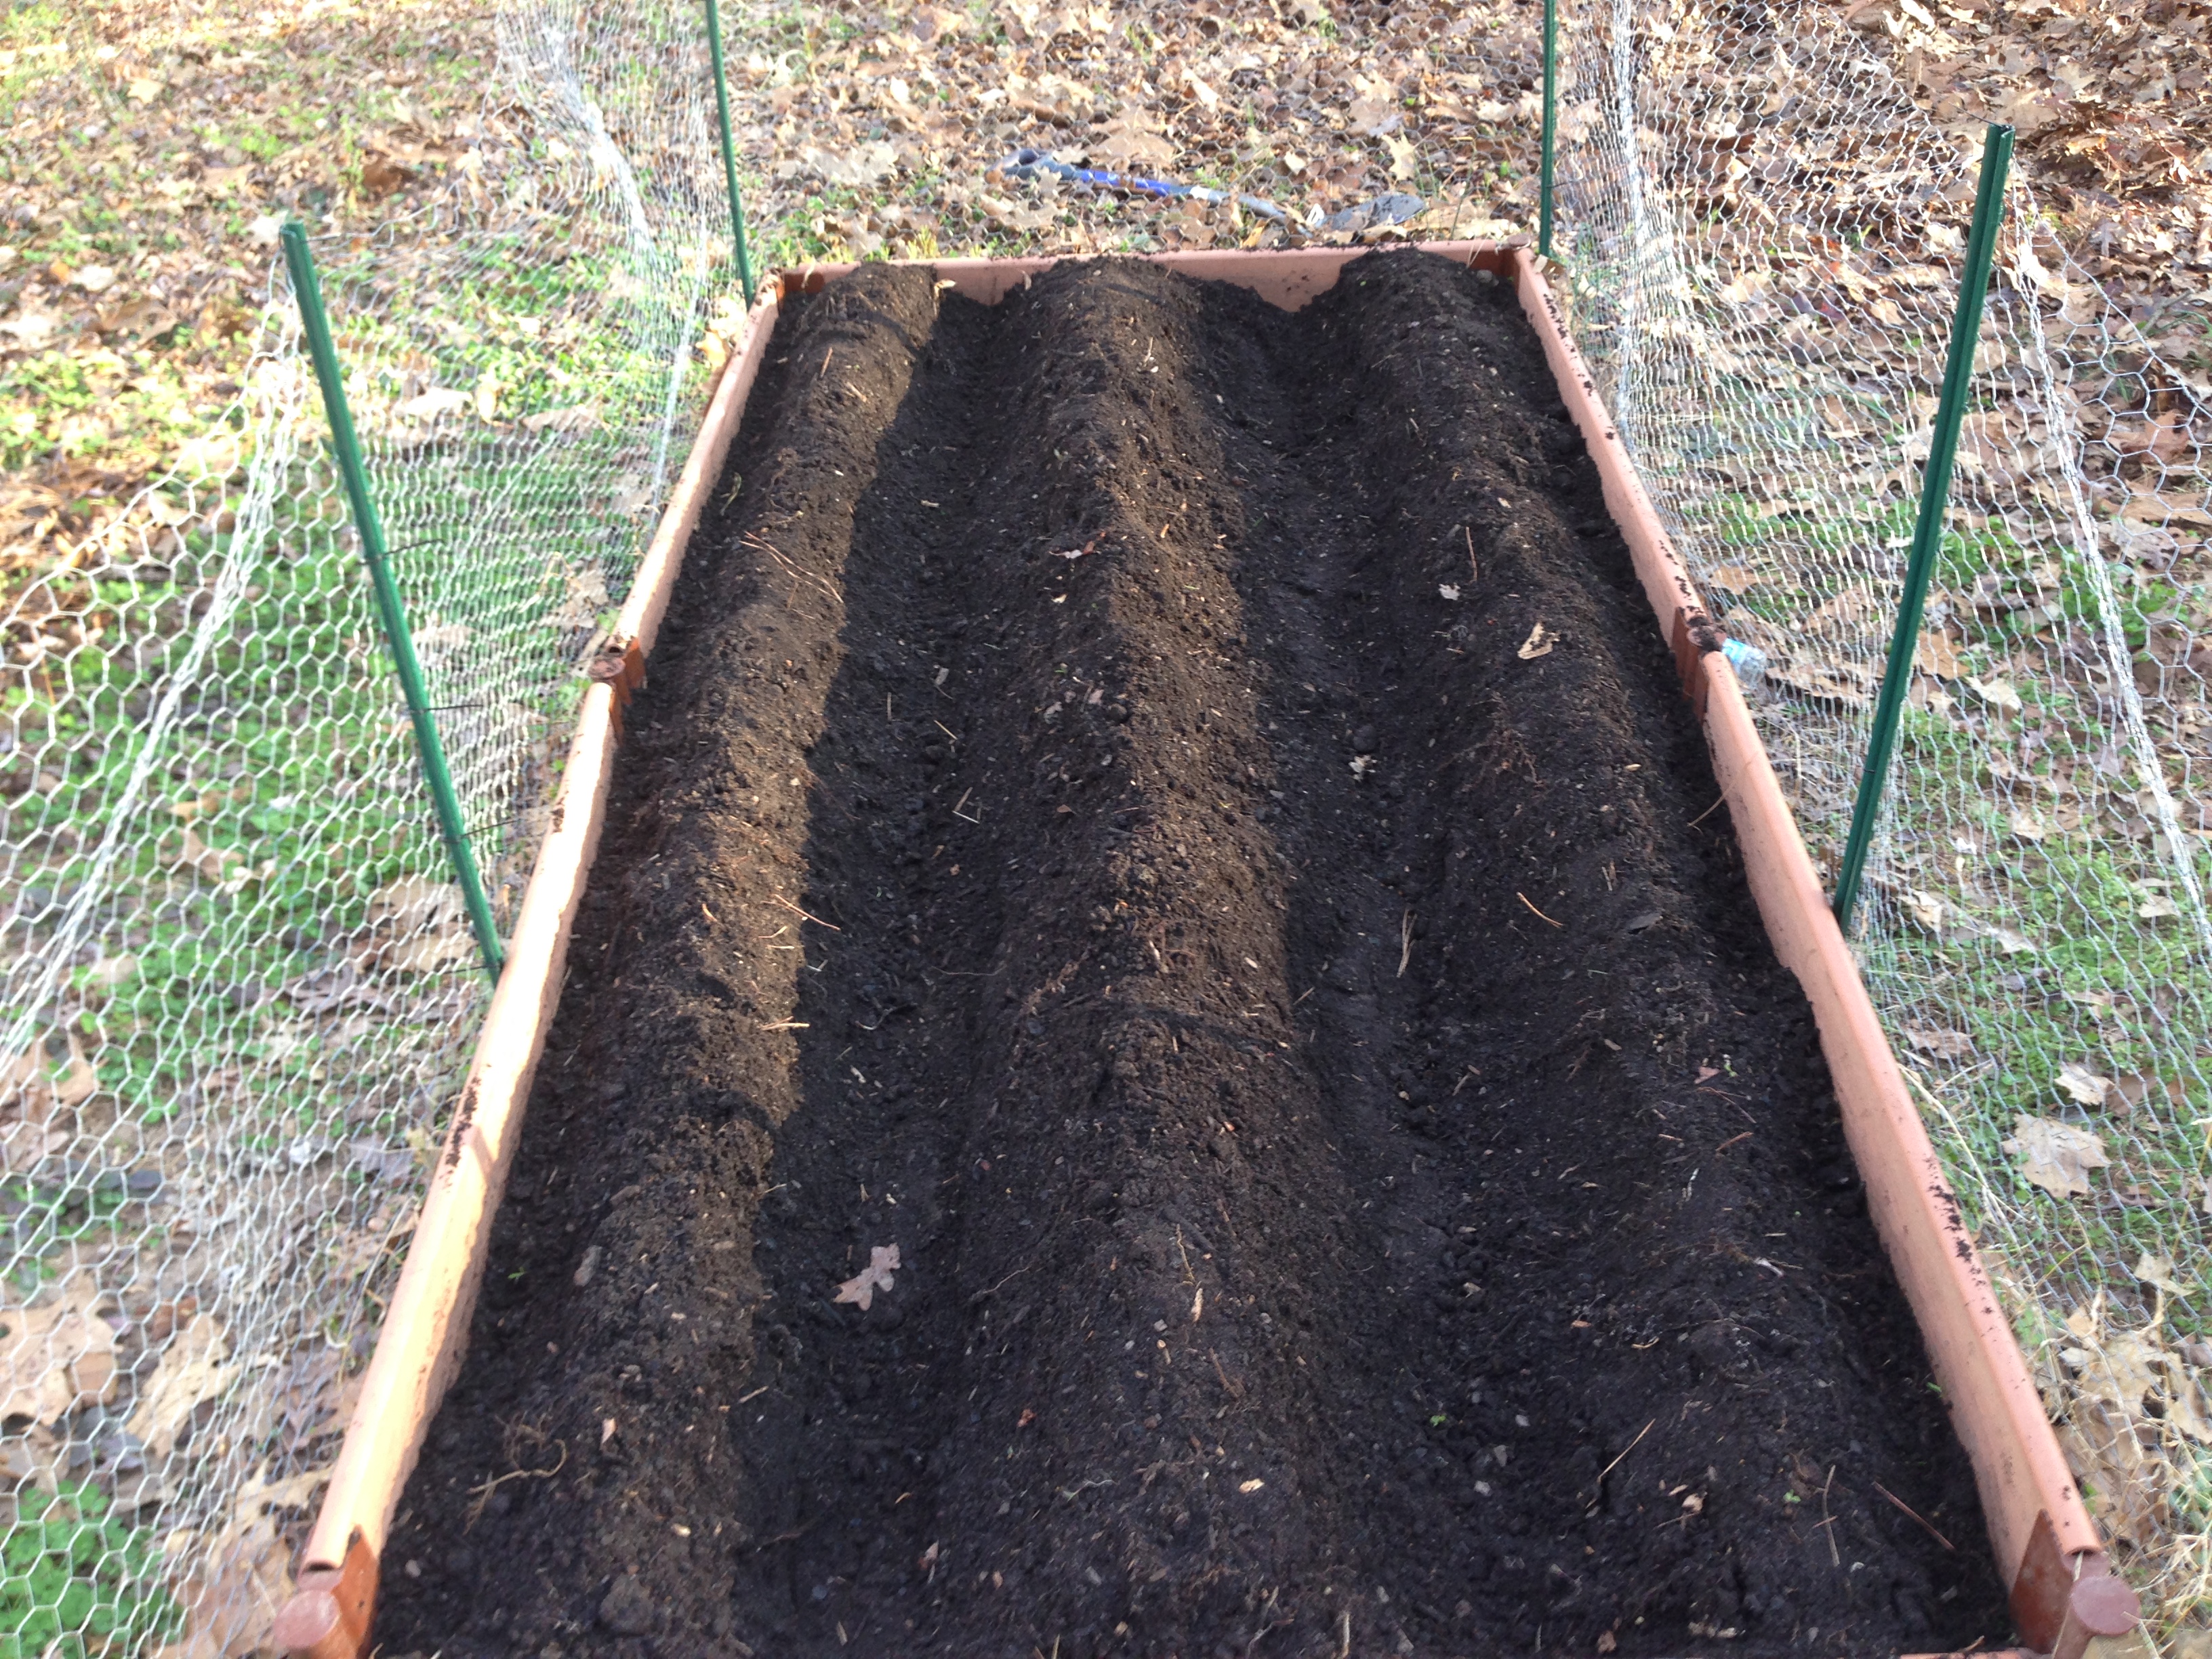
Once that was done, I finishing readying the garden by forming rows for the seeds and plants. I thought that was the correct strategy until I read online that for smaller gardens, you should plant in square zones that you can reach from either side of the garden. Planting in rows wastes space and should be used for very large gardens. The space between rows for walking on can compact the soil and impact plant roots. Oh well. This seemed to work okay for me last year so we’ll see what happens this year.

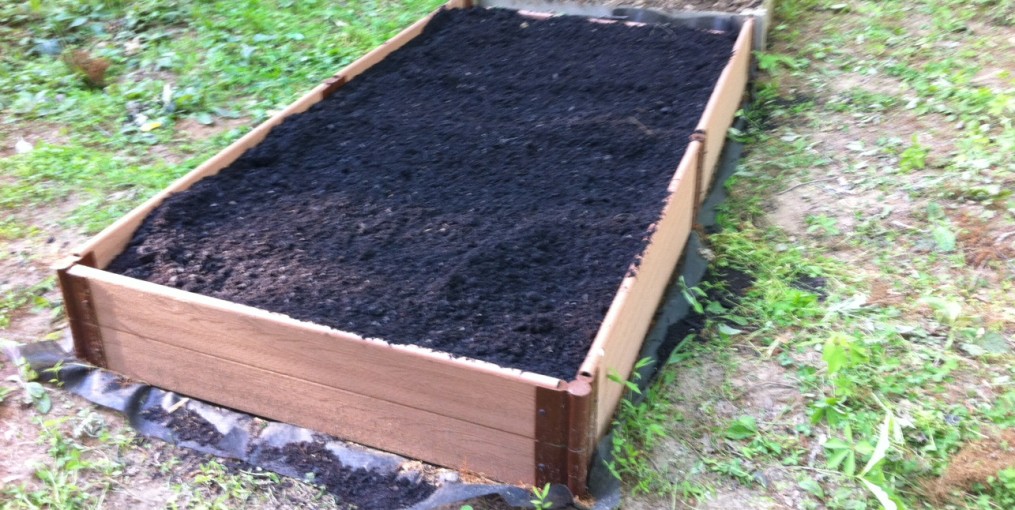
Check out the final results.

IMG_0963

Ready for plants and seeds!

Step 2: Adding Soil to the Garden Box

Step 2 for starting the garden is pretty simple. Once you’ve built your frame, you need to add some dirt for planting. Rocket science, right?

Well, you can’t use just any old dirt, it has to be nutrient rich. In North Carolina, a lot of the soil tends to be clay-like. (Fun fact- this makes building true basements very difficult in NC homes.) So off to the local home improvement store to find dirt good enough for the garden box.

Once I got to the store, my first step was staring at the different types of soil, mulch, compost, etc. So many to choose from! I was staring at the bags of soil for so long that SJ came and asked me if I knew what I was doing. I replied confidently, “Of course!” As soon as he was out of sight, I pulled out my phone to do some research and figure out how many bags I’d need. I looked this stuff up several months back in my new project excitement, but forgot most of it in the meantime.

I settled on Miracle-Gro Flower and Vegetable Gardening Soil and Nature’s Helpers Premium Mushroom Compost. The instructions said to mix 50/50 so I got 12 and 13 bags respectively. Hauling all those bags took two trips so we had to dump the bags in the yard between trips before going back to the store. More accurately, I dumped the bags. SJ was smart enough to at least leave the ones he took out of the car and put them inside the fence. He had another errand to run so it was just me and the 25 bags of soil.

Between me, a wheelbarrow and a whole lot of lifting and cursing, I managed to get the all of the dirt in the garden boxes. I was happy that I got all of the dirt poured on my own, but my back was nowhere near as cheerful.

Take a look below at the filled garden box.

cropped-Filled-Garden-Box1.jpg

Garden box filled with soil and my blood, sweat and tears

Next up, choosing and planting seeds!