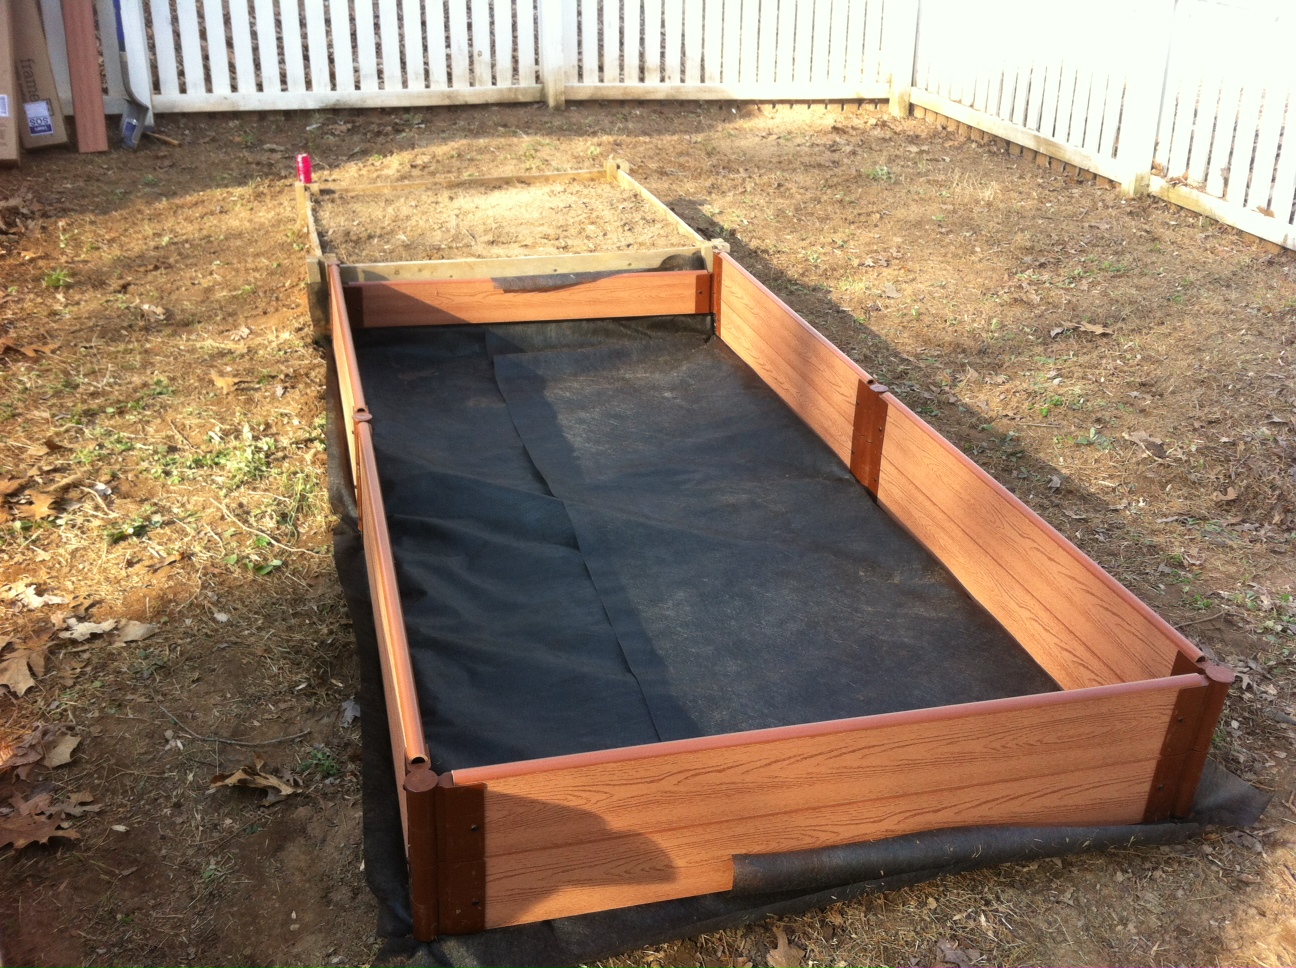
So I picked out the garden box I wanted, built it and filled it with dirt. With a lot of the initial labor done, I needed to figure out what I want to grow. I thought the easiest thing would be to plant things I eat regularly. People who know me know that I love my carrots! (I usually have one Bugs Bunny style for lunch every day.) Carrots went on the list along with lettuce, cucumbers and watermelon. When I was looking at the rack of seed packets, those seemed pretty easy to grow. I also picked out green beans but I didn’t realize until I got home that they needed to grow on a trellis or next to a fence. Another project for another time. I didn’t want to get overwhelmed, so I stuck with those basic four.
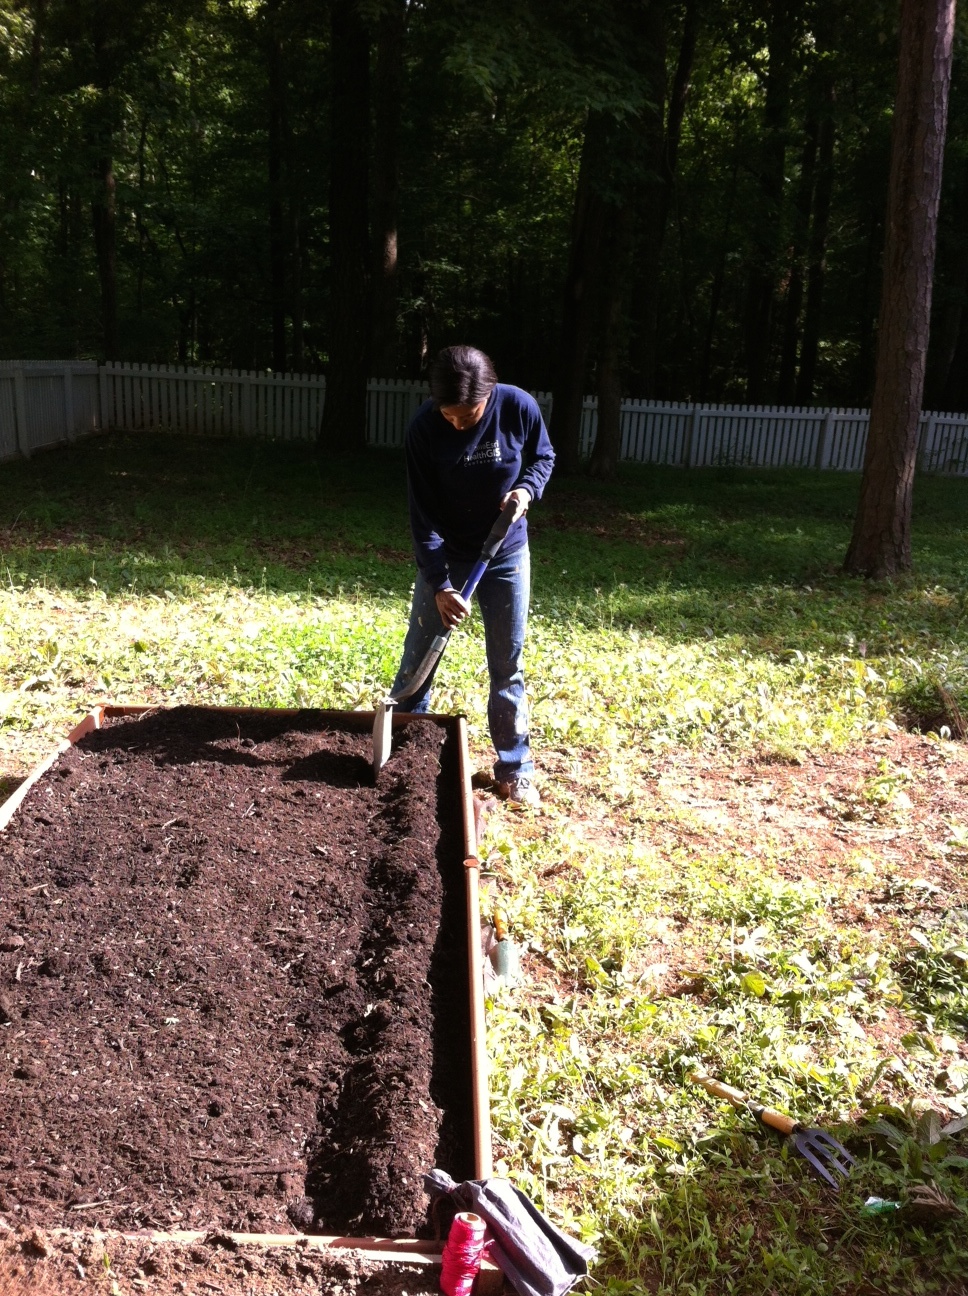
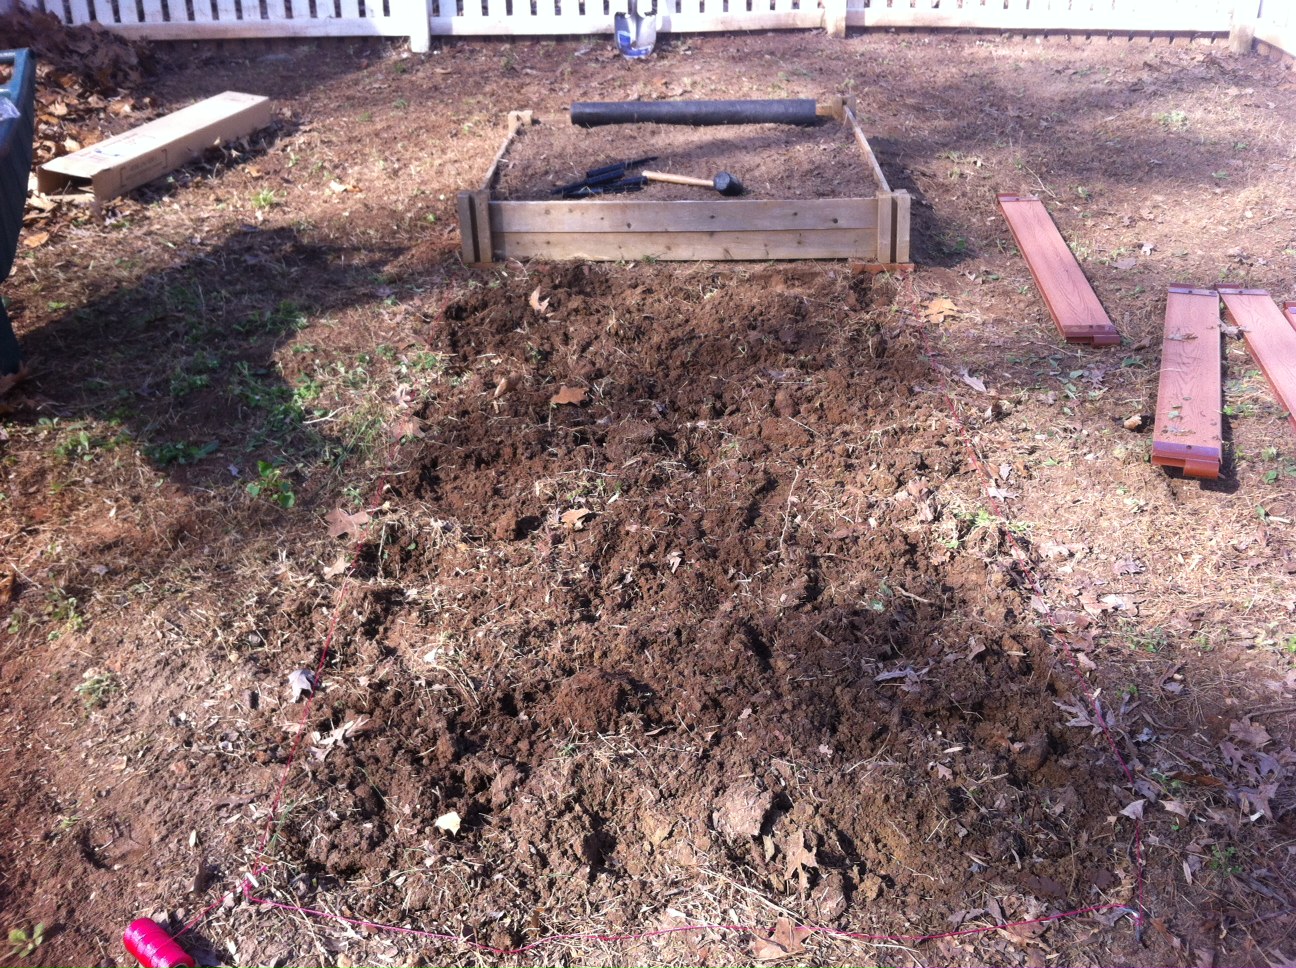
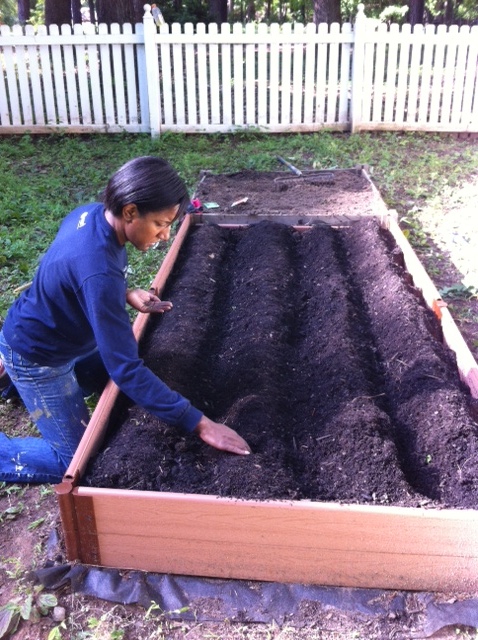
Digging hills for gardening rows
I asked SJ to help me plant because I’m still not entirely sure what I’m doing. The instructions said to build hills and plant seeds an inch or two down. I didn’t know how to get hills out of my flat soil, so I was just going to drop seeds in the dirt until SJ suggested building the dirt into mounds. The light bulb went off. That made perfect sense! And not too difficult either.
Out came the shovel to dig rows and create nice even rows. I was going to originally do four rows but went with three because the watermelons needed extra space. I took advantage of the smaller 4′ X 4′ box for the cucumbers.
By the time I was done digging and arranging rows, things were looking pretty good. SJ and I planted the seeds according to the instructions. There aren’t any pictures of him because he said his main jobs were to look good and take pictures. Thanks SJ!
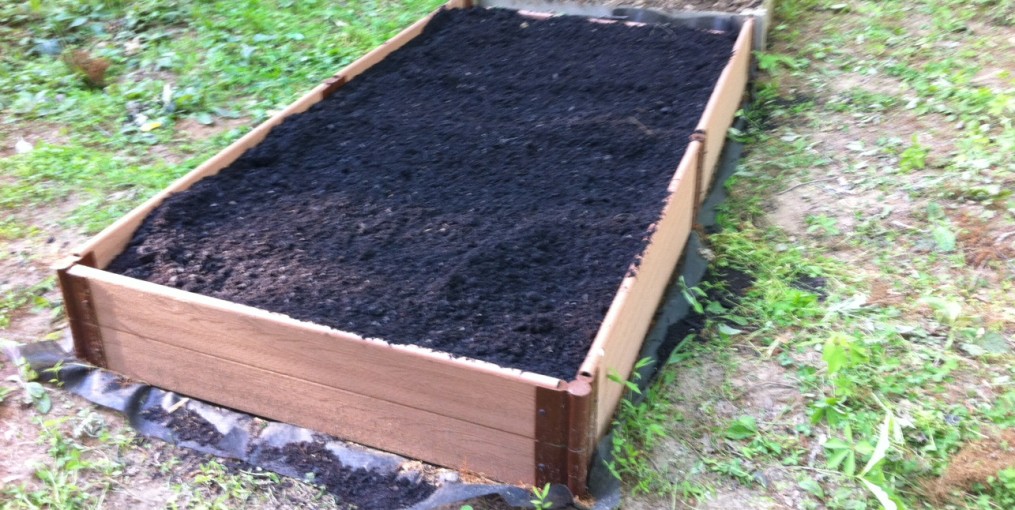
After a couple of weeks of work, the seeds are in. The only thing left to do is wait for the veggies to start growing.
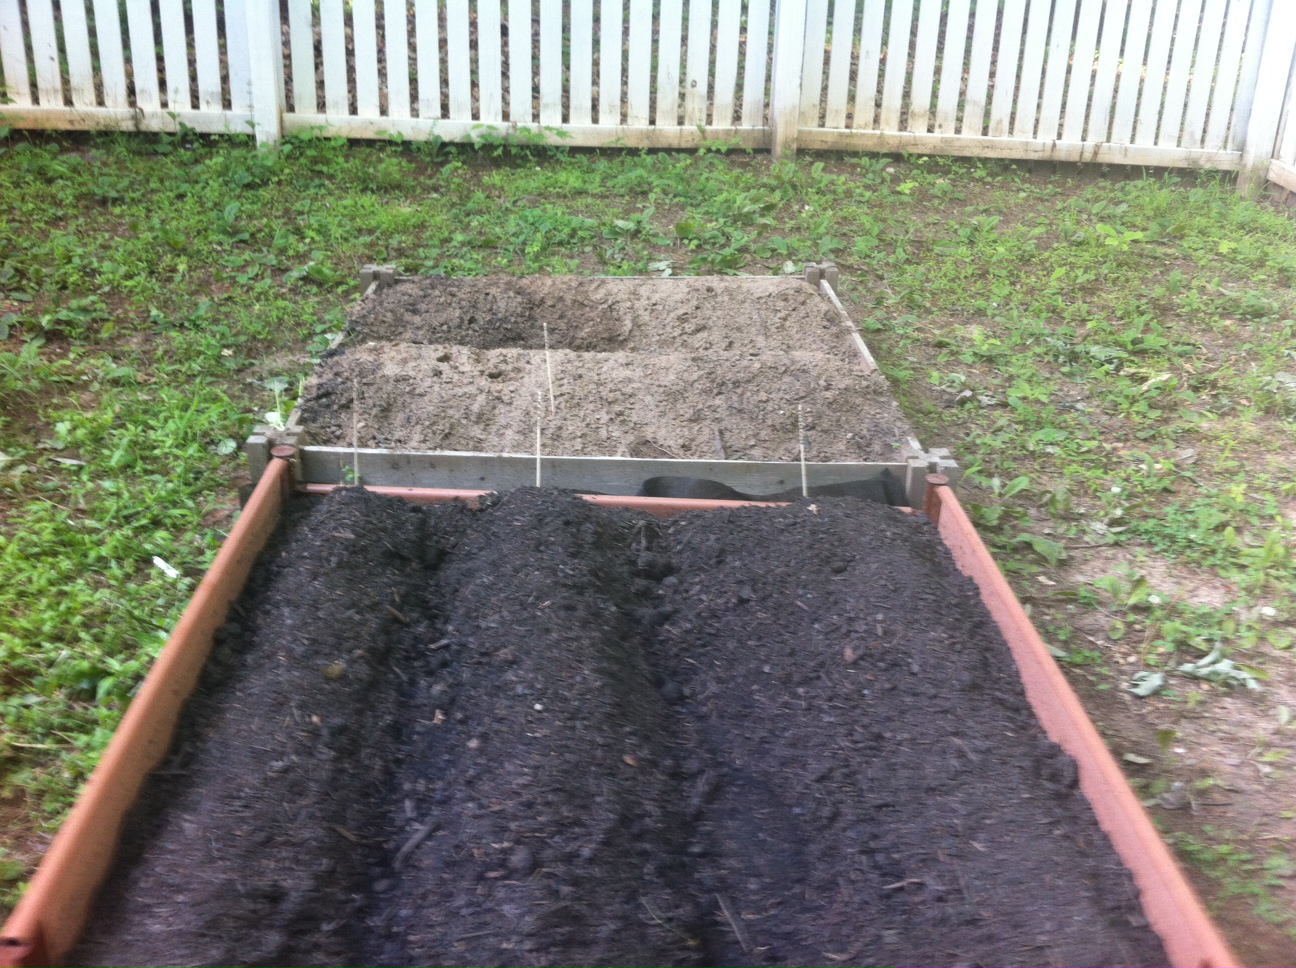
Finished garden with veggies planted
Planting the vegetables