
Remember how I said in the last post about how I was glad not to have to lug soil around this year to fill the garden box? Well, irony can be a mofo.
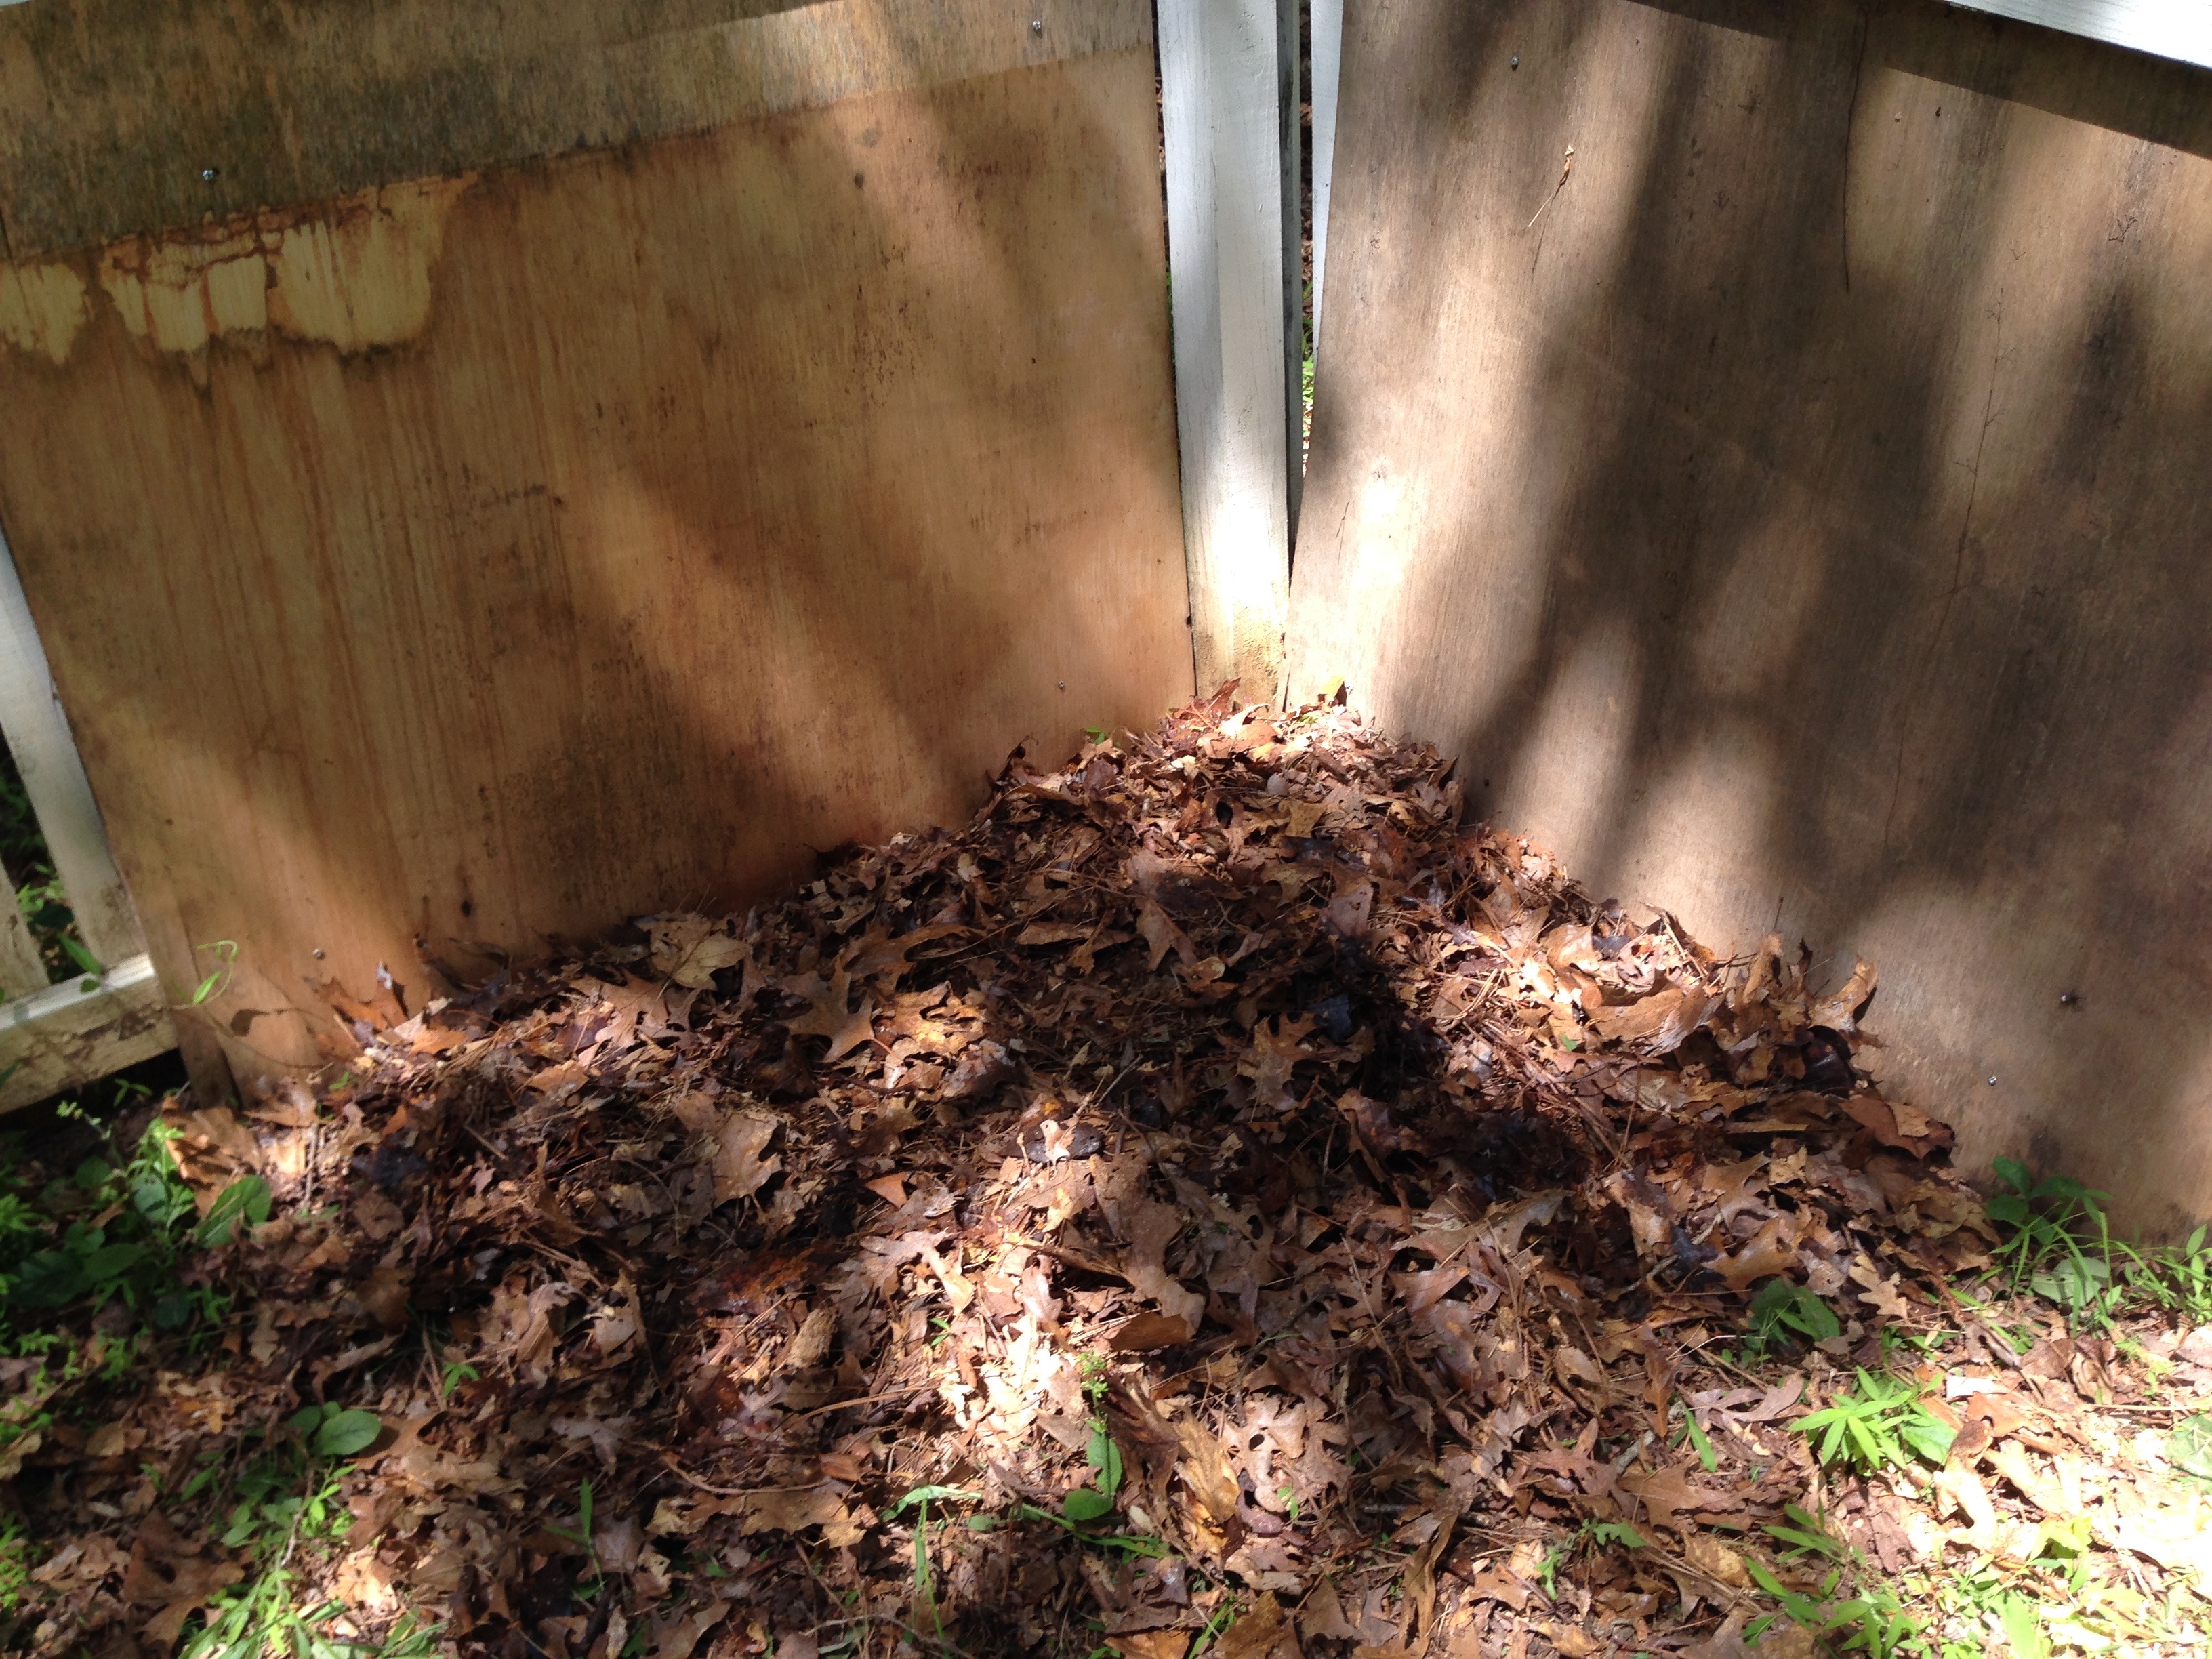
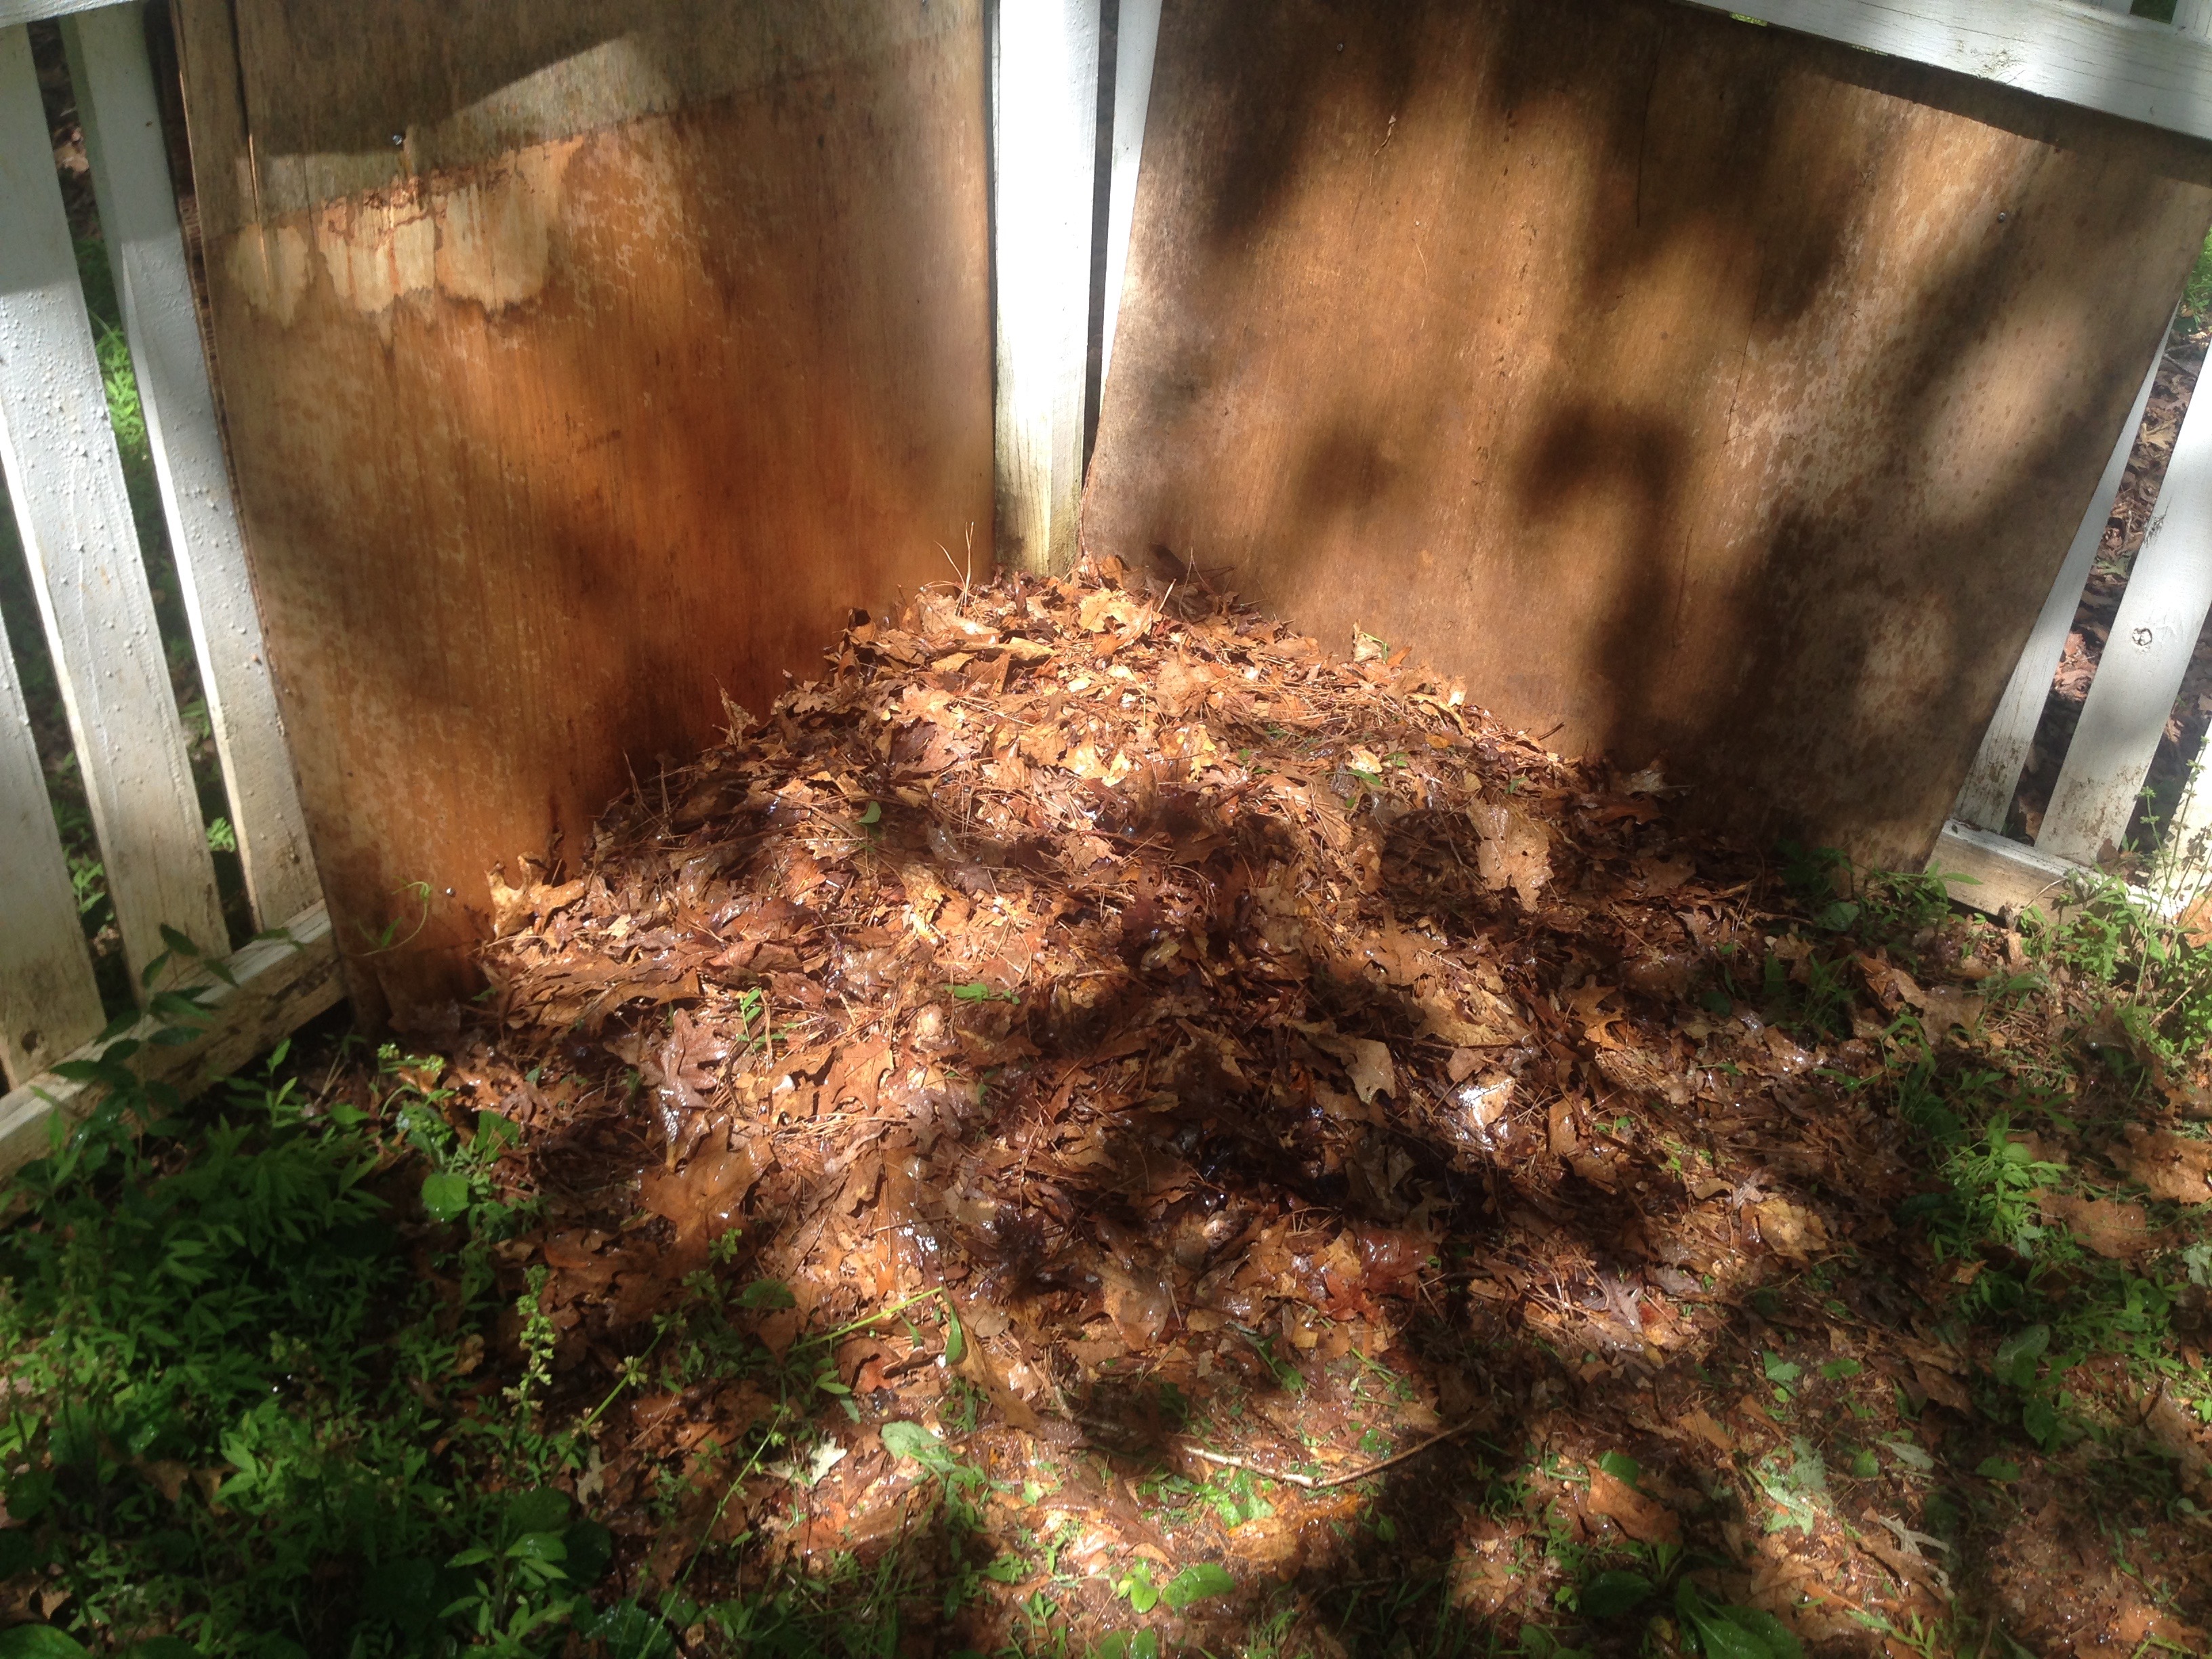
We had to get the compost delivered because we needed such a large amount. I made sure to give very careful instructions at the garden center on the precise location in the yard where the compost should be dropped off. Steve even agreed to be home at the time of delivery to direct the driver. The next thing I receive about the delivery is a text with this image:
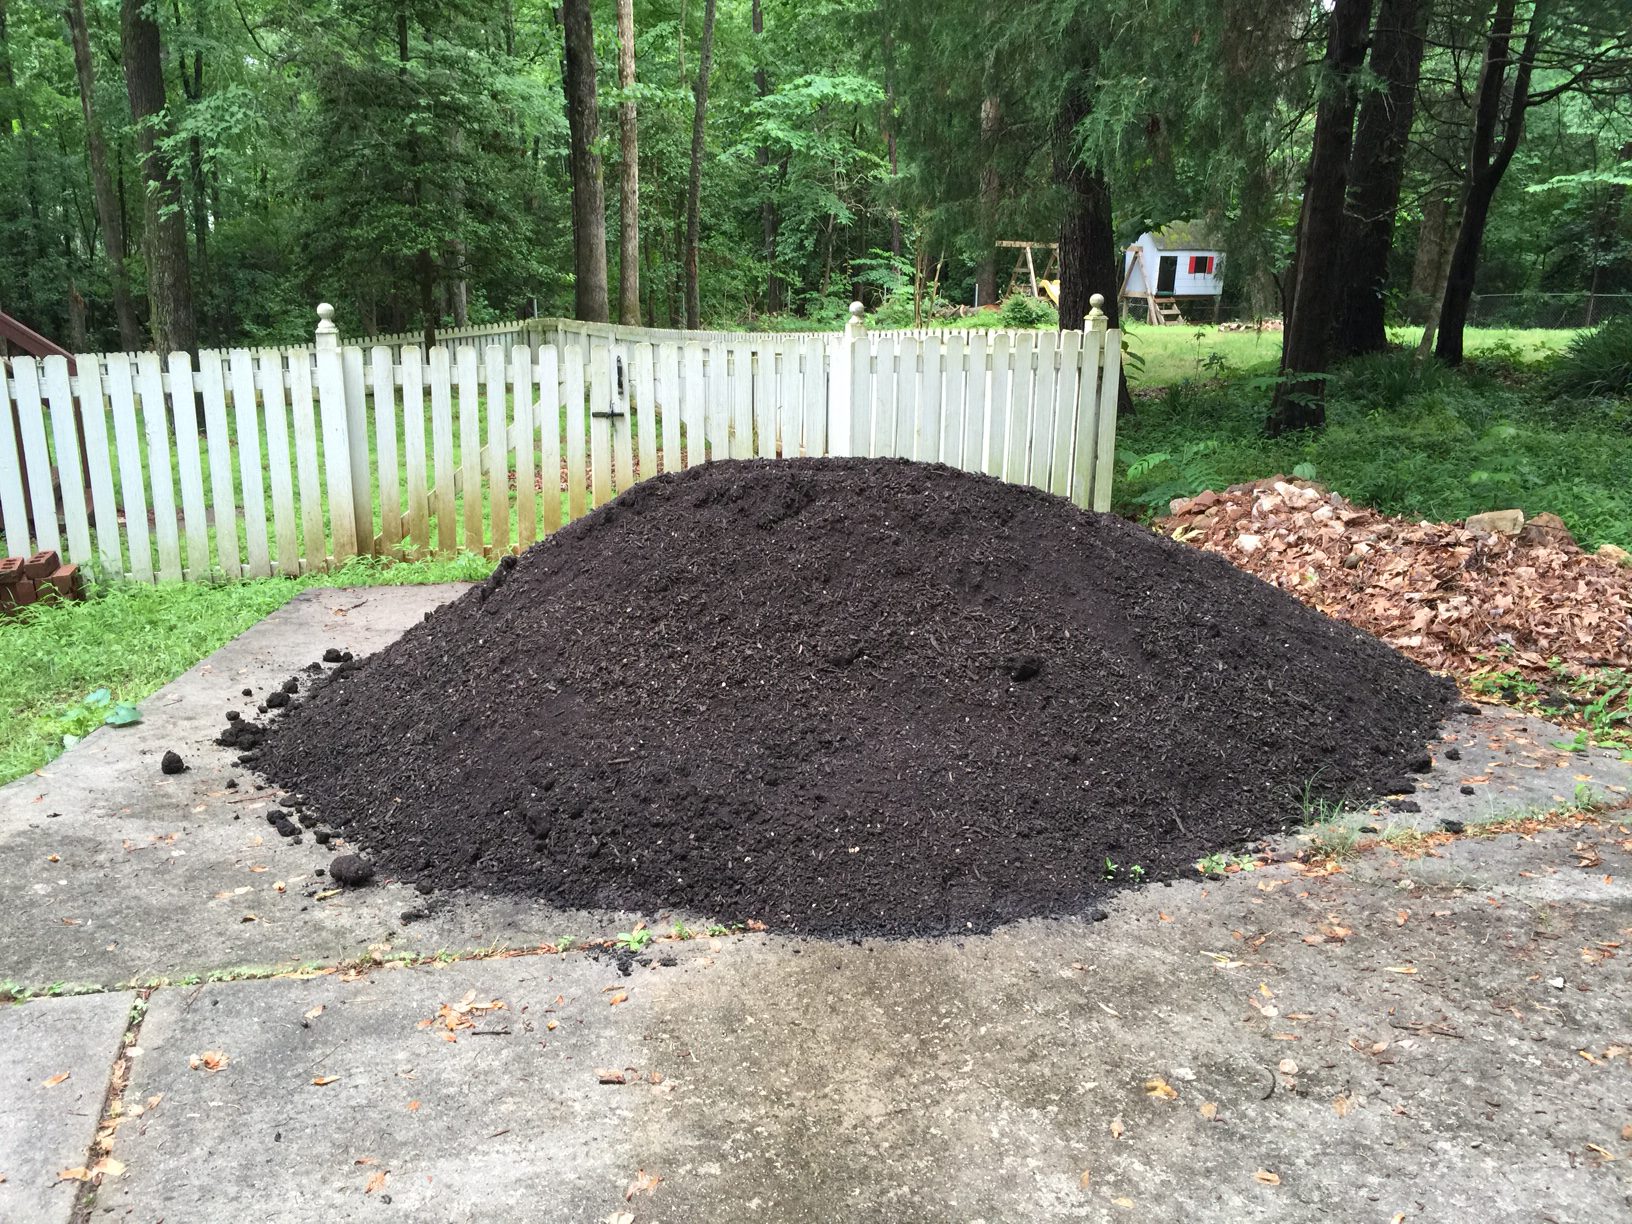
Pile of compost in the driveway
Whaa?!?!?! My response- why is this in the driveway? Surprised face emoji, angry face emoji. Turns out, the driver couldn’t get is truck into the backyard, so he left it in the most convenient place. Can’t fault him for that.
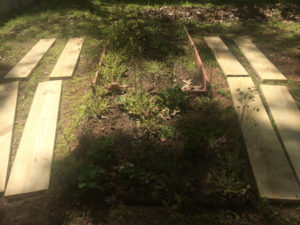
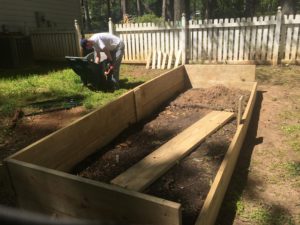
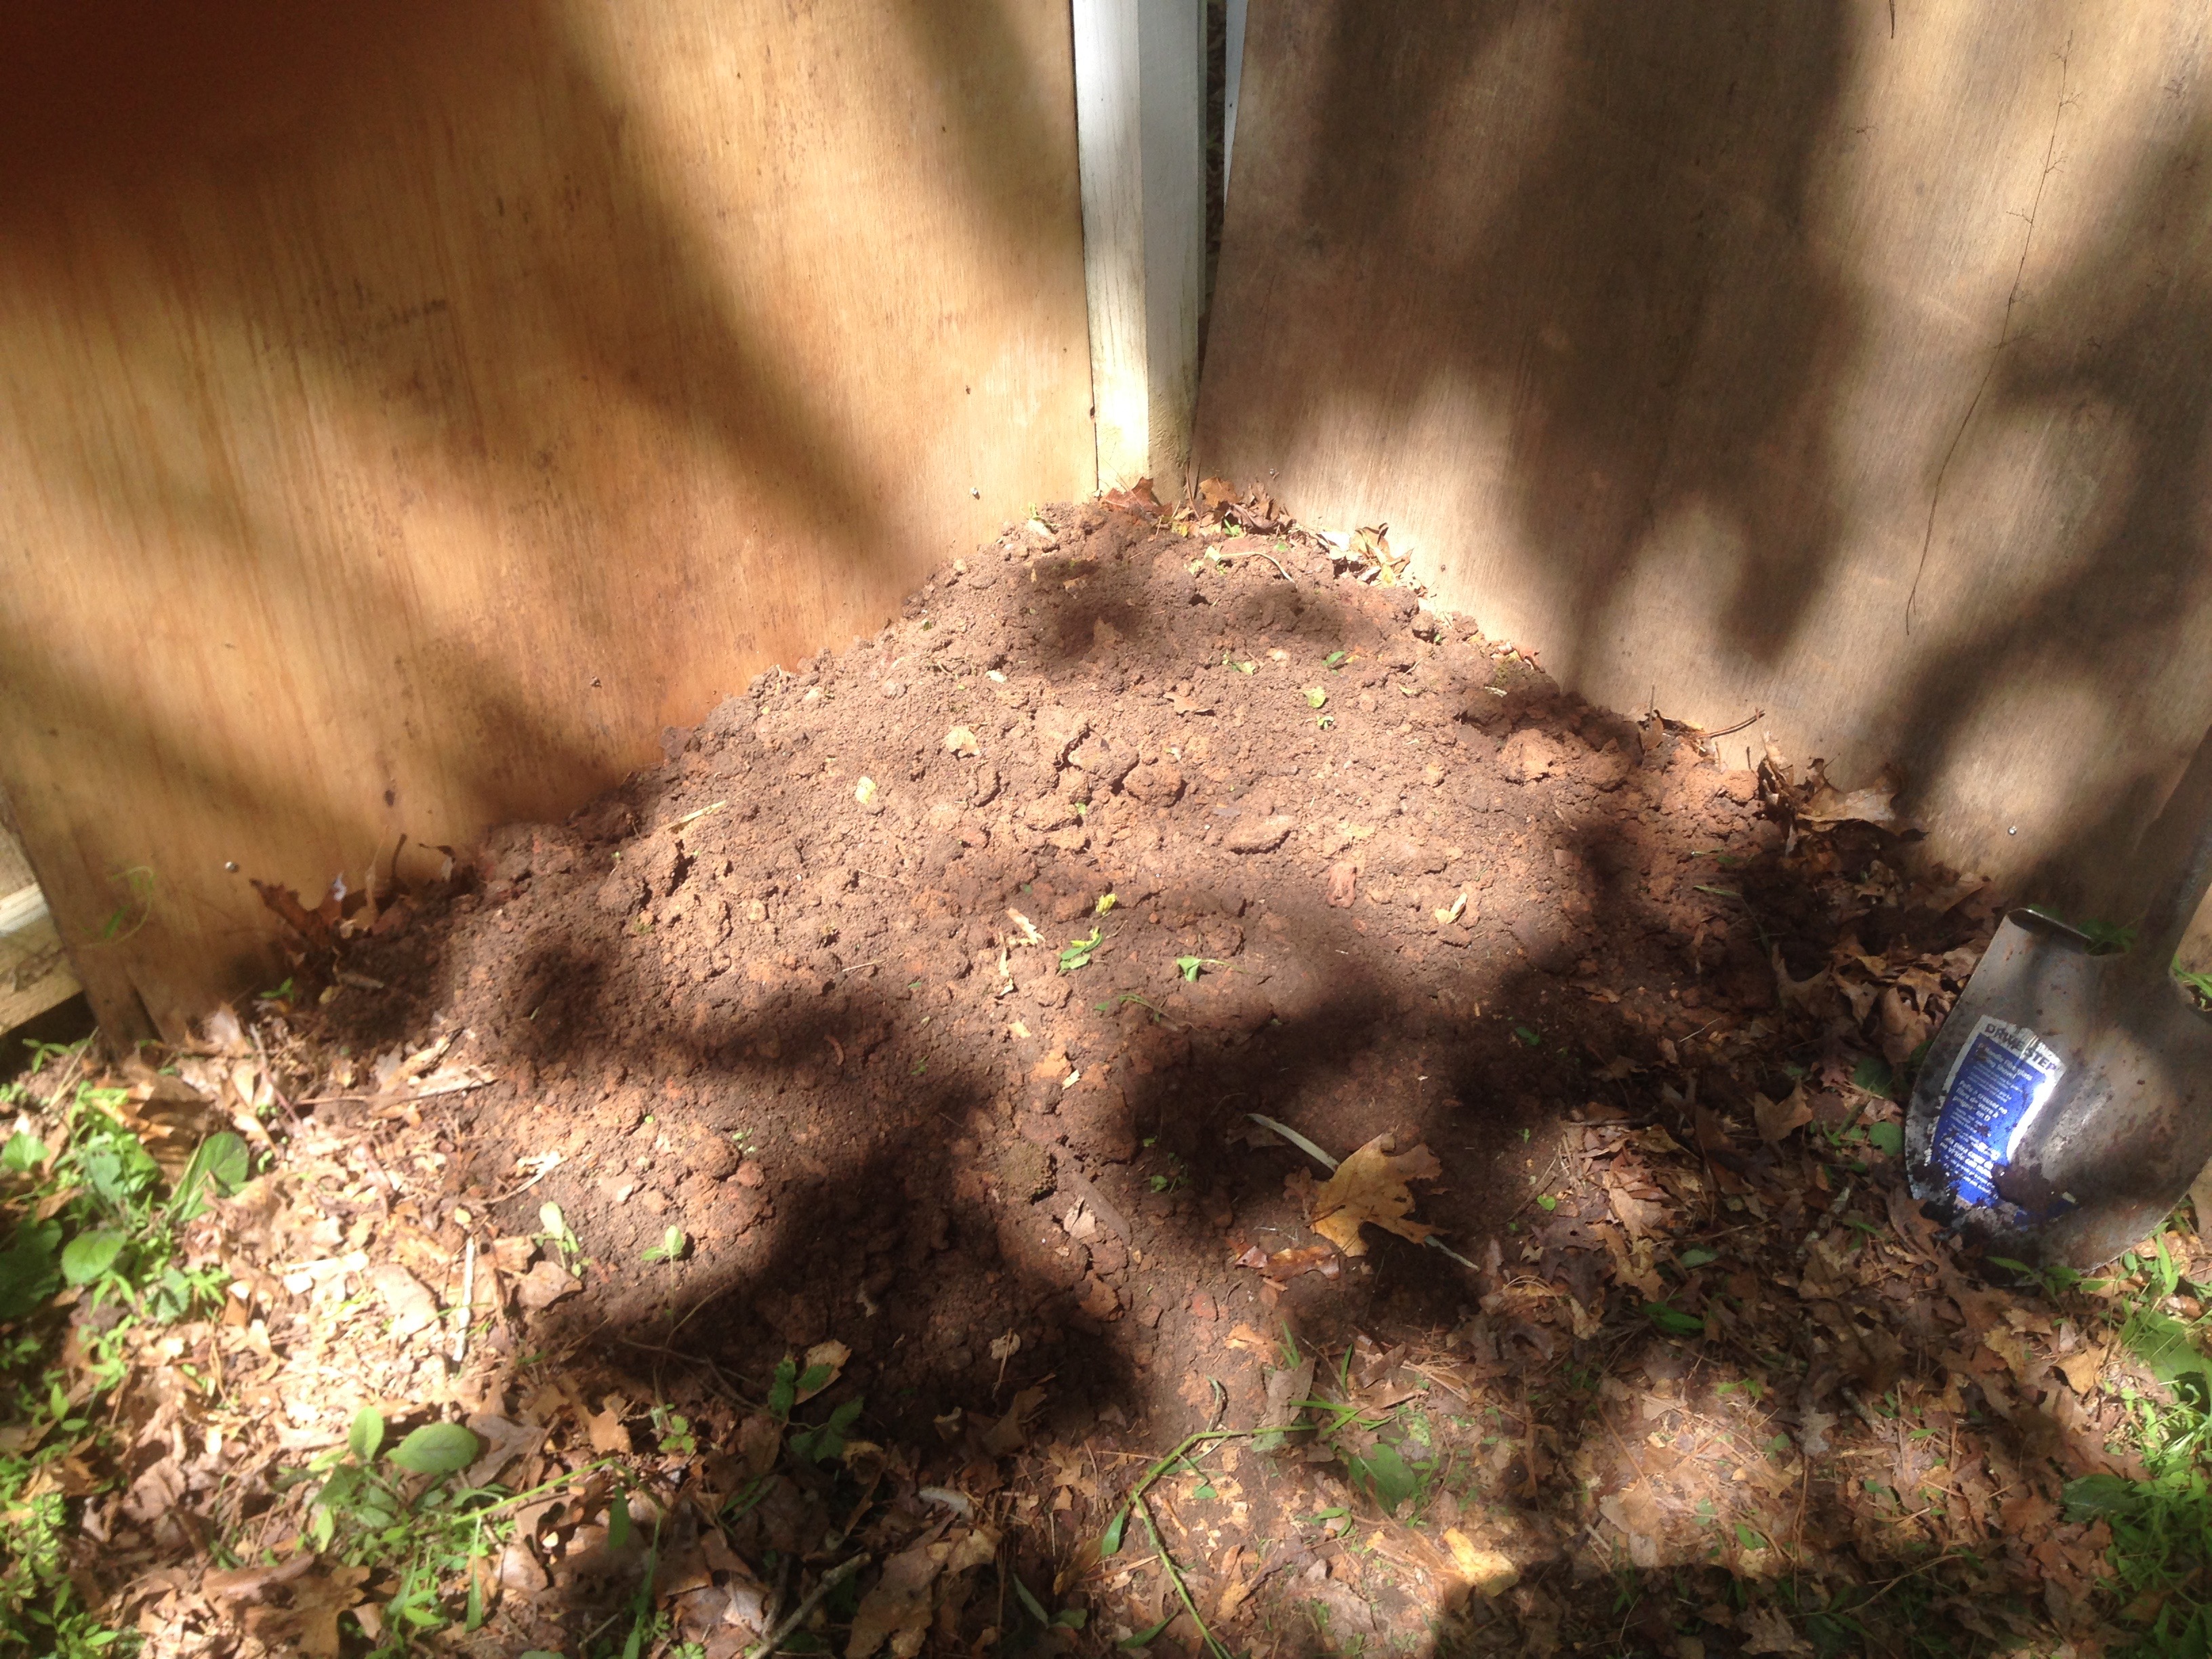
Once that wave of emotion passed, we had to figure out how to get the compost from a pile in the driveway to the garden box on the opposite side of the house.
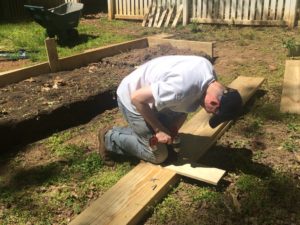
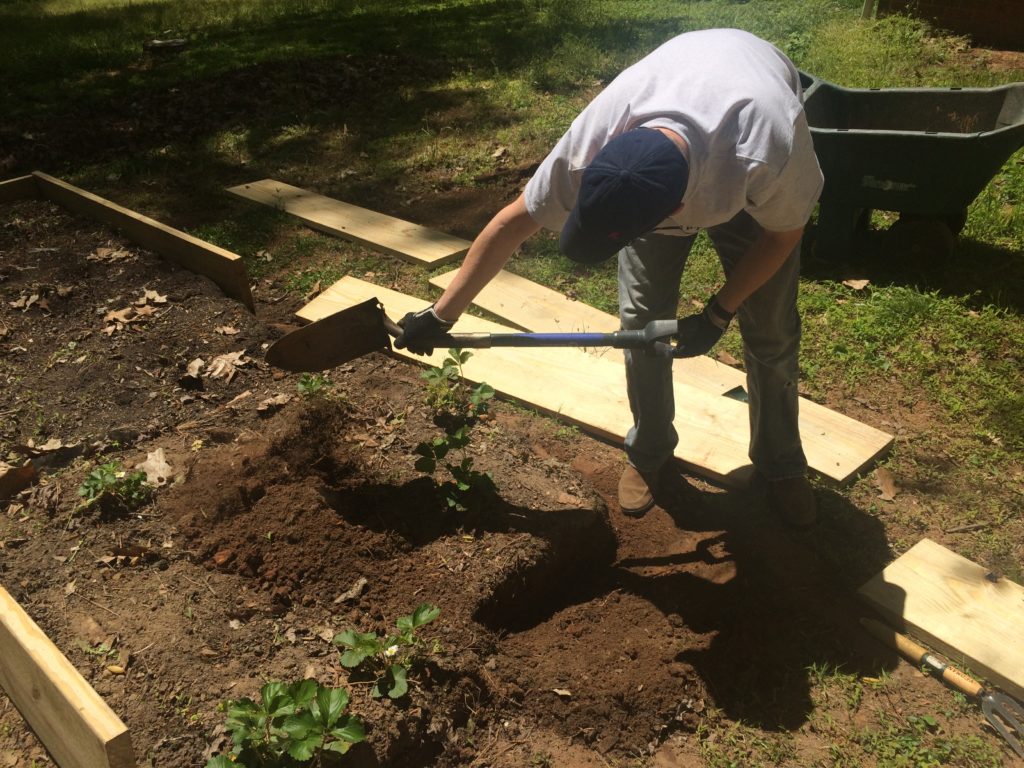
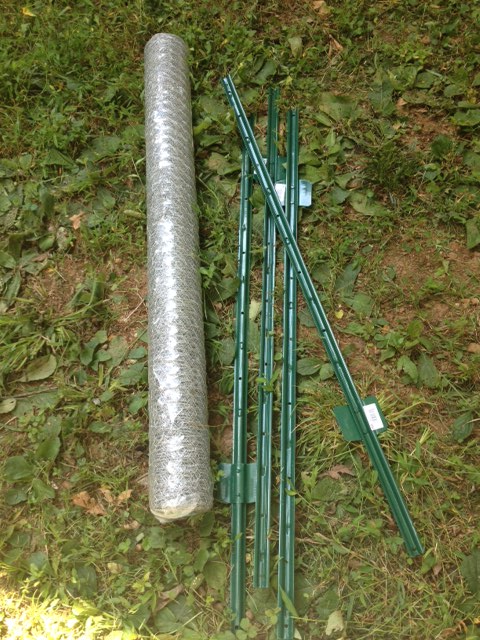
I love me some Amazing Race, but I did not want to recreate a hellish seeming detour, but that’s exactly what we had to do. Our tools- wheelbarrow, shovel and brute strength.
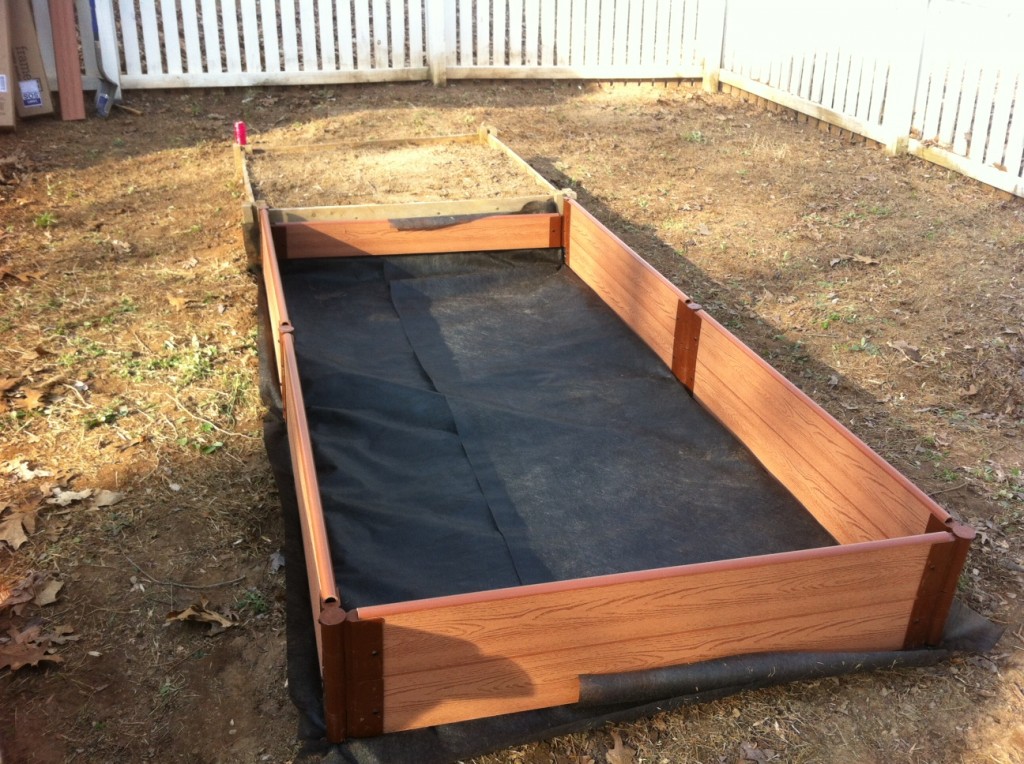
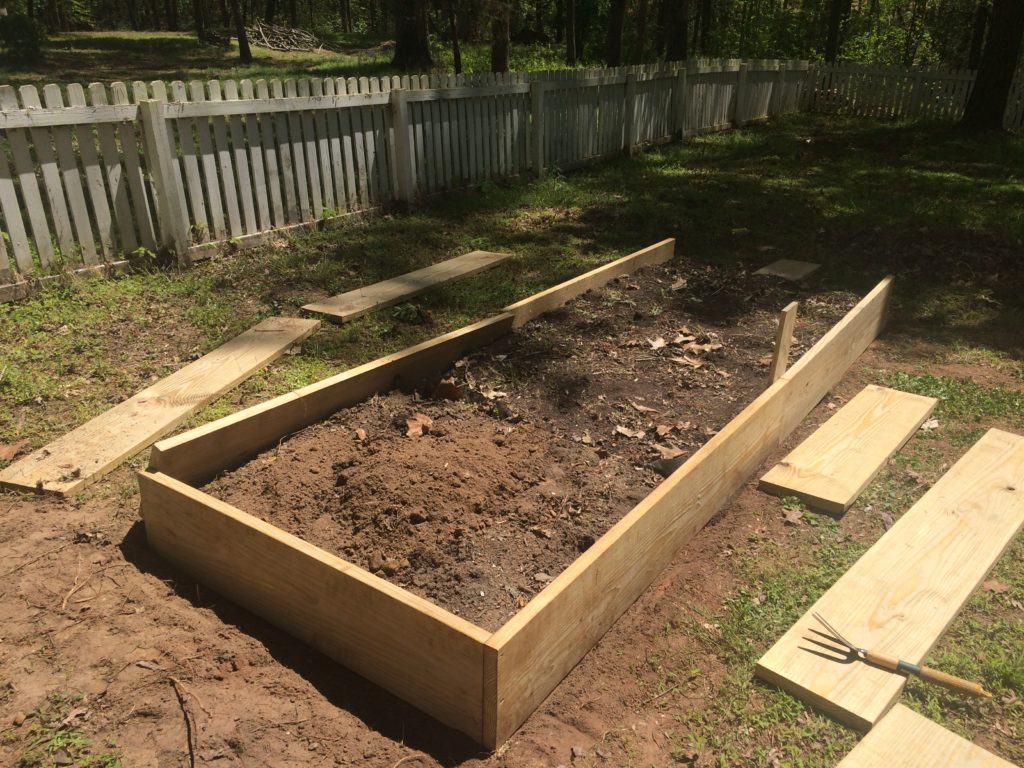
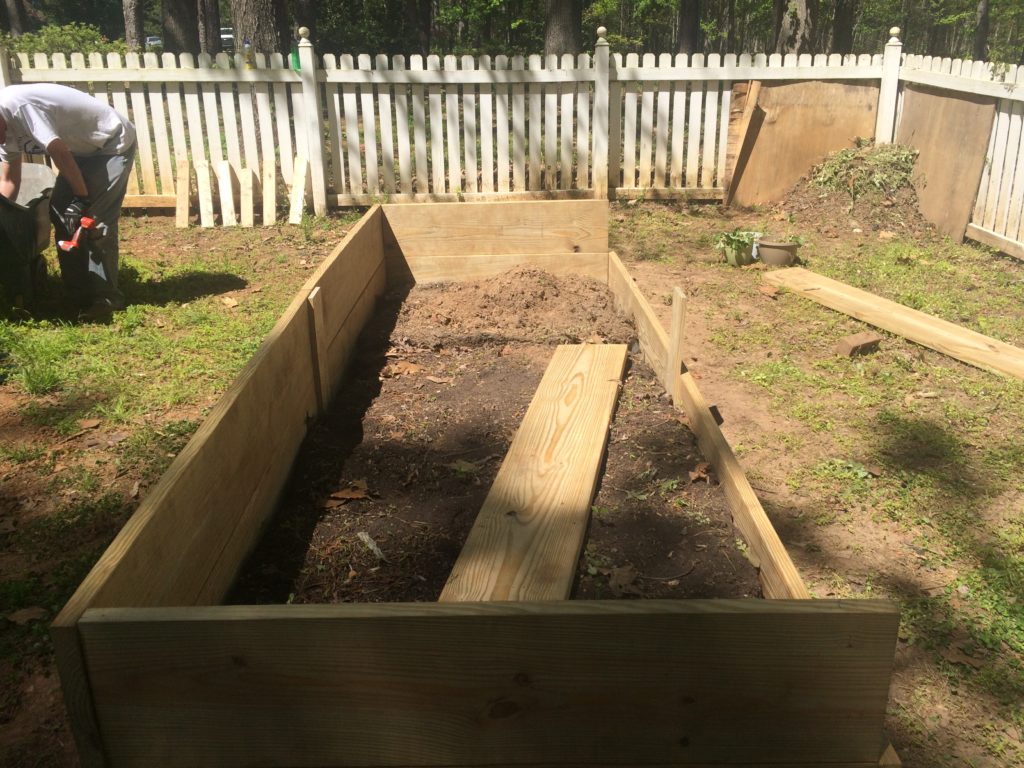
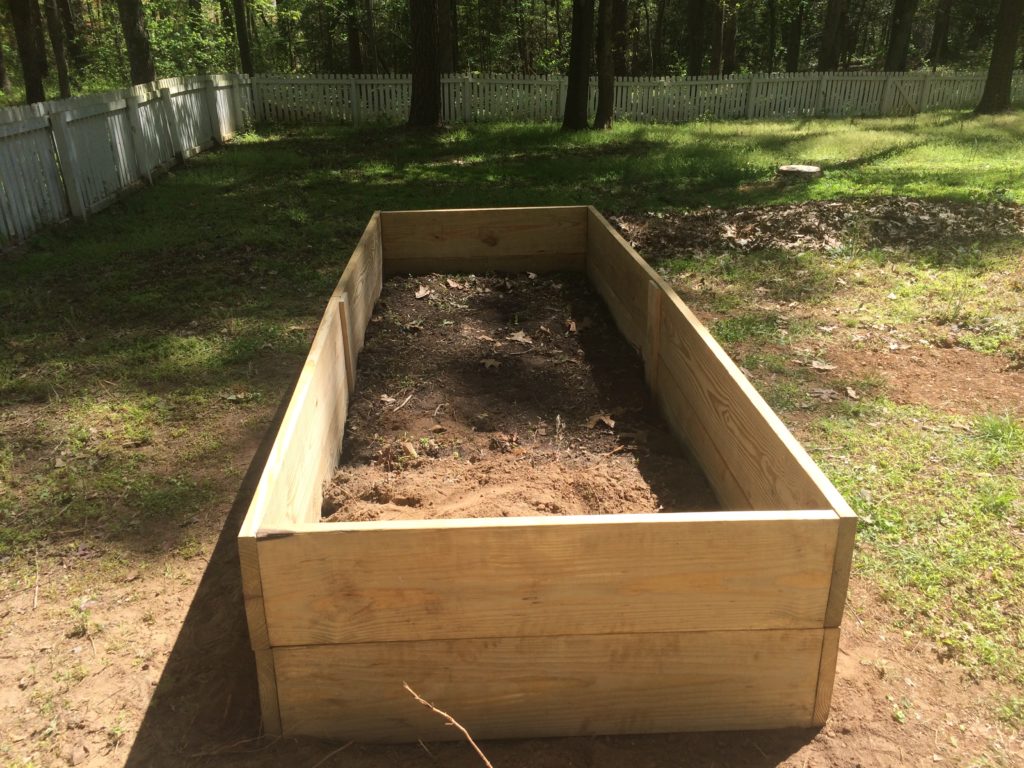
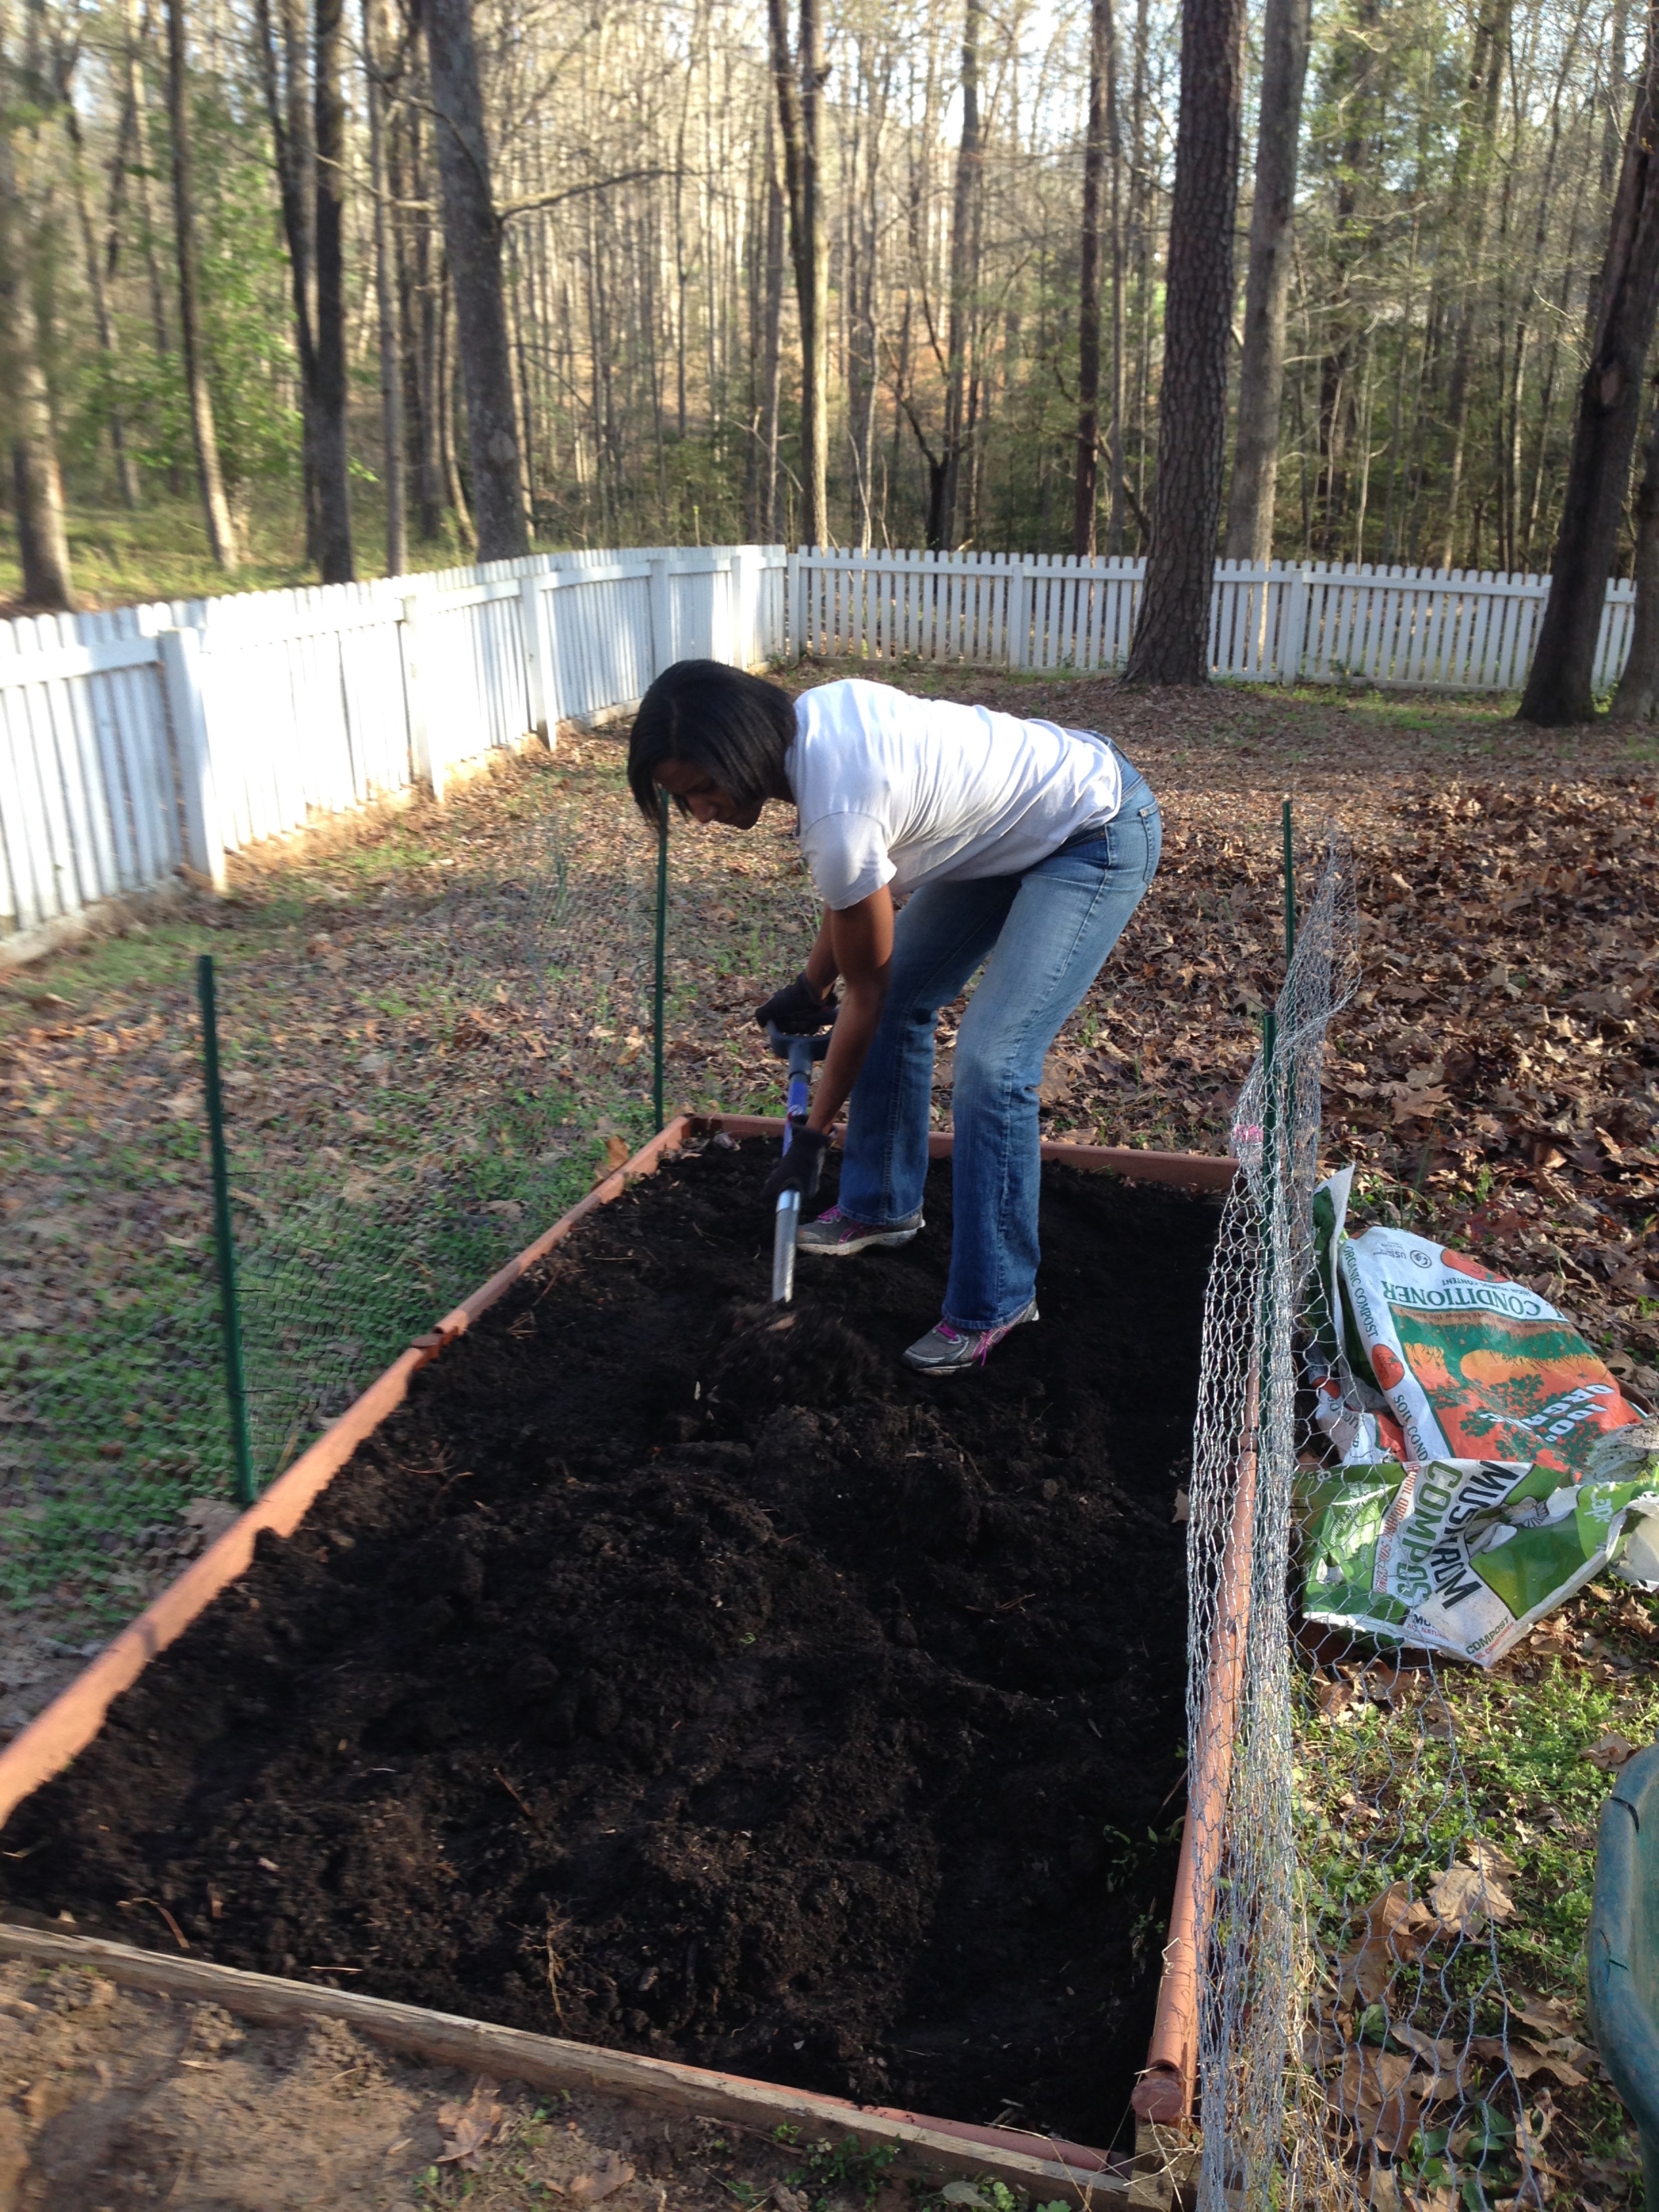
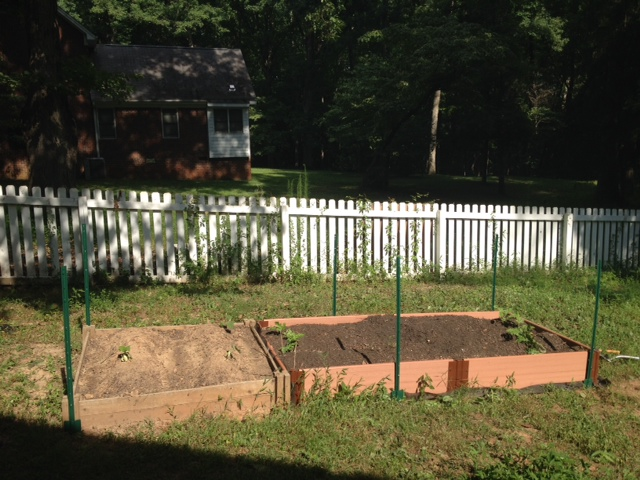
The task- to move the compost pile one shovel full and one wheelbarrow full at a time until the box was full. Steve and I took turns shoveling compost and rolling the wheelbarrow into the backyard. It took both of us to lift it over the edge of the garden box and tip in the dirt though. Luckily it wasn’t too hot- mid 80s with 100% humidity. Oh, I forgot to mention that we did this in the rain. But with teamwork, we got this done in a little over two hours on a couple of different evenings.
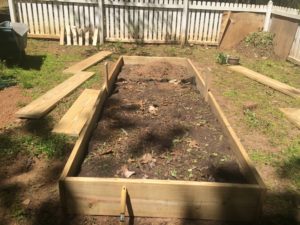
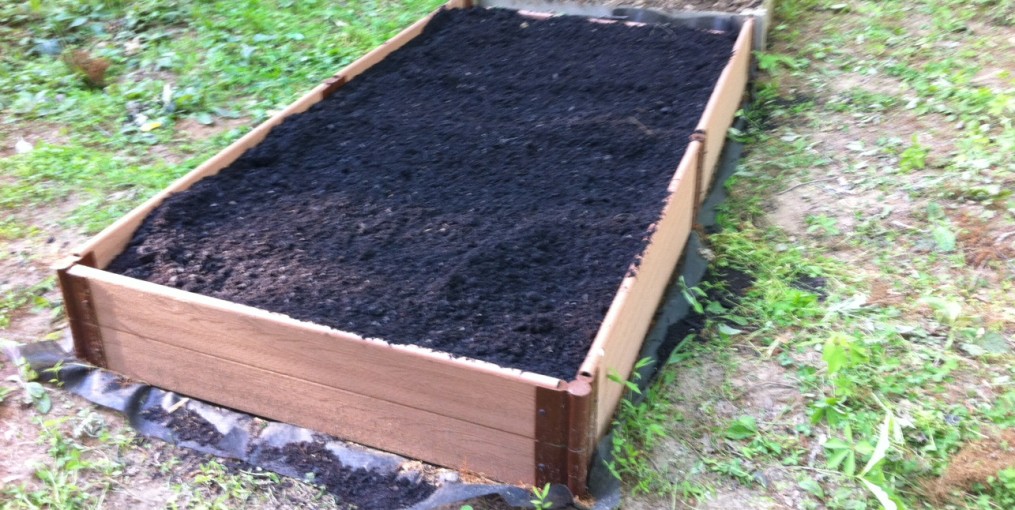
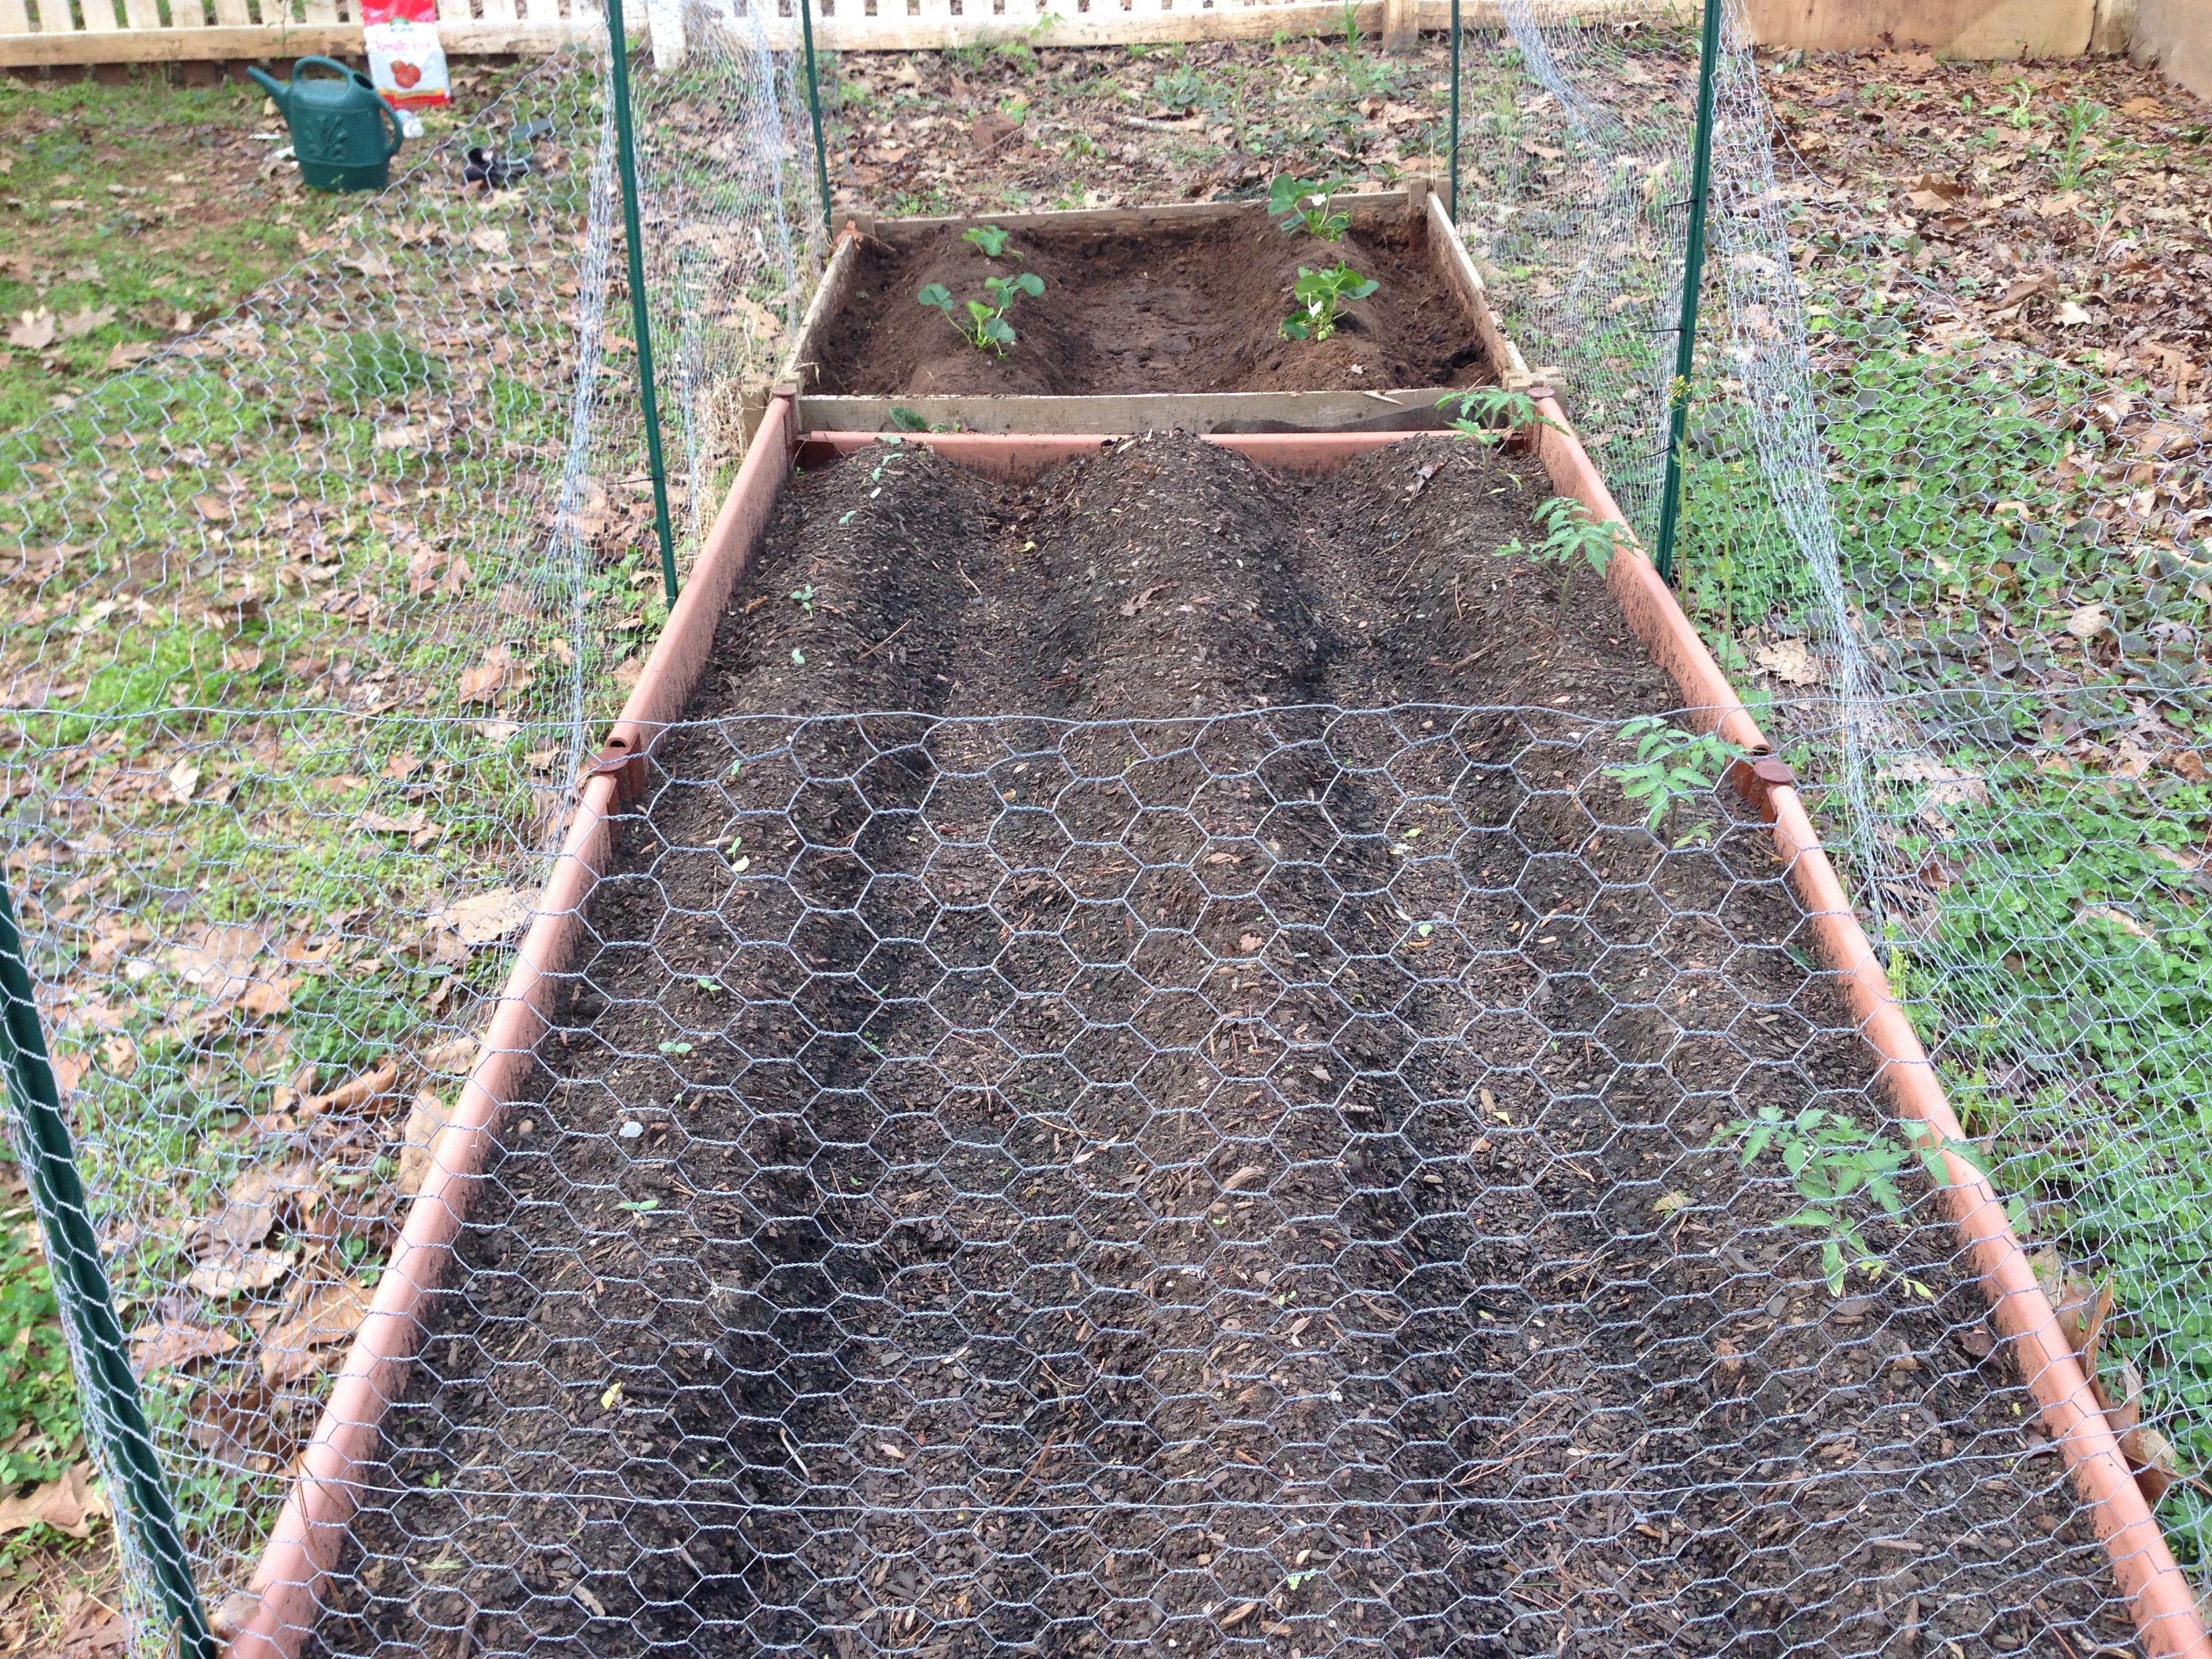
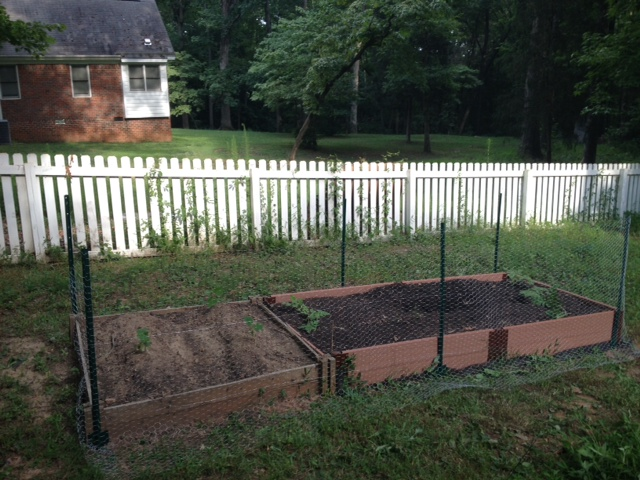
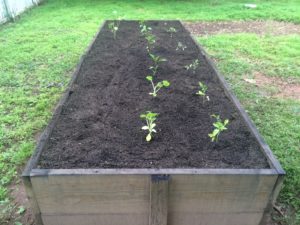
And look at the beautiful results!
-
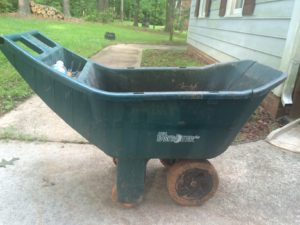
- Detour tool 1
-
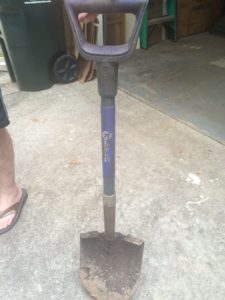
- Detour tool 2
-
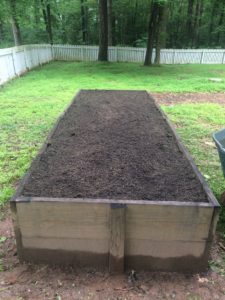
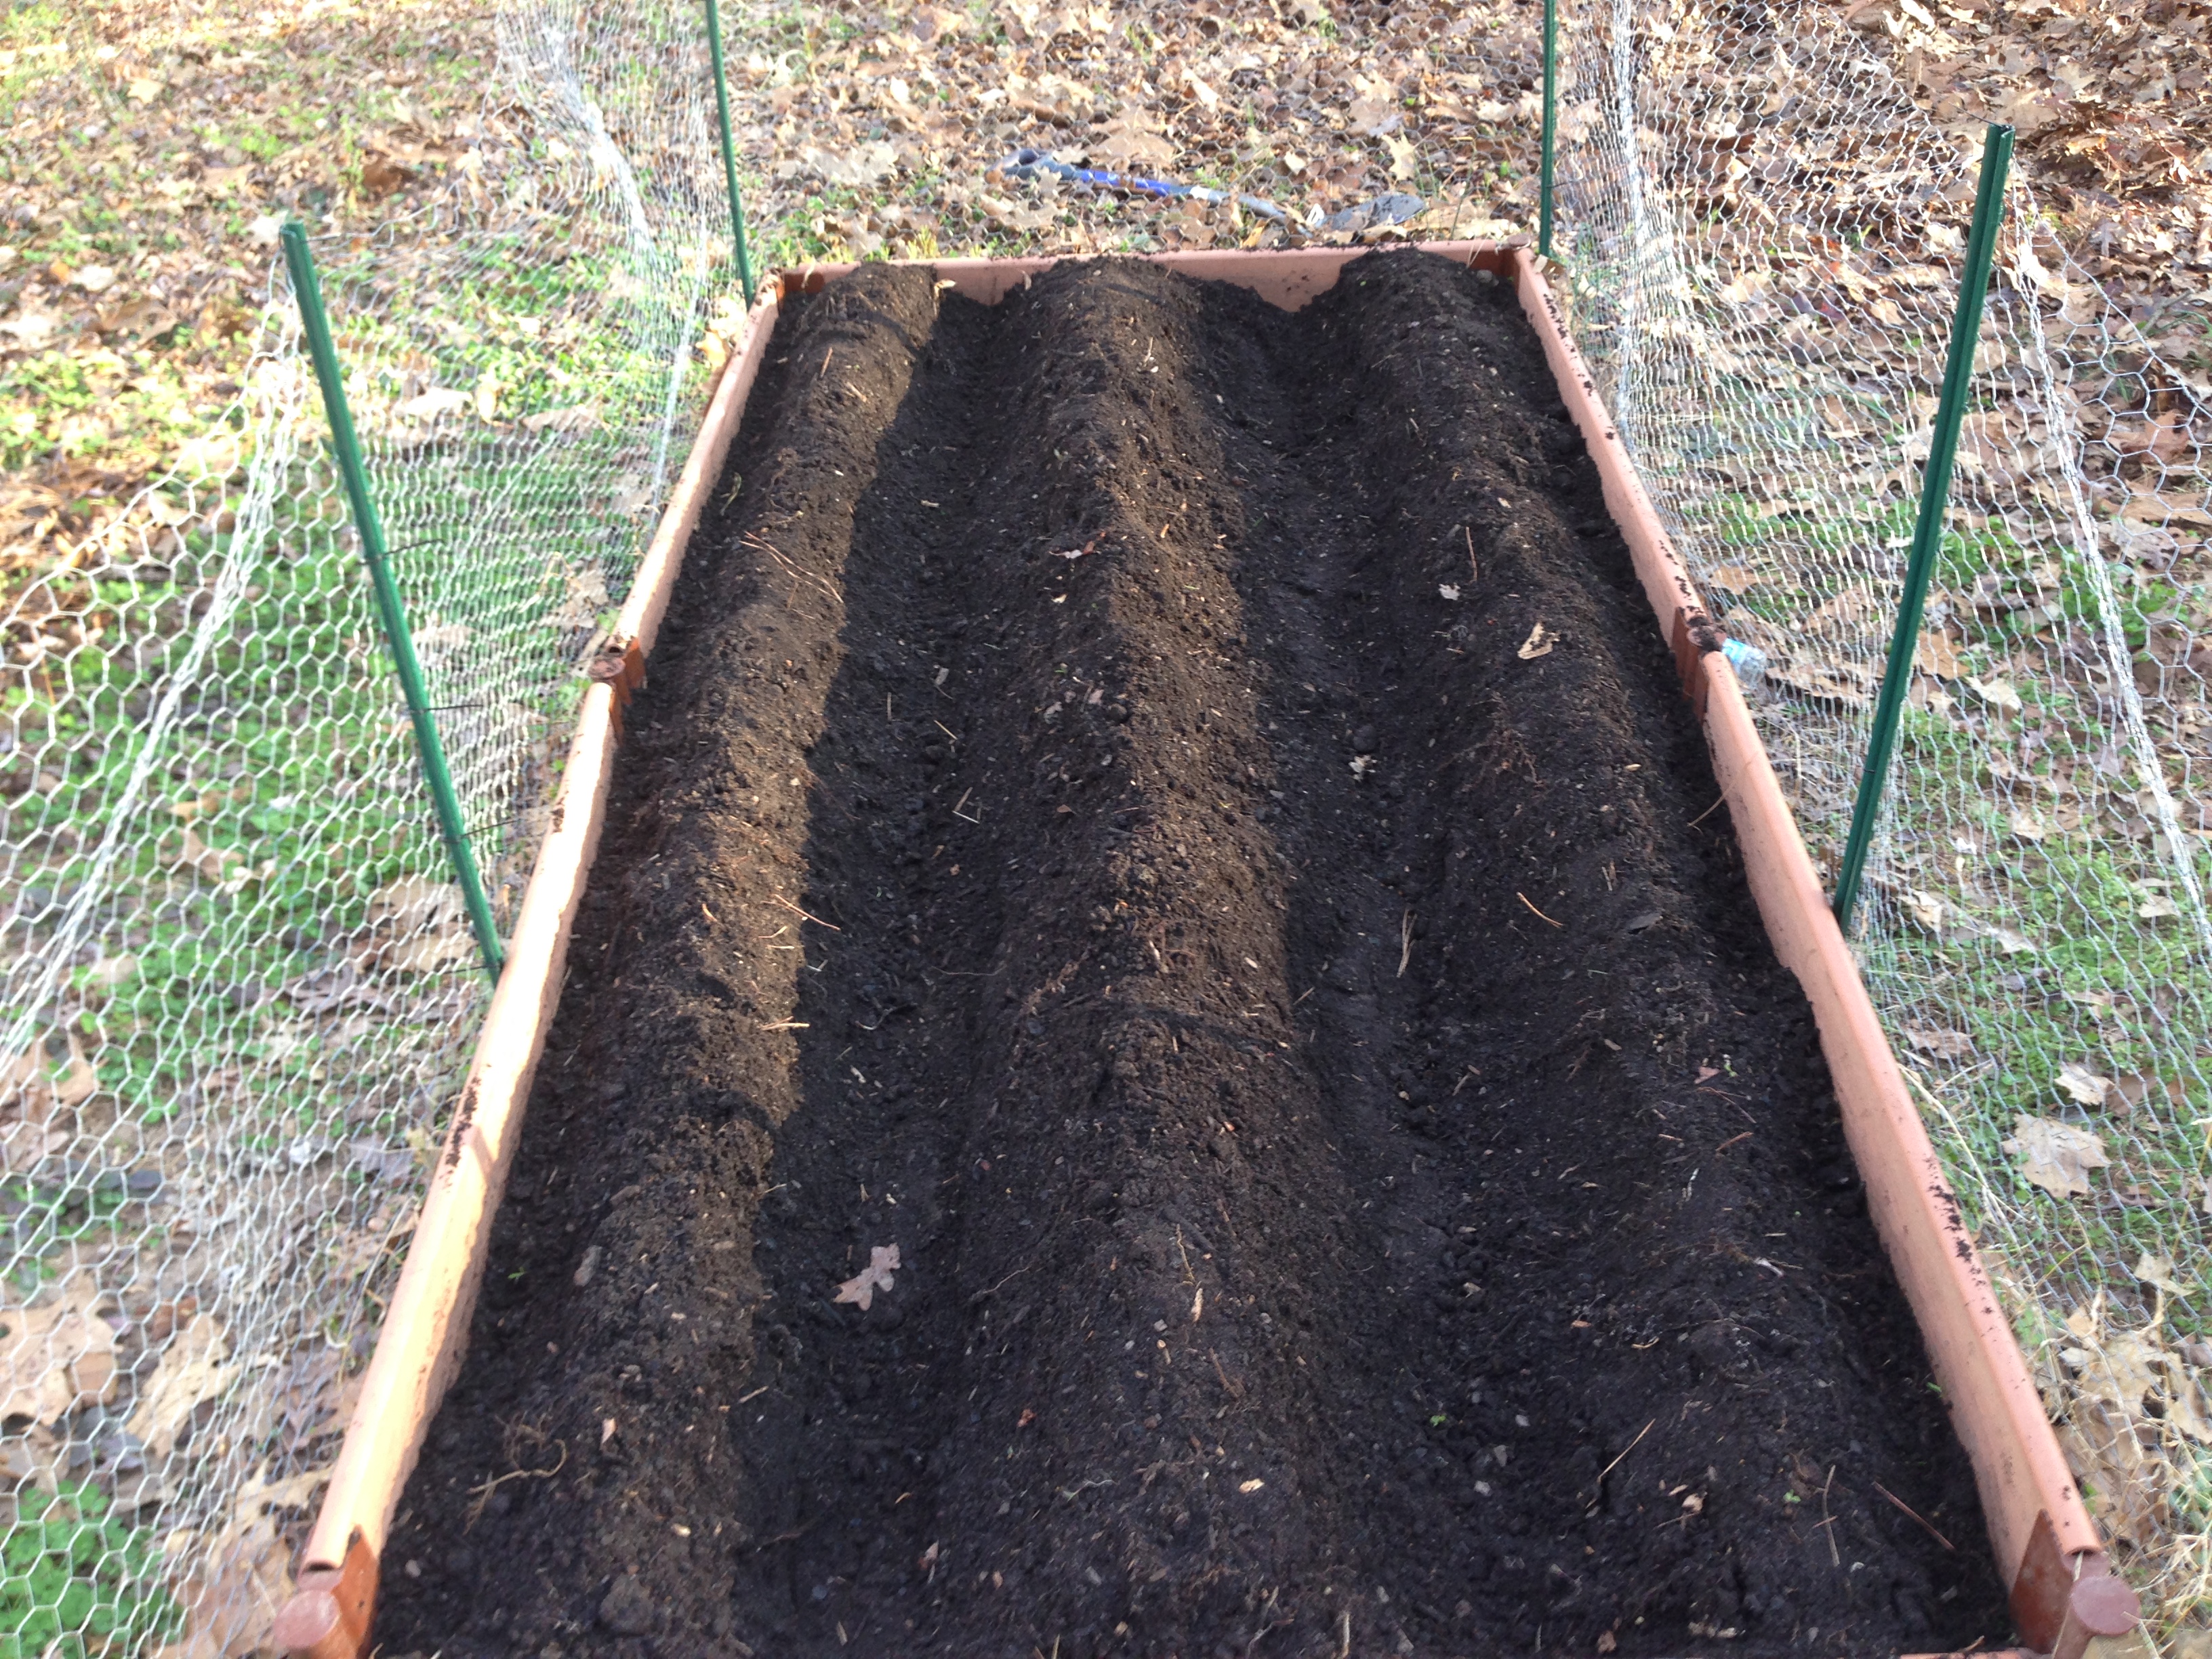
- Garden box filled!
-
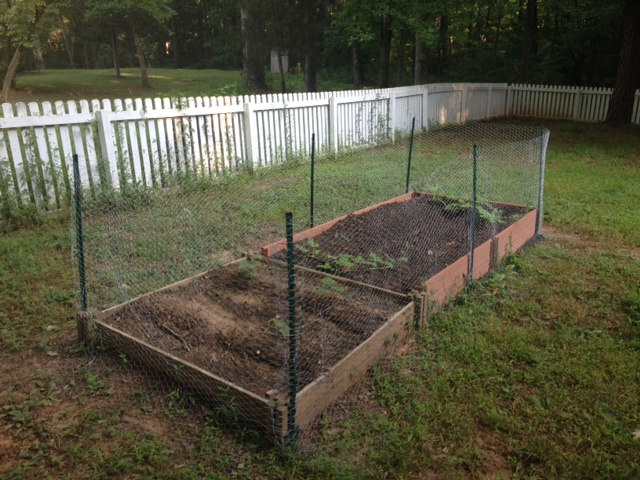
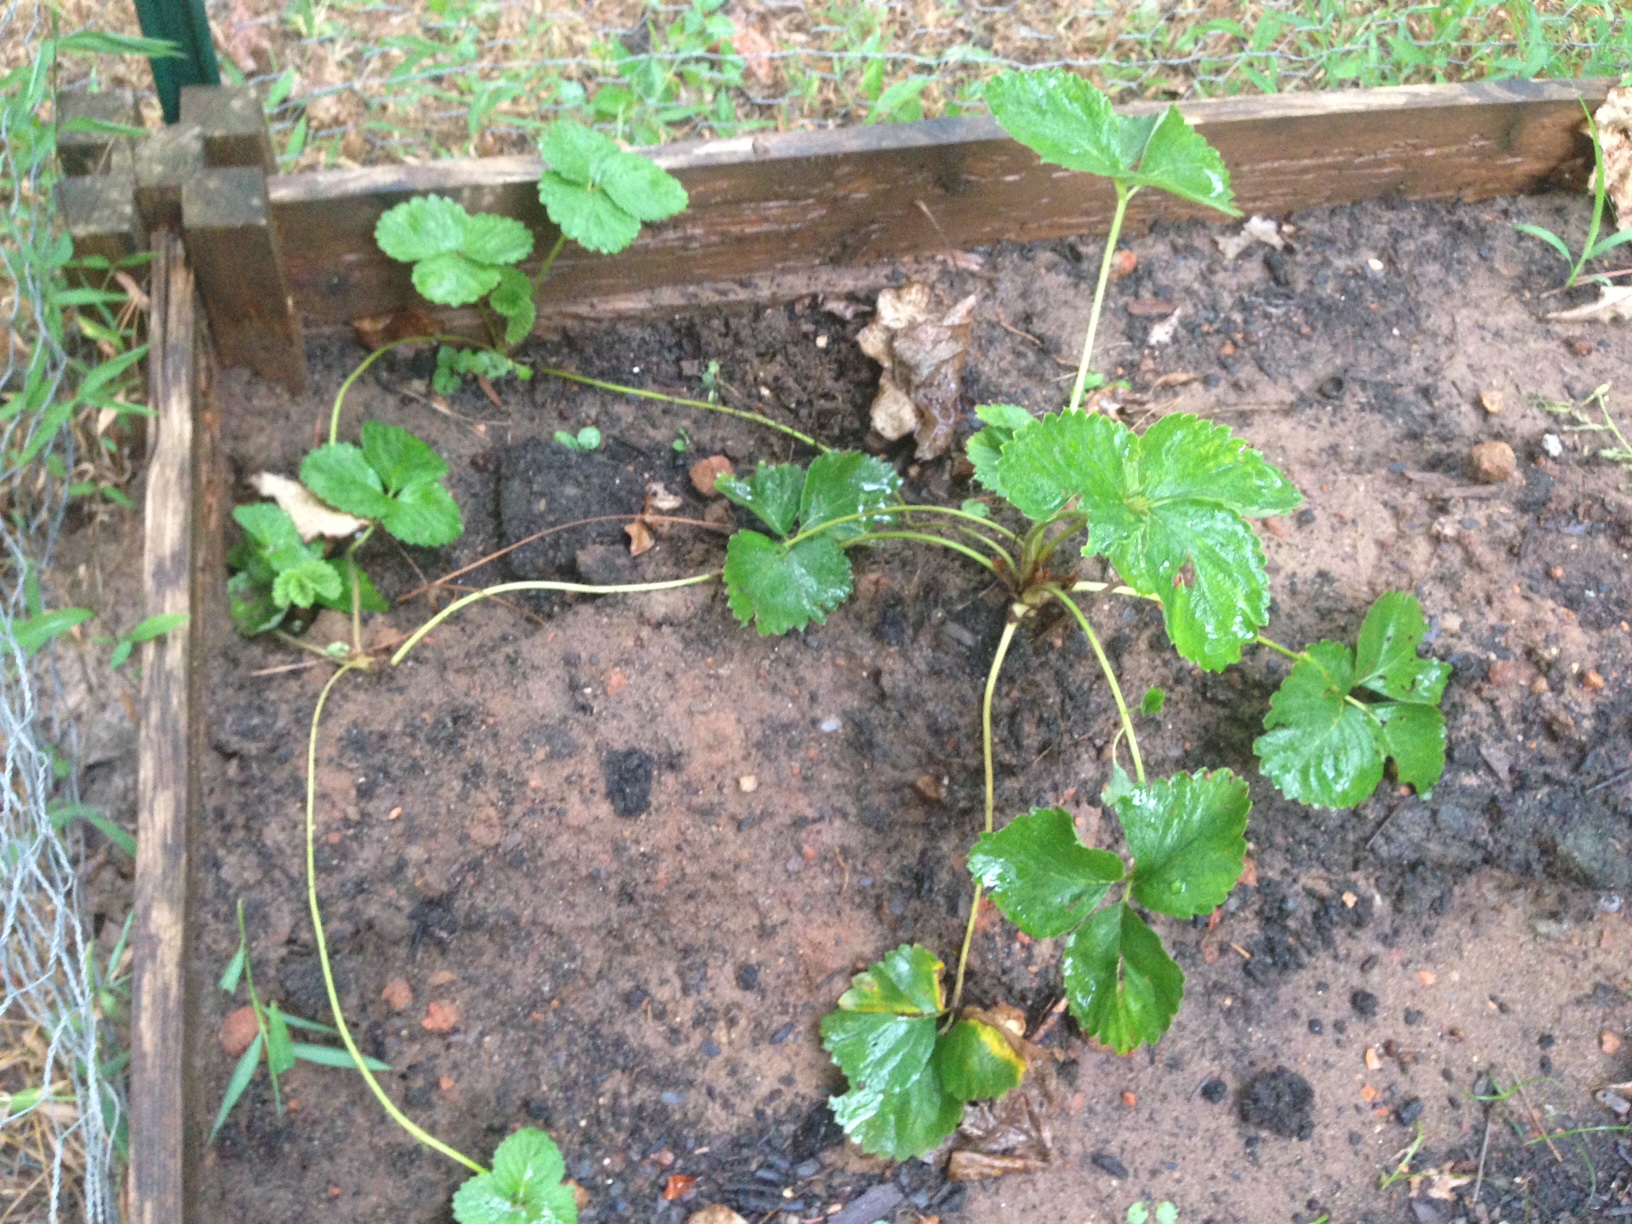
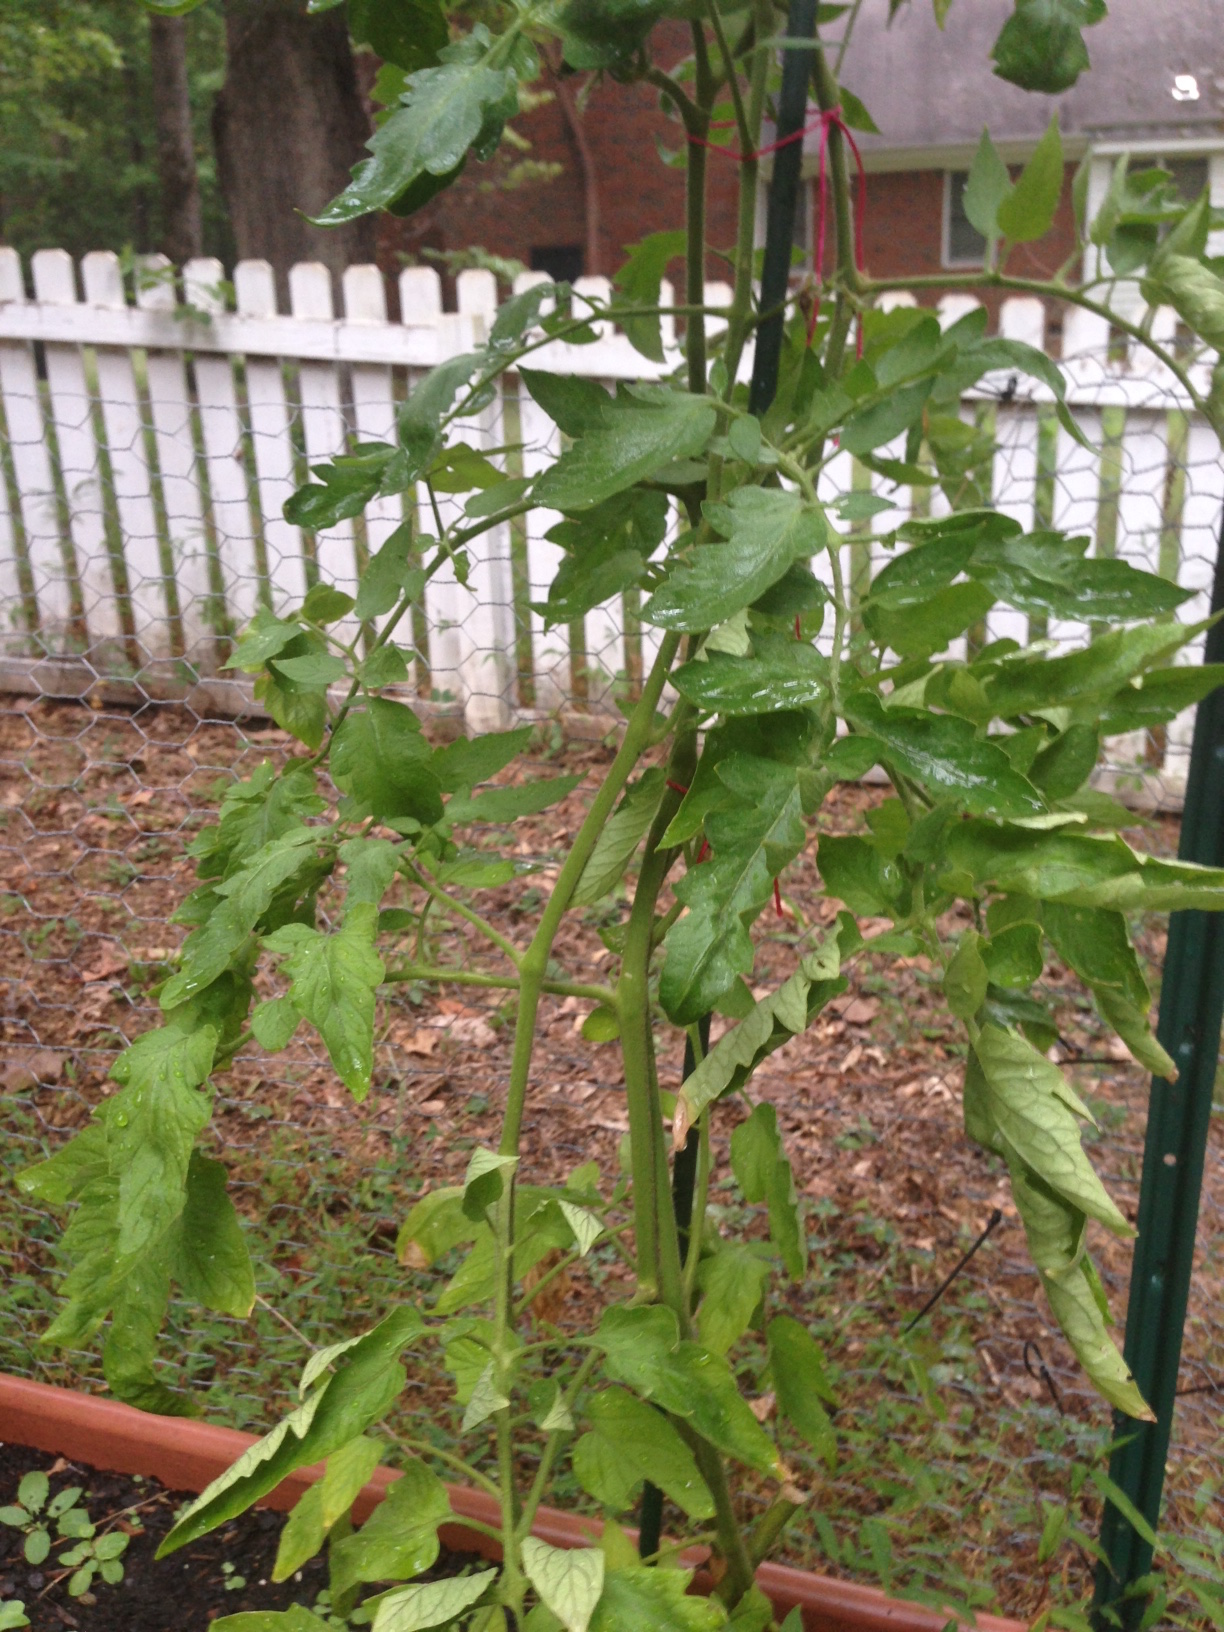
- Vegetables planted!