Much like pimpin’, gardening ain’t easy. At least for a beginner. Well, remember when I said that the garden wasn’t much work at this stage? I was wrong, very wrong.
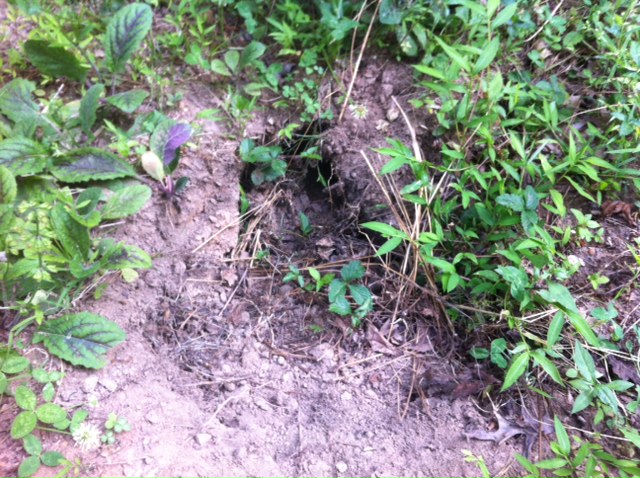
I’ve been watering the garden regularly and monitoring plant growth. I think most of you know about the pest that’s been visiting. I’ve come up with a solution for that problem. The next free weekend I have, I’m going to build a fence around the garden.
The other issues I’m having are an ant invasion, possible drainage issues, and soil erosion in the smaller bed.
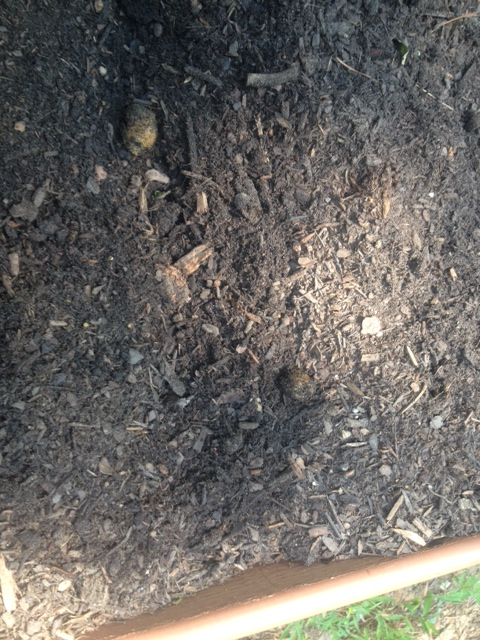
I was fixing a hill that had been dug up this weekend. When I was turning the soil, I noticed something that looks like larvae crawling around. I’m guessing it’s ant larvae, but I could be wrong. One non-harmful solution I’ve found is a mixture of vinegar and warm water. You spray it at the edge of your garden and on any mounds you find. The mixture doesn’t affect the plants and is supposed to get rid of the ants. I plan to try that this week.
Late last week I found something funky growing at the edge of the larger bed. I was pretty grossed out by it so I pulled it up before I thought to take a picture. I thought it could be a fungus. We’ve been getting a lot of summer storms and rain lately so the garden bed is pretty much saturated. Whatever it was hasn’t popped up again, but I’m keeping a close watch. If the bed isn’t draining properly, I’ll have to create a drainage system.
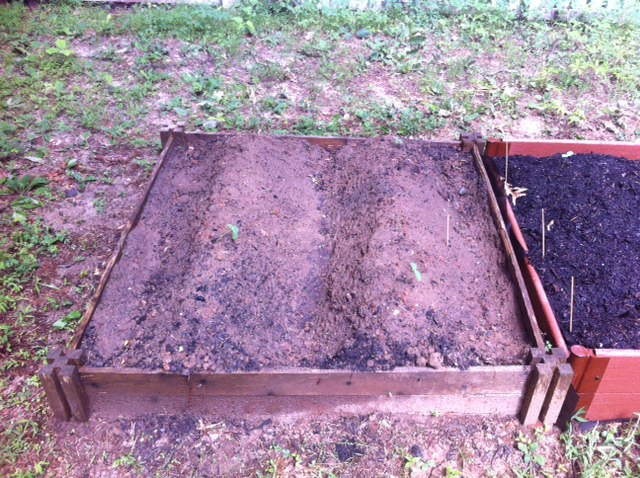
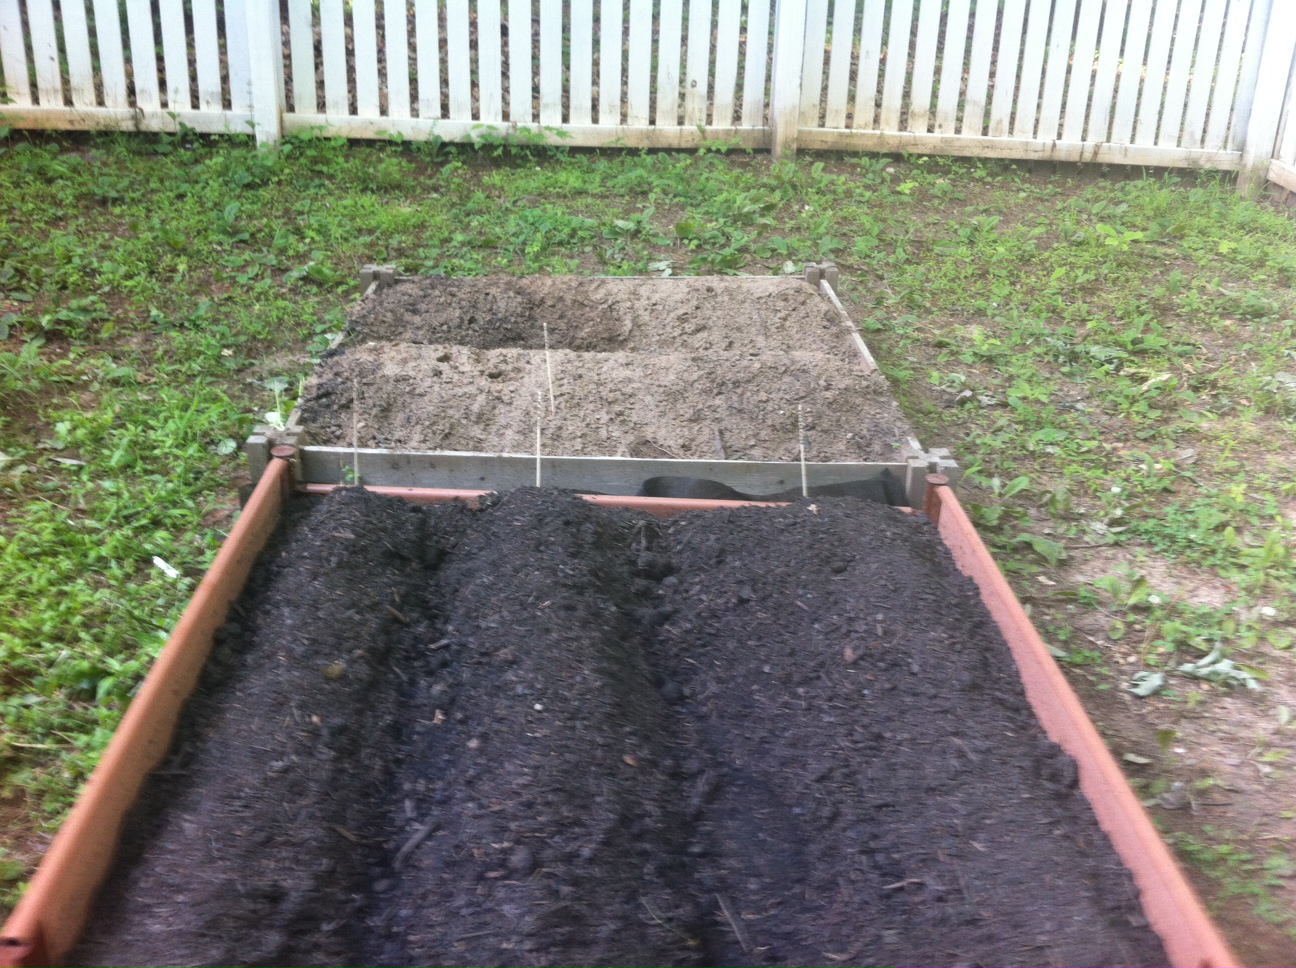
Since the heavy rains last weekend, the soil in the smaller bed has become compacted. The mounds are much smaller and I’ve discovered rocks that were hidden under the hills previously. When I first set up the garden, I put most of the purchased soil in the new bed. The smaller bed mainly had the original clay-like soil. I meant to go back to the store and get more soil and compost, but never got around to it. I’m adding that to my to do list as well.
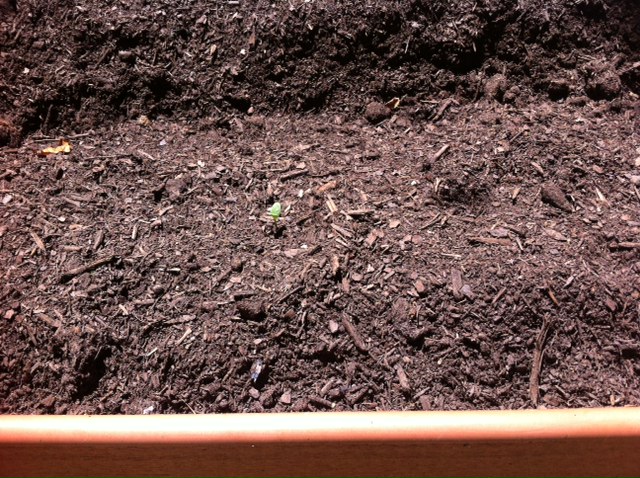
On the bright side, the cucumber plants in the smaller bed and the watermelon in the larger bed are growing well. Take a look:
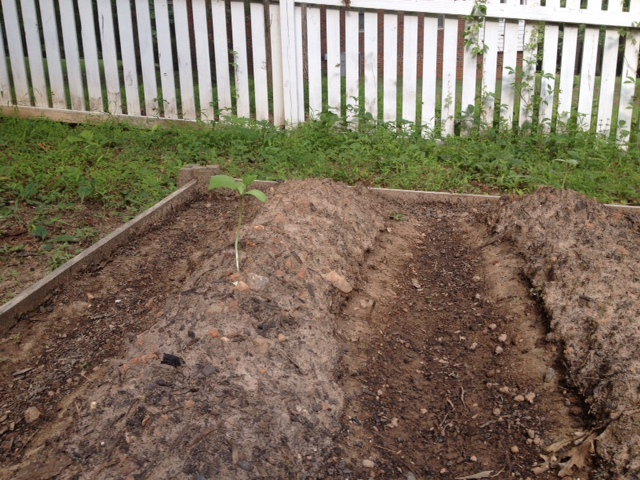
Cucumber plants in smaller bed
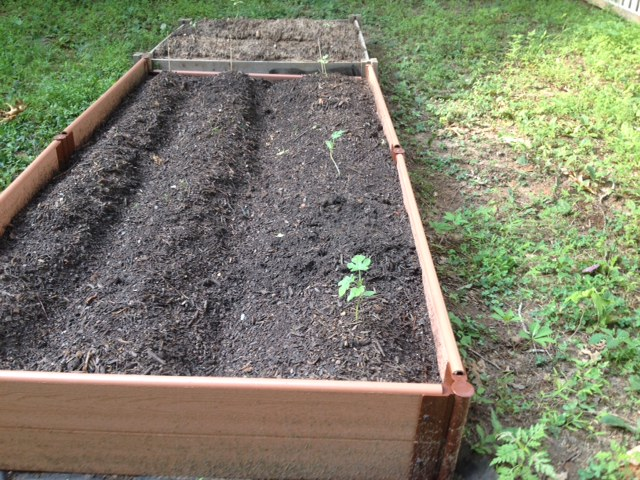
Watermelon plants in larger bed